Introduction
This manual provides comprehensive instructions for the installation, operation, and maintenance of your Quartet Prestige 2 Connects Full Board Eraser. Designed to integrate seamlessly with Quartet Prestige 2 dry erase boards, this eraser bar significantly reduces the time and effort required to clean large whiteboard surfaces, allowing for more efficient presentations and collaborative sessions.
Product Overview
The Quartet Prestige 2 Connects Full Board Eraser is an innovative accessory designed to enhance the functionality of your Quartet Prestige 2 dry erase board. It features a soft felt material that effectively removes dry-erase ink and dust without damaging the board surface. The eraser bar attaches to the top and bottom of the whiteboard, providing a full-board cleaning solution.
- Efficient Cleaning: Provides clean erasing of large surfaces quickly and easily.
- Board Protection: Soft felt eraser material ensures no damage to the board surface.
- Integrated Design: Attaches to the top and bottom of a Quartet Prestige 2 whiteboard for an integrated cleaning tool.
- System Compatibility: Designed to combine with other Prestige Connects Accessories for a fully-functional workspace.
- Size Compatibility: Specifically designed to fit 8' x 4' Quartet Prestige 2 boards.
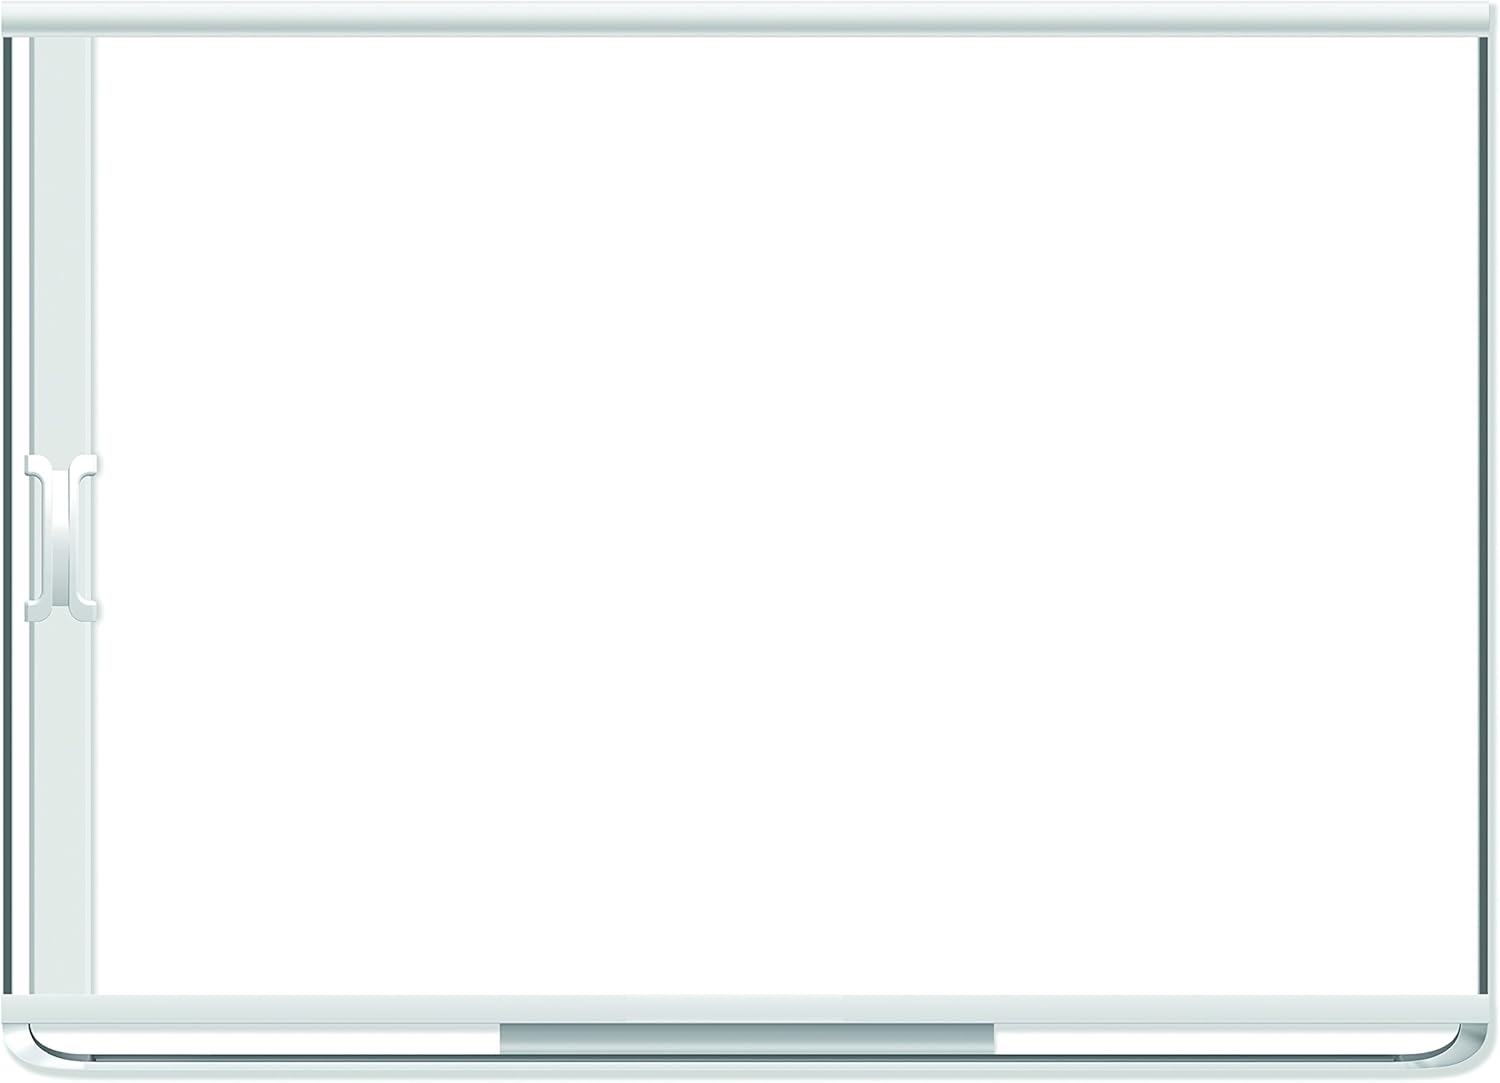
Image: The Quartet Prestige 2 Connects Full Board Eraser shown attached to a compatible whiteboard, demonstrating its integrated design.
Setup and Installation
The Prestige 2 Connects Full Board Eraser is designed for straightforward attachment to your Quartet Prestige 2 dry erase board. Ensure you have the included mounting hardware before beginning the installation process.
- Unpack Components: Carefully remove the eraser bar and all mounting hardware from its packaging.
- Identify Mounting Points: Locate the designated attachment points on your Quartet Prestige 2 dry erase board. The eraser bar is designed to attach to both the top and bottom edges of the board.
- Attach Top Rail: Using the provided mounting hardware, securely fasten the top rail of the eraser system to the upper edge of your whiteboard. Ensure it is level and firmly attached.
- Attach Bottom Rail: Similarly, secure the bottom rail of the eraser system to the lower edge of your whiteboard. Verify that both rails are aligned and parallel.
- Insert Eraser Bar: Slide the full board eraser bar into the installed top and bottom rails. The bar should move smoothly along the length of the board.
- Test Movement: Gently slide the eraser bar across the entire surface of the whiteboard to ensure it moves freely and without obstruction.
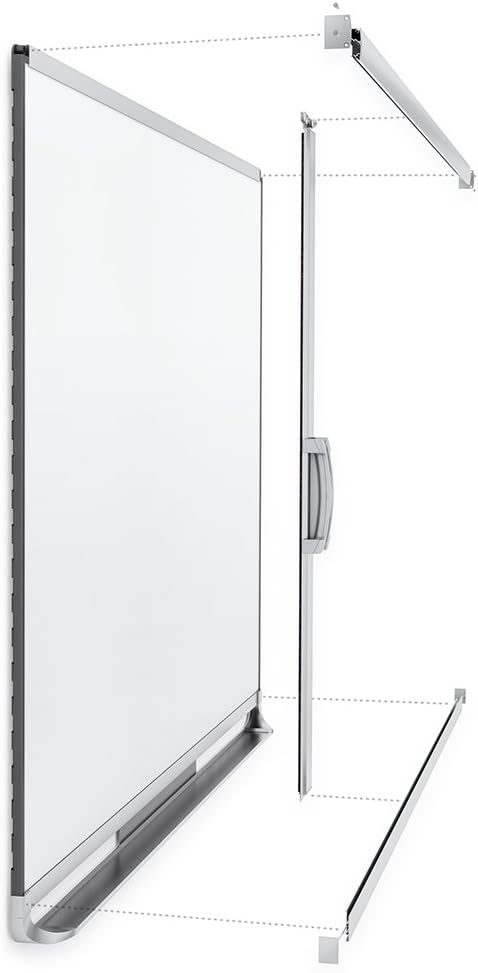
Image: An exploded diagram illustrating the components of the Quartet Prestige 2 Connects Full Board Eraser and how they attach to the whiteboard.
Operating Instructions
Once installed, operating the Quartet Prestige 2 Connects Full Board Eraser is simple and efficient.
- Prepare for Erasing: Ensure all writing you wish to erase is dry.
- Position Eraser: Grasp the handle of the eraser bar and position it at one end of the whiteboard.
- Slide to Erase: Smoothly slide the eraser bar across the entire surface of the whiteboard. The felt material will effectively remove dry-erase ink and dust as it moves.
- Repeat if Necessary: For heavily marked areas or stubborn ghosting, you may need to slide the eraser bar back and forth a few times.

Image: The Quartet Prestige 2 Connects Full Board Eraser shown in action, sliding across a whiteboard to erase content.
Maintenance
Regular maintenance will ensure the longevity and optimal performance of your Quartet Prestige 2 Connects Full Board Eraser and your whiteboard.
- Clean the Eraser Felt: Periodically clean the felt surface of the eraser bar to remove accumulated ink and dust. This can be done by gently wiping it with a damp cloth or using a specialized dry-erase eraser cleaner.
- Whiteboard Cleaning: For best results and to prevent ghosting, regularly clean your Quartet Prestige 2 whiteboard with a dedicated dry-erase board cleaner. Quartet offers various cleaning solutions, such as spray cleaners and wipes, designed to maintain the board's surface.
- Inspect Rails: Occasionally inspect the top and bottom rails for any debris or obstructions that might hinder the smooth movement of the eraser bar. Clean as necessary.
Troubleshooting
This section addresses common inquiries regarding the Quartet Prestige 2 Connects Full Board Eraser.
| Problem | Solution |
|---|---|
| "The whiteboard is not included." | The Quartet Prestige 2 Connects Full Board Eraser is an accessory designed to be used with a compatible Quartet Prestige 2 dry erase board. The whiteboard itself is sold separately and is not included with this eraser product. This product is solely the eraser bar and its mounting hardware. |
| Eraser bar does not slide smoothly. | Check the top and bottom rails for any debris, dust, or obstructions. Clean the rails thoroughly. Ensure the rails are securely mounted and aligned properly. |
| Ink is not fully erased. | Ensure the dry-erase ink is completely dry before attempting to erase. The felt on the eraser bar may be saturated with old ink; clean the felt surface as described in the Maintenance section. For stubborn marks or ghosting, use a specialized dry-erase board cleaner. |
Specifications
| Attribute | Detail |
|---|---|
| Brand | Quartet |
| Model Number | 85387 |
| Compatible Board Size | 8' x 4' (96"W x 48"H) Quartet Prestige 2 boards |
| Material | Felt (eraser surface) |
| Color | Silver |
| Item Weight | 9.8 pounds |
| Product Dimensions | 96.85 x 3.94 x 7.09 inches |
| Included Components | Eraser bar, mounting hardware (Note: Whiteboard, markers, and duster are sold separately) |
Warranty and Support
For information regarding warranty coverage, product support, or to purchase additional accessories, please visit the official Quartet website or contact Quartet customer service directly. Keep your proof of purchase for warranty claims.
Quartet Official Website: www.quartet.com