1. Introduction
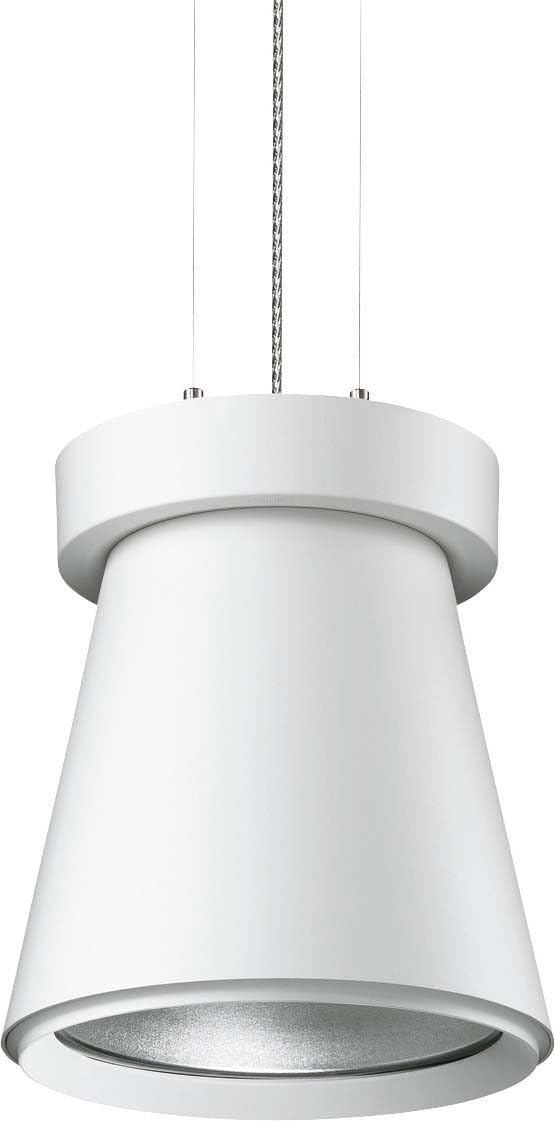
This manual provides essential instructions for the safe installation, operation, and maintenance of your Philips Uni Cone Compact Pendant Lamp, model MPK561 #68009600. Please read this manual thoroughly before installation and keep it for future reference.
2. Safety Information
WARNING: Electrical installation should only be performed by a qualified electrician. Disconnect power before installation or servicing.
- Ensure the main power supply is switched off before commencing any work.
- Verify that the supply voltage matches the voltage specified on the luminaire label.
- Do not install the luminaire on a damp or conductive surface.
- Use only specified lamp types and wattages. This luminaire uses a G12 base metal halide lamp (70W).
- Keep flammable materials away from the luminaire.
- Do not touch the lamp or luminaire housing immediately after use, as they may be hot.
3. Package Contents
Verify that all components are present and undamaged before installation.
- Philips Uni Cone Compact Pendant Lamp fixture (1 unit)
- Mounting hardware (screws, anchors)
- Installation instructions (this manual)
- Note: Lamp bulb (G12, 70W metal halide) may be included or sold separately depending on the specific product package. Refer to your purchase details.
4. Installation Instructions
Follow these steps for proper installation. Professional installation is recommended.
- Prepare the Installation Area: Ensure the power supply to the installation area is switched off at the circuit breaker. Mark the desired mounting location on the ceiling.
- Mount the Ceiling Plate: Secure the provided ceiling plate to the ceiling using appropriate screws and anchors. Ensure it is firmly attached to a structural element.
- Connect Wiring: Connect the electrical wires from the ceiling to the luminaire's terminal block. Ensure correct polarity (Live, Neutral, Earth). All connections must be secure.
- Attach the Luminaire: Carefully attach the pendant lamp fixture to the ceiling plate, ensuring all connections are properly seated and secured. Adjust the suspension cables to the desired height.
- Install the Lamp Bulb: If not already installed, insert the G12 metal halide lamp into the lamp holder. Ensure it is seated correctly and securely. Do not overtighten.
- Final Check: Double-check all connections and ensure the luminaire is securely mounted. Restore power at the circuit breaker.
5. Operating Instructions
The Philips Uni Cone Compact Pendant Lamp is designed for straightforward operation.
- Power On/Off: Once installed and wired correctly, the lamp is operated via a standard wall switch connected to its power supply.
- Warm-up Time: Metal halide lamps require a short warm-up period to reach full brightness and color stability. This typically takes a few minutes.
- Restrike Time: If the lamp is switched off, it may require a cool-down period before it can be reignited. Attempting to switch it on immediately after turning it off may result in a delay before it lights up again.
6. Maintenance
Regular maintenance ensures optimal performance and longevity of your luminaire.
- Cleaning: Disconnect power before cleaning. Use a soft, dry cloth to wipe the exterior of the luminaire. Do not use abrasive cleaners or solvents.
- Lamp Replacement: Disconnect power and allow the lamp to cool completely before attempting replacement. Carefully remove the old G12 lamp and insert a new one of the same type and wattage (70W metal halide). Ensure proper seating.
- Inspection: Periodically inspect the suspension cables and electrical connections for any signs of wear or damage. If any damage is found, consult a qualified electrician.
7. Troubleshooting
| Problem | Possible Cause | Solution |
|---|---|---|
| Lamp does not light up. | No power supply. Faulty lamp bulb. Incorrect wiring. | Check circuit breaker and wall switch. Replace lamp bulb. Verify wiring connections (consult electrician). |
| Lamp flickers or dims. | Lamp nearing end of life. Loose connection. Incorrect lamp type. | Replace lamp bulb. Check electrical connections. Ensure correct G12 70W metal halide lamp is used. |
| Lamp takes a long time to warm up. | Normal operation for metal halide lamps. Lamp nearing end of life. | Allow sufficient warm-up time. Consider replacing the lamp bulb if warm-up time becomes excessively long. |
8. Specifications
- Brand: Philips
- Model Number: MPK561 #68009600
- Lamp Type: Metal Halide Lamp
- Lamp Base: G12
- Lamp Wattage: 70 W
- Number of Bulbs: 1
- Operating Device: Standard EVG (Electronic Ballast)
- Material: Aluminum
- Power Source: Corded Electric
- Mounting Type: Monopoint
9. Warranty and Support
For warranty information and technical support, please refer to the documentation provided with your purchase or visit the official Philips website. Keep your proof of purchase for warranty claims.
Philips Official Website: www.philips.com


