
1. Product Overview
This manual provides instructions for the Ideal Standard Ultra Flat Rectangular Acrylic Shower Tray. Designed for modern bathrooms, this extra-flat shower tray measures 120cm x 90cm and is made from durable acrylic. Its versatile design allows for three installation methods: recessed, laid directly on the floor, or raised with an extra-flat Styropor support.
Key Features:
- Material: High-quality Acrylic
- Dimensions: 120 cm (Length) x 90 cm (Width)
- Thickness: 4 cm
- Color: White
- Installation Options: Recessed, laid on floor, or raised with Styropor support.
- Accessibility: Designed to comply with accessibility regulations, featuring a maximum 2 cm internal/external step at the entrance.
- Maintenance: Easy to clean surface.
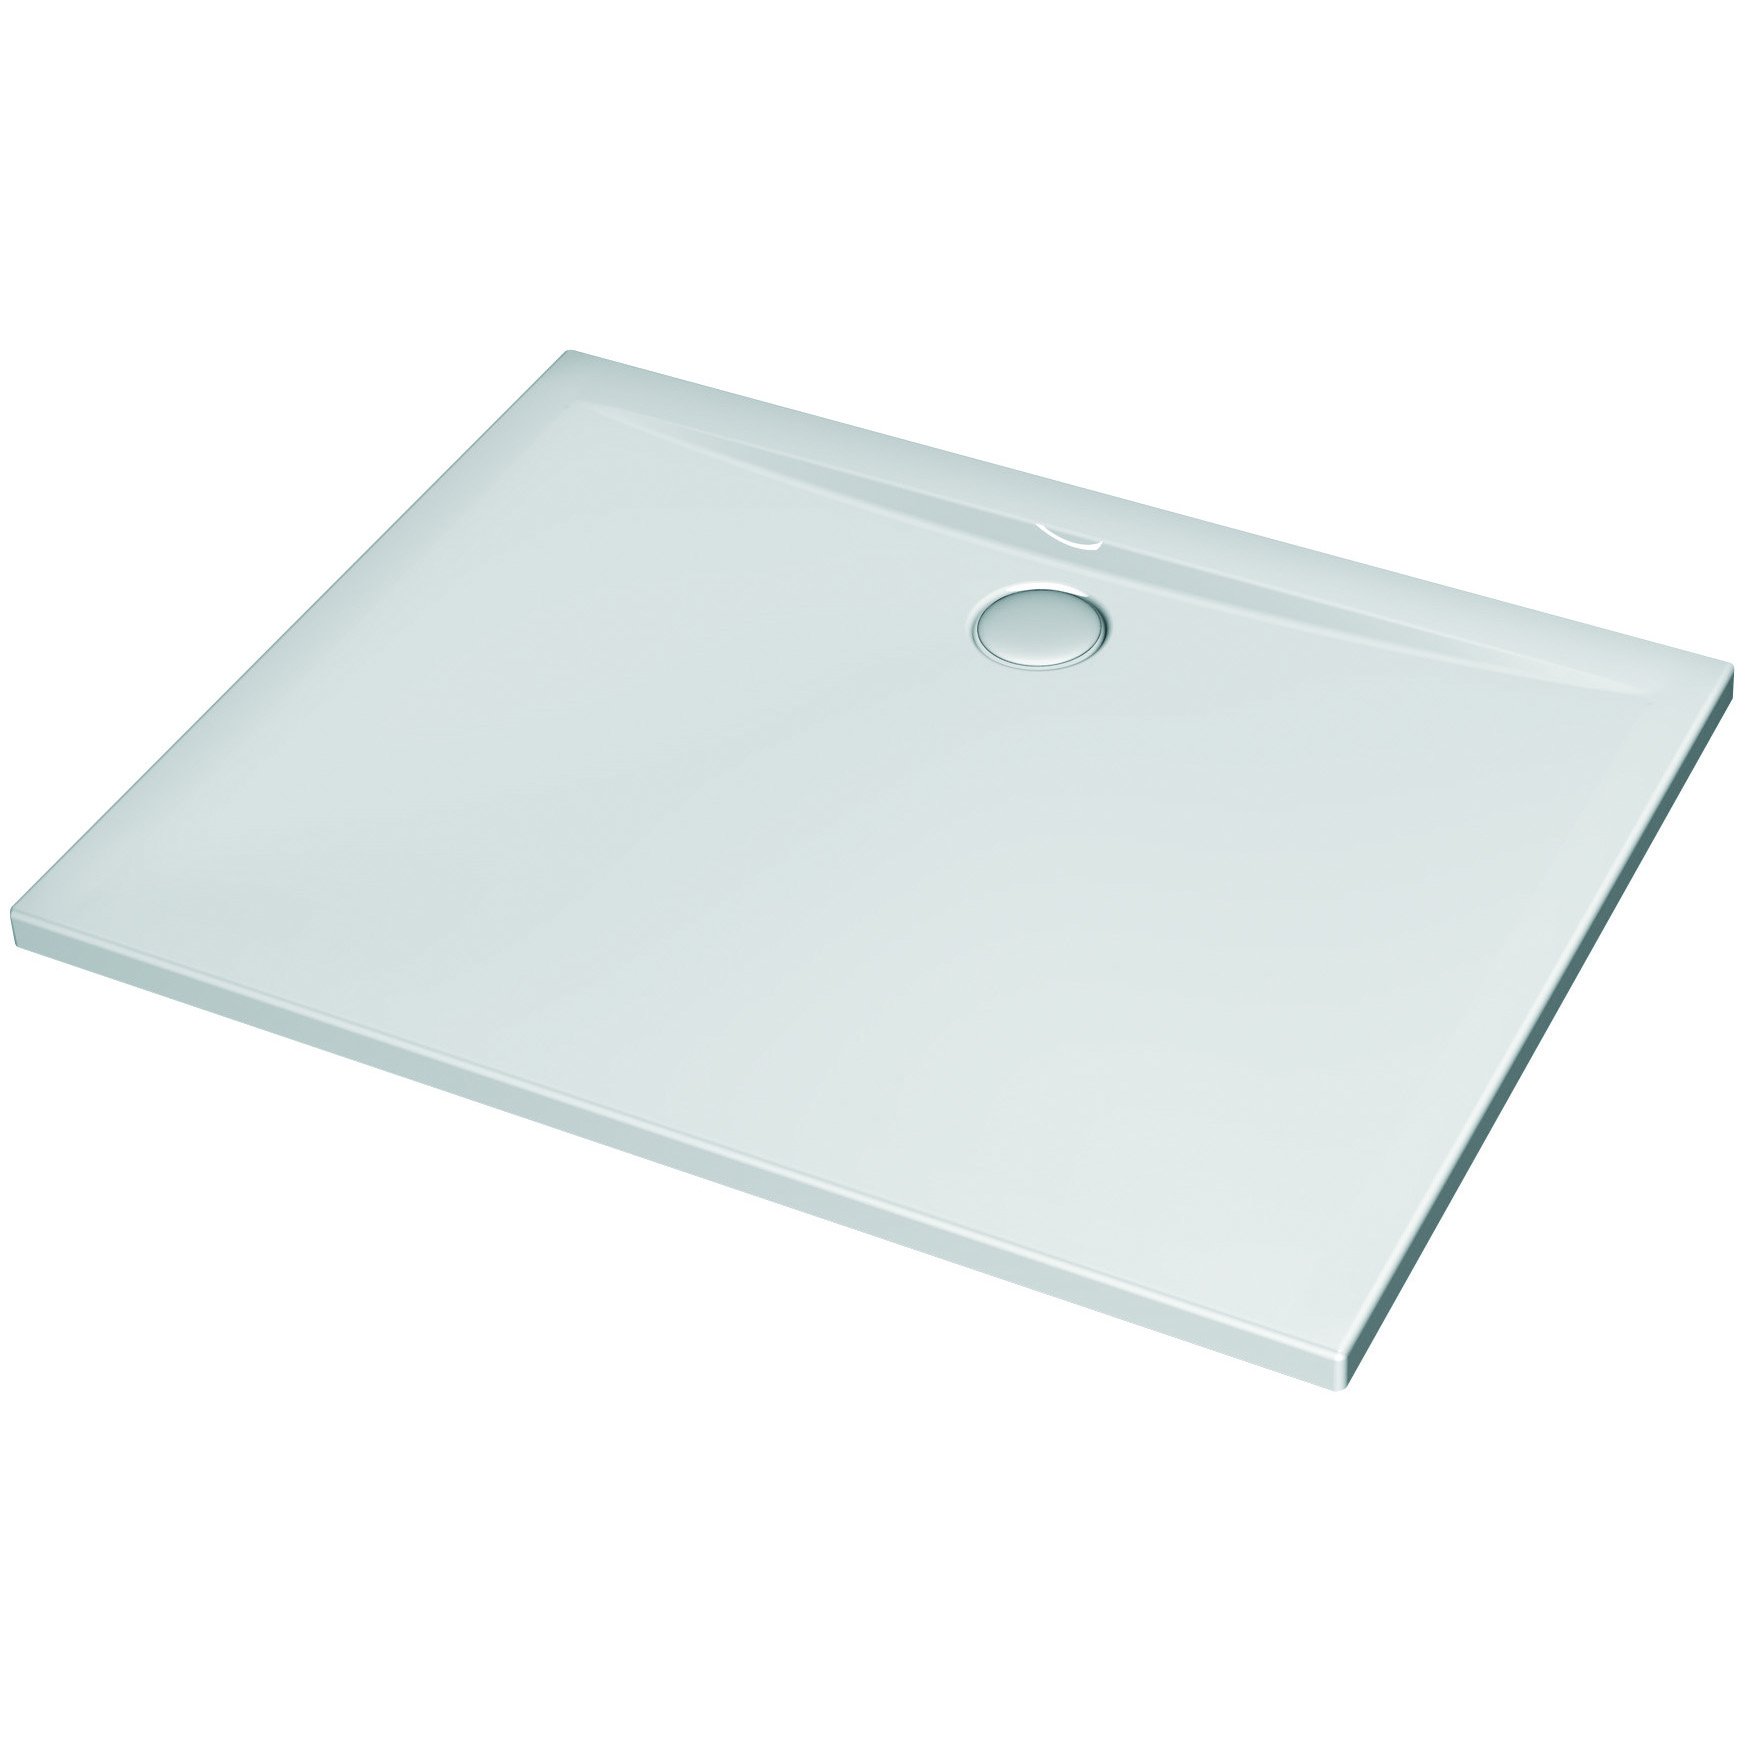
An image showing the Ideal Standard Ultra Flat Rectangular Acrylic Shower Tray from an overhead angle, highlighting its sleek, extra-flat design and white finish.
2. Safety Information
Please read all instructions carefully before installation and use. Failure to follow these instructions may result in property damage or personal injury.
- Always ensure the installation area is structurally sound and level.
- Wear appropriate personal protective equipment (PPE) during installation, such as gloves and safety glasses.
- If you are unsure about any part of the installation process, consult a qualified plumber or professional installer.
- Ensure all plumbing connections are watertight to prevent leaks.
- Do not use abrasive cleaners or tools that could scratch the acrylic surface.
3. Package Contents
Verify that all components are present before beginning installation.
- 1 x Ideal Standard Ultra Flat Rectangular Acrylic Shower Tray
Note: A waste trap (diameter 90 mm) and optional support feet (Ref. K712667) are not included and must be purchased separately.
4. Setup and Installation
The Ideal Standard shower tray offers flexible installation options. Professional installation is recommended for optimal performance and to ensure compliance with local plumbing codes.
4.1. Preparation
- Ensure the floor area where the tray will be installed is clean, dry, and perfectly level.
- Mark the position of the waste outlet on the floor.
- Prepare the plumbing for the 90mm diameter waste trap.
4.2. Installation Methods
Choose one of the following installation methods:
- Recessed Installation: The tray is set into the floor, creating a flush or near-flush entry. This method requires precise floor preparation and waterproofing.
- Laid on Floor Installation: The tray is placed directly onto the finished floor. Ensure the floor is perfectly level and use an appropriate adhesive/sealant.
- Raised Installation: The tray is installed on an extra-flat Styropor support or optional feet (Ref. K712667). This method may be preferred for easier access to plumbing or uneven floors.
4.3. Waste Trap Connection
- Install a 90mm diameter waste trap (not supplied) according to its manufacturer's instructions.
- Ensure a secure and watertight seal between the shower tray and the waste trap.
4.4. Sealing
- Once the tray is in place and the waste connected, apply a high-quality silicone sealant around all edges where the tray meets the wall or floor to prevent water ingress.
- Allow the sealant to cure completely before using the shower.
5. Usage
The shower tray is designed for standard showering activities. Ensure proper drainage and avoid standing water for extended periods. The extra-flat design facilitates easy entry and exit.
6. Maintenance
Regular cleaning will help maintain the appearance and longevity of your shower tray.
- Clean the shower tray regularly with a soft cloth or sponge and a mild, non-abrasive bathroom cleaner.
- Avoid using harsh chemicals, abrasive pads, or scouring powders, as these can damage the acrylic surface.
- Rinse thoroughly with water after cleaning to remove all cleaner residue.
- To prevent limescale buildup, wipe the tray dry after each use, especially in hard water areas.
- Periodically check the waste trap for blockages and clean as necessary to ensure efficient drainage.
7. Troubleshooting
If you encounter any issues with your shower tray, consider the following common solutions:
- Slow Drainage: Check the waste trap for hair or debris blockages. Clean the trap if necessary. Ensure the waste pipe has an adequate fall.
- Leaks Around the Tray: Inspect the silicone sealant around the edges of the tray. If the sealant is cracked or degraded, remove it and reapply fresh, high-quality sealant. Check all plumbing connections for tightness.
- Stains on the Surface: For stubborn stains, use a specialized acrylic cleaner. Always test on an inconspicuous area first.
- Unpleasant Odors: This usually indicates a problem with the waste trap or drainage system. Ensure the trap is clean and filled with water to create a seal against sewer gases.
If problems persist, contact a qualified plumber or the manufacturer's customer support.
8. Specifications
| Feature | Specification |
|---|---|
| Manufacturer | Ideal Standard |
| Model Number | K518301 |
| Dimensions (L x W x H) | 120 cm x 90 cm x 4 cm |
| Weight | 27 kg |
| Color | White |
| Material | Acrylic |
| Shape | Rectangular |
| Certification | NF |
| Components Included | 1 x Shower Tray |
9. Warranty and Support
Warranty: This Ideal Standard shower tray comes with a 2-year manufacturer's warranty. Please retain your proof of purchase for warranty claims.
Customer Support: For technical assistance, spare parts, or warranty inquiries, please contact Ideal Standard customer service or visit their official website. Refer to your purchase documentation for specific contact details.