1. Introduction
The Sony Cyber-Shot DSC-H300 is a versatile 20.1-megapixel compact digital camera featuring a powerful 35x optical zoom lens. Designed for ease of use, it includes Optical SteadyShot image stabilization to reduce blur, various shooting modes, and the ability to capture HD videos. Its DSLR-like body provides a comfortable grip for stable shooting.
2. What's in the Box
Verify that all the following items are included in your package:
- Sony Cyber-Shot DSC-H300 Camera Body
- AA Batteries (x4)
- Shoulder Strap
- Lens Cap
- Lens Strap
- Multi USB Cable
- Instruction Manual (this document)
3. Camera Overview
Familiarize yourself with the main components and controls of your DSC-H300 camera.
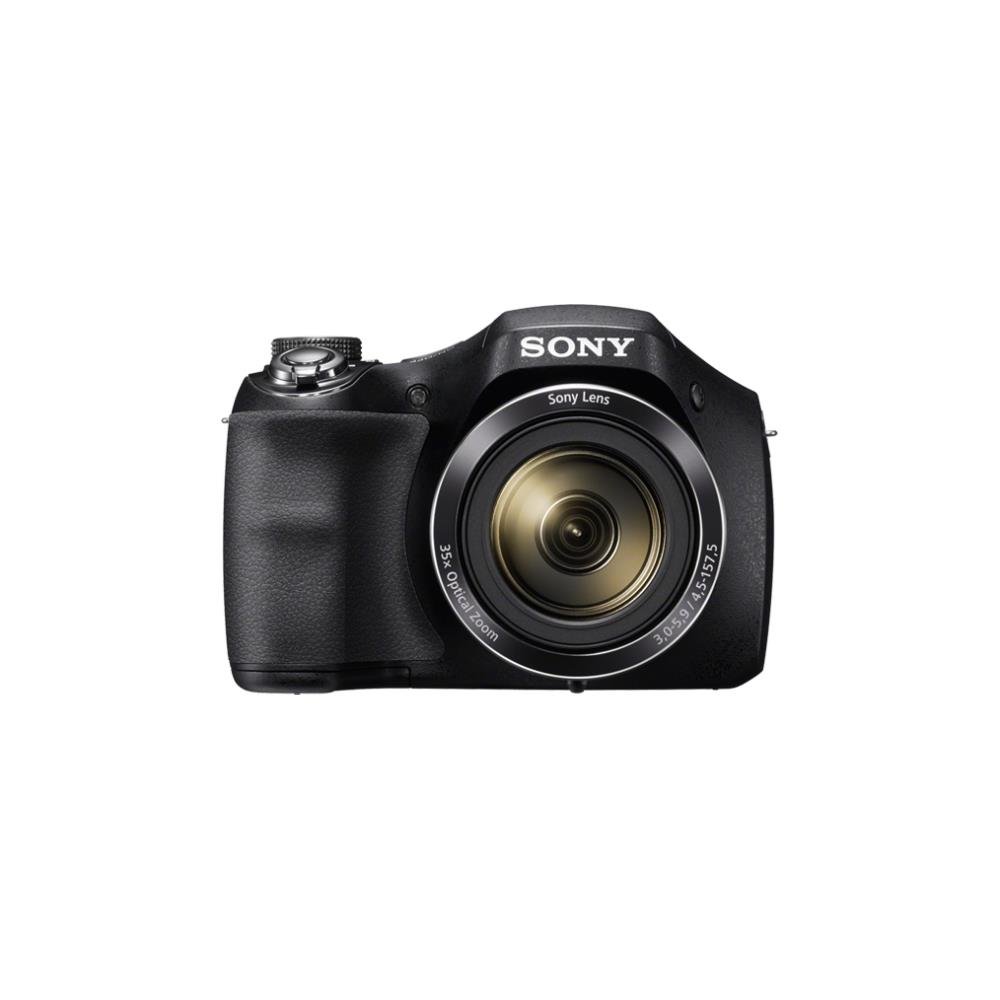
Figure 1: Front view of the Sony Cyber-Shot DSC-H300 digital camera, illustrating its compact size with a width of 12.75 cm (5.06 inches) and a height of 8.9 cm (3.504 inches).
Key Components:
- Lens: Features 35x optical zoom.
- Grip: Ergonomically designed for comfortable handling.
- Shutter Button: For capturing photos.
- Zoom Lever (W/T): Controls optical and digital zoom.
- Mode Dial: Selects various shooting modes (Auto, Program, Manual, Scene, Movie, etc.).
- ON/OFF Button: Powers the camera on or off.
- LCD Screen (3.0 inches): For framing shots, reviewing images, and navigating menus.
- Control Buttons: For menu navigation, flash settings, display options, and playback.
- Movie Button: Dedicated button for starting and stopping video recording.
4. Setup
4.1 Inserting Batteries
- Open the battery compartment cover located on the bottom of the camera.
- Insert four AA batteries, ensuring correct polarity (+/-) as indicated inside the compartment.
- Close the battery compartment cover securely.
4.2 Inserting a Memory Card
- Open the memory card slot cover, usually located near the battery compartment.
- Insert a compatible memory card (e.g., SD, SDHC, SDXC, Memory Stick PRO Duo) with the label facing the correct direction until it clicks into place.
- Close the memory card slot cover.
4.3 Attaching the Shoulder Strap and Lens Cap
- Thread the shoulder strap through the strap eyelets on the camera body and secure it.
- Attach the lens cap to the lens using the provided lens strap to prevent loss.
5. Operating the Camera
5.1 Power On/Off
Press the ON/OFF button to power the camera on or off. The lens will extend when powered on.
5.2 Selecting a Shooting Mode
Rotate the Mode Dial to select your desired shooting mode:
- Intelligent Auto (iA): Camera automatically optimizes settings for various scenes.
- Program Auto (P): Camera sets exposure, but you can adjust other settings.
- Shutter Priority (S): You set the shutter speed, camera adjusts aperture.
- Aperture Priority (A): You set the aperture, camera adjusts shutter speed.
- Manual (M): You control both shutter speed and aperture.
- Scene Selection (SCN): Choose from various scene modes (e.g., Portrait, Landscape, Night Scene).
- Movie Mode: For recording videos.
- Panorama Mode: For capturing wide panoramic shots.
5.3 Taking Photos
- Frame your shot: Use the LCD screen to compose your image.
- Focus: Half-press the Shutter Button to activate autofocus. The camera will beep and the focus indicator will turn green when focus is achieved.
- Capture: Fully press the Shutter Button to take the picture.
- Zoom: Use the Zoom Lever (W/T) to adjust the focal length. 'W' for wide-angle, 'T' for telephoto.
- Flash: Press the flash control button to cycle through flash modes (Auto, Fill-flash, Slow Sync, Flash Off, Advanced Flash).
- Image Stabilization: Optical SteadyShot image stabilization is built-in to reduce blur caused by camera shake.
5.4 Recording Videos
- Ensure the camera is in Movie Mode (selected via the Mode Dial) or simply press the dedicated Movie Button.
- Press the Movie Button again to start recording. A red recording indicator will appear on the screen.
- Press the Movie Button once more to stop recording.
- The camera records in 720p HD with clear audio captured by the built-in microphone.
5.5 Panorama Mode
Select the Panorama Mode on the Mode Dial. Press the shutter button and sweep the camera horizontally or vertically across the scene to capture a wide panoramic image.
5.6 Viewing and Deleting Images/Videos
Press the Playback Button (usually indicated by a play icon) to enter playback mode. Use the navigation buttons to scroll through your captured photos and videos. To delete an item, select it and press the Delete Button (trash can icon).
6. Maintenance
6.1 Cleaning the Camera Body
Wipe the camera body with a soft, dry cloth. For stubborn dirt, slightly dampen the cloth with water and then wipe dry. Avoid using organic solvents like alcohol or thinner.
6.2 Cleaning the Lens
First, use a lens brush or blower to remove dust and small particles. Then, gently wipe the lens surface with a clean, soft lens cleaning cloth. Do not use excessive force or abrasive materials.
6.3 Cleaning the LCD Screen
Use a soft, lint-free cloth specifically designed for LCD screens. Gently wipe the screen to remove smudges or dust.
6.4 Battery Care
Always use fresh AA batteries. Remove batteries from the camera if it will not be used for an extended period to prevent leakage and damage.
6.5 Storage
Store the camera in a cool, dry place away from direct sunlight, high temperatures, and humidity. Keep it in a camera bag or case to protect it from dust and scratches.
7. Troubleshooting
If you encounter issues with your camera, try the following basic troubleshooting steps:
- Camera does not turn on: Ensure batteries are correctly inserted and fully charged. Try new batteries.
- Images are blurry: Check that the lens is clean. Ensure the camera is focusing correctly (half-press shutter). Use a faster shutter speed in low light or for moving subjects. Optical SteadyShot is active to help.
- Flash not firing: Check flash mode settings; ensure it's not set to 'Flash Off'.
- Memory card error: Turn off the camera, remove and reinsert the memory card. Ensure the card is compatible and not full.
- Camera freezes: Remove the batteries, wait a few seconds, and reinsert them to reset the camera.
For more detailed troubleshooting and solutions, please refer to the comprehensive user manual provided with your product or visit the official Sony support website.
8. Specifications
| Feature | Specification |
|---|---|
| Model Name | DSC H300 |
| Photo Sensor Resolution | 20.1 MP |
| Optical Zoom | 35x |
| Digital Zoom | 70x |
| Image Stabilization | Digital, Optical (SteadyShot) |
| Screen Size | 3 Inches (LCD) |
| Video Resolution | 720p |
| Sensor Type | CCD |
| Minimum Shutter Speed | 30 Seconds |
| Maximum Shutter Speed | 30 Seconds |
| ISO Range | 100 - 3200 (Expanded) |
| Power Source | 4x AA Batteries |
| Connectivity | USB |
| Compatible Memory Cards | Memory Stick Duo, SD Memory Card, SDHC Memory Card, SDXC Memory Card, microSD Memory Card, microSDHC Memory Card, microSDXC Memory Card |
| Item Weight | 495 Grams |
9. Warranty and Support
Your Sony Cyber-Shot DSC-H300 digital camera comes with a manufacturer's warranty. Please refer to the warranty card included in your product packaging for specific terms, conditions, and duration of coverage.
For technical support, customer service, driver downloads, and additional detailed manuals, please visit the official Sony support website:


