Introduction
This manual provides detailed instructions for the installation and operation of the TooQ TQDS-802B Dual Bay SATA Docking Station. This device allows for easy connection of 2.5-inch and 3.5-inch SATA I/II/III hard drives or solid-state drives (SSDs) to your computer via USB 3.0, and features an offline cloning function for direct drive duplication without a PC.
Package Contents
- TooQ TQDS-802B Dual Bay SATA Docking Station
- Power Adapter (DC 12V)
- USB 3.0 Type-A to Type-B Cable
- User Manual
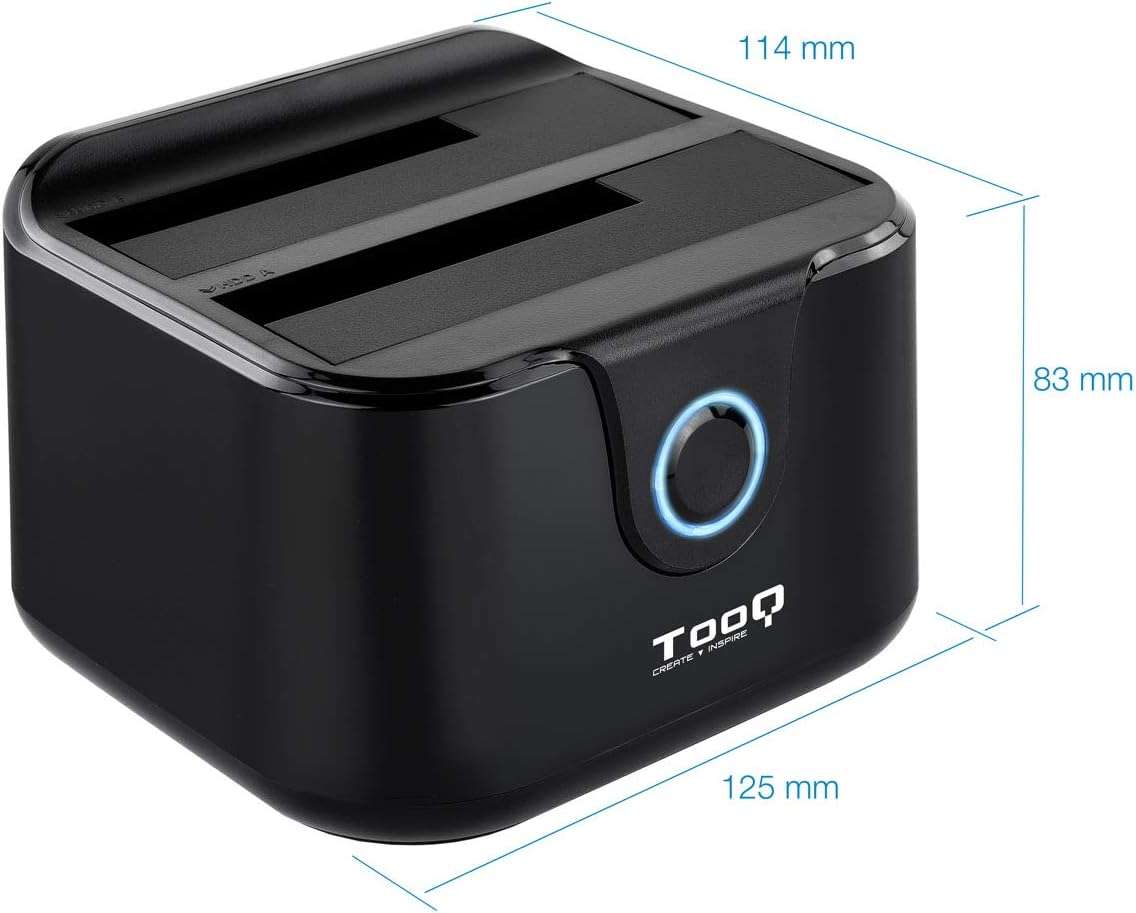
Image: Package contents including the docking station, power adapter, and USB 3.0 cable.
Product Overview
Front Panel

Image: Front view of the docking station. The central button serves as the Clone button, surrounded by an LED indicator.
- LED Indicator: Illuminates to indicate power and activity.
- Clone Button: Initiates the offline disk cloning process.
Rear Panel

Image: Rear view of the docking station, detailing the power switch, DC 12V power input, and USB-B port for computer connection.
- ON/OFF Switch: Powers the docking station on or off.
- DC 12V Jack: Connects to the included power adapter.
- USB-B Port: Connects the docking station to your computer via the USB 3.0 cable.
Top View (Drive Bays)

Image: Top view showing two drive bays, labeled A and B, designed to accommodate both 2.5-inch and 3.5-inch SATA HDDs/SSDs.
- Drive Bay A: For inserting the source drive during cloning, or a primary drive for data access. Compatible with 2.5" and 3.5" SATA drives.
- Drive Bay B: For inserting the target drive during cloning, or a secondary drive for data access. Compatible with 2.5" and 3.5" SATA drives.
Setup
- Connect Power: Connect the included power adapter to the DC 12V jack on the rear of the docking station, then plug the adapter into a power outlet. Do not power on the device yet.
- Connect to Computer (Optional for Data Transfer): If you intend to use the docking station for data transfer with a computer, connect the USB 3.0 cable from the USB-B port on the docking station to an available USB 3.0 port on your computer.
- Insert Drives: Gently insert your 2.5-inch or 3.5-inch SATA hard drives or SSDs into the drive bays (A and/or B) until they are firmly seated. Ensure the SATA connectors align correctly.
- Power On: Flip the ON/OFF switch on the rear panel to the 'ON' position. The LED indicator will illuminate.
Operating Instructions
A. Data Transfer (Connected to PC)
When connected to a computer via USB, the docking station functions as an external drive enclosure. Insert one or two SATA drives into the bays. Your operating system should automatically detect the drives. You can then access, read, and write data to them as you would with any other external storage device.
- Ensure the docking station is powered on and connected to your computer.
- Insert the SATA drive(s) into the bays.
- The drives will appear as removable storage in your computer's file explorer.
- For safe removal, always eject the drives through your operating system before powering off the docking station or disconnecting the USB cable.
B. Offline Clone Function
The offline clone function allows you to duplicate a source drive to a target drive without needing a computer connection. The target drive must be equal to or larger in capacity than the source drive.
- Prepare Drives: Ensure both the source drive (the drive you want to copy FROM) and the target drive (the drive you want to copy TO) are free of errors. All data on the target drive will be erased during the cloning process.
- Insert Drives:
- Insert the Source Drive into Bay A.
- Insert the Target Drive into Bay B.
- Disconnect from PC: Ensure the USB cable is disconnected from the computer. The docking station must be operating independently for offline cloning.
- Power On: Turn on the docking station using the ON/OFF switch.
- Initiate Clone: Press and hold the Clone Button for approximately 3-5 seconds until the LED indicator begins to flash. Release the button.
- Monitor Progress: The LED indicator will show the cloning progress. It will typically flash or change color to indicate different stages (e.g., 25%, 50%, 75%, 100%).
- Completion: Once the cloning process is complete, the LED indicator will stop flashing and remain solid. You can then power off the docking station and remove the drives.
Important: Do not interrupt the cloning process by powering off the device or removing drives, as this may lead to data corruption on both drives.
Maintenance
- Keep the docking station in a clean, dry environment, away from direct sunlight and extreme temperatures.
- Avoid dropping or subjecting the device to strong impacts.
- Clean the exterior with a soft, dry cloth. Do not use liquid cleaners or solvents.
- Ensure proper ventilation around the device during operation.
Troubleshooting
Drive Not Detected by Computer
- Ensure the docking station is powered on and the USB cable is securely connected to both the docking station and the computer.
- Try connecting to a different USB port on your computer.
- Verify that the hard drive is properly seated in the bay.
- Check Disk Management (Windows) or Disk Utility (macOS) to see if the drive is recognized but unformatted or unallocated.
- Test the drive directly in a computer or with another enclosure to rule out drive failure.
Offline Clone Fails or Does Not Start
- Ensure the USB cable is disconnected from the computer. Offline cloning requires the device to be standalone.
- Verify that the source drive is in Bay A and the target drive is in Bay B.
- Confirm that the target drive's capacity is equal to or greater than the source drive's capacity.
- Ensure both drives are properly inserted and seated.
- Press and hold the Clone button for the specified duration (3-5 seconds) until the LED indicator responds.
- Check for any errors on the source drive before attempting to clone.
Specifications
| Model Number | TQDS-802B |
| Brand | TOOQ |
| Compatible Drives | 2.5" and 3.5" SATA I/II/III HDDs/SSDs |
| Drive Bays | 2 (Dual Bay) |
| Interface to PC | USB 3.0 (backward compatible with USB 2.0) |
| Data Transfer Rate | Up to 5.0 Gbps (USB 3.0) |
| Offline Clone Function | Supported (PC-independent) |
| Max Drive Capacity | Up to 2.0 TB (32-bit/64-bit systems) and 3.0 TB or more (64-bit systems) |
| Supported OS | Windows, macOS, Linux (for USB connection) |
| Power Supply | DC 12V Power Adapter |
| Dimensions | Approximately 125mm x 114mm x 83mm |
| Weight | 350 Grams |

Image: Dimensions of the TooQ TQDS-802B Dual Bay SATA Docking Station.
Warranty and Support
TOOQ products are designed for reliability and performance. For warranty information, please refer to the warranty card included with your product or visit the official TOOQ website. For technical support or further assistance, please contact TOOQ customer service through their official channels.
Manufacturer: Tooq & Nanocable Spain