1. Introduction
Thank you for choosing the Agri-Fab 65310 Spray Gun Assembly. This product is designed as a high-quality replacement or component for your garden sprayer system. To ensure optimal performance and longevity, please read and understand all instructions before assembly and operation.
2. Safety Information
Always prioritize safety when handling spraying equipment and chemicals. Failure to follow these safety guidelines may result in injury or damage to the product.
- Read Chemical Labels: Always read and follow the instructions and safety warnings on all chemical product labels before mixing or spraying.
- Wear Protective Gear: Use appropriate personal protective equipment (PPE) such as gloves, eye protection, and respiratory masks as recommended by chemical manufacturers.
- Inspect Before Use: Before each use, inspect the spray gun assembly for any signs of damage, leaks, or wear. Do not use if damaged.
- Keep Away from Children: Store chemicals and spraying equipment out of reach of children and pets.
- Proper Disposal: Dispose of chemical residues and empty containers according to local regulations.
3. Product Overview
The Agri-Fab 65310 Spray Gun Assembly is a durable component designed for garden spraying applications. It is constructed from plastic and stainless steel, ensuring resistance to various chemicals and environmental conditions. This assembly includes a nozzle for controlled spray patterns.
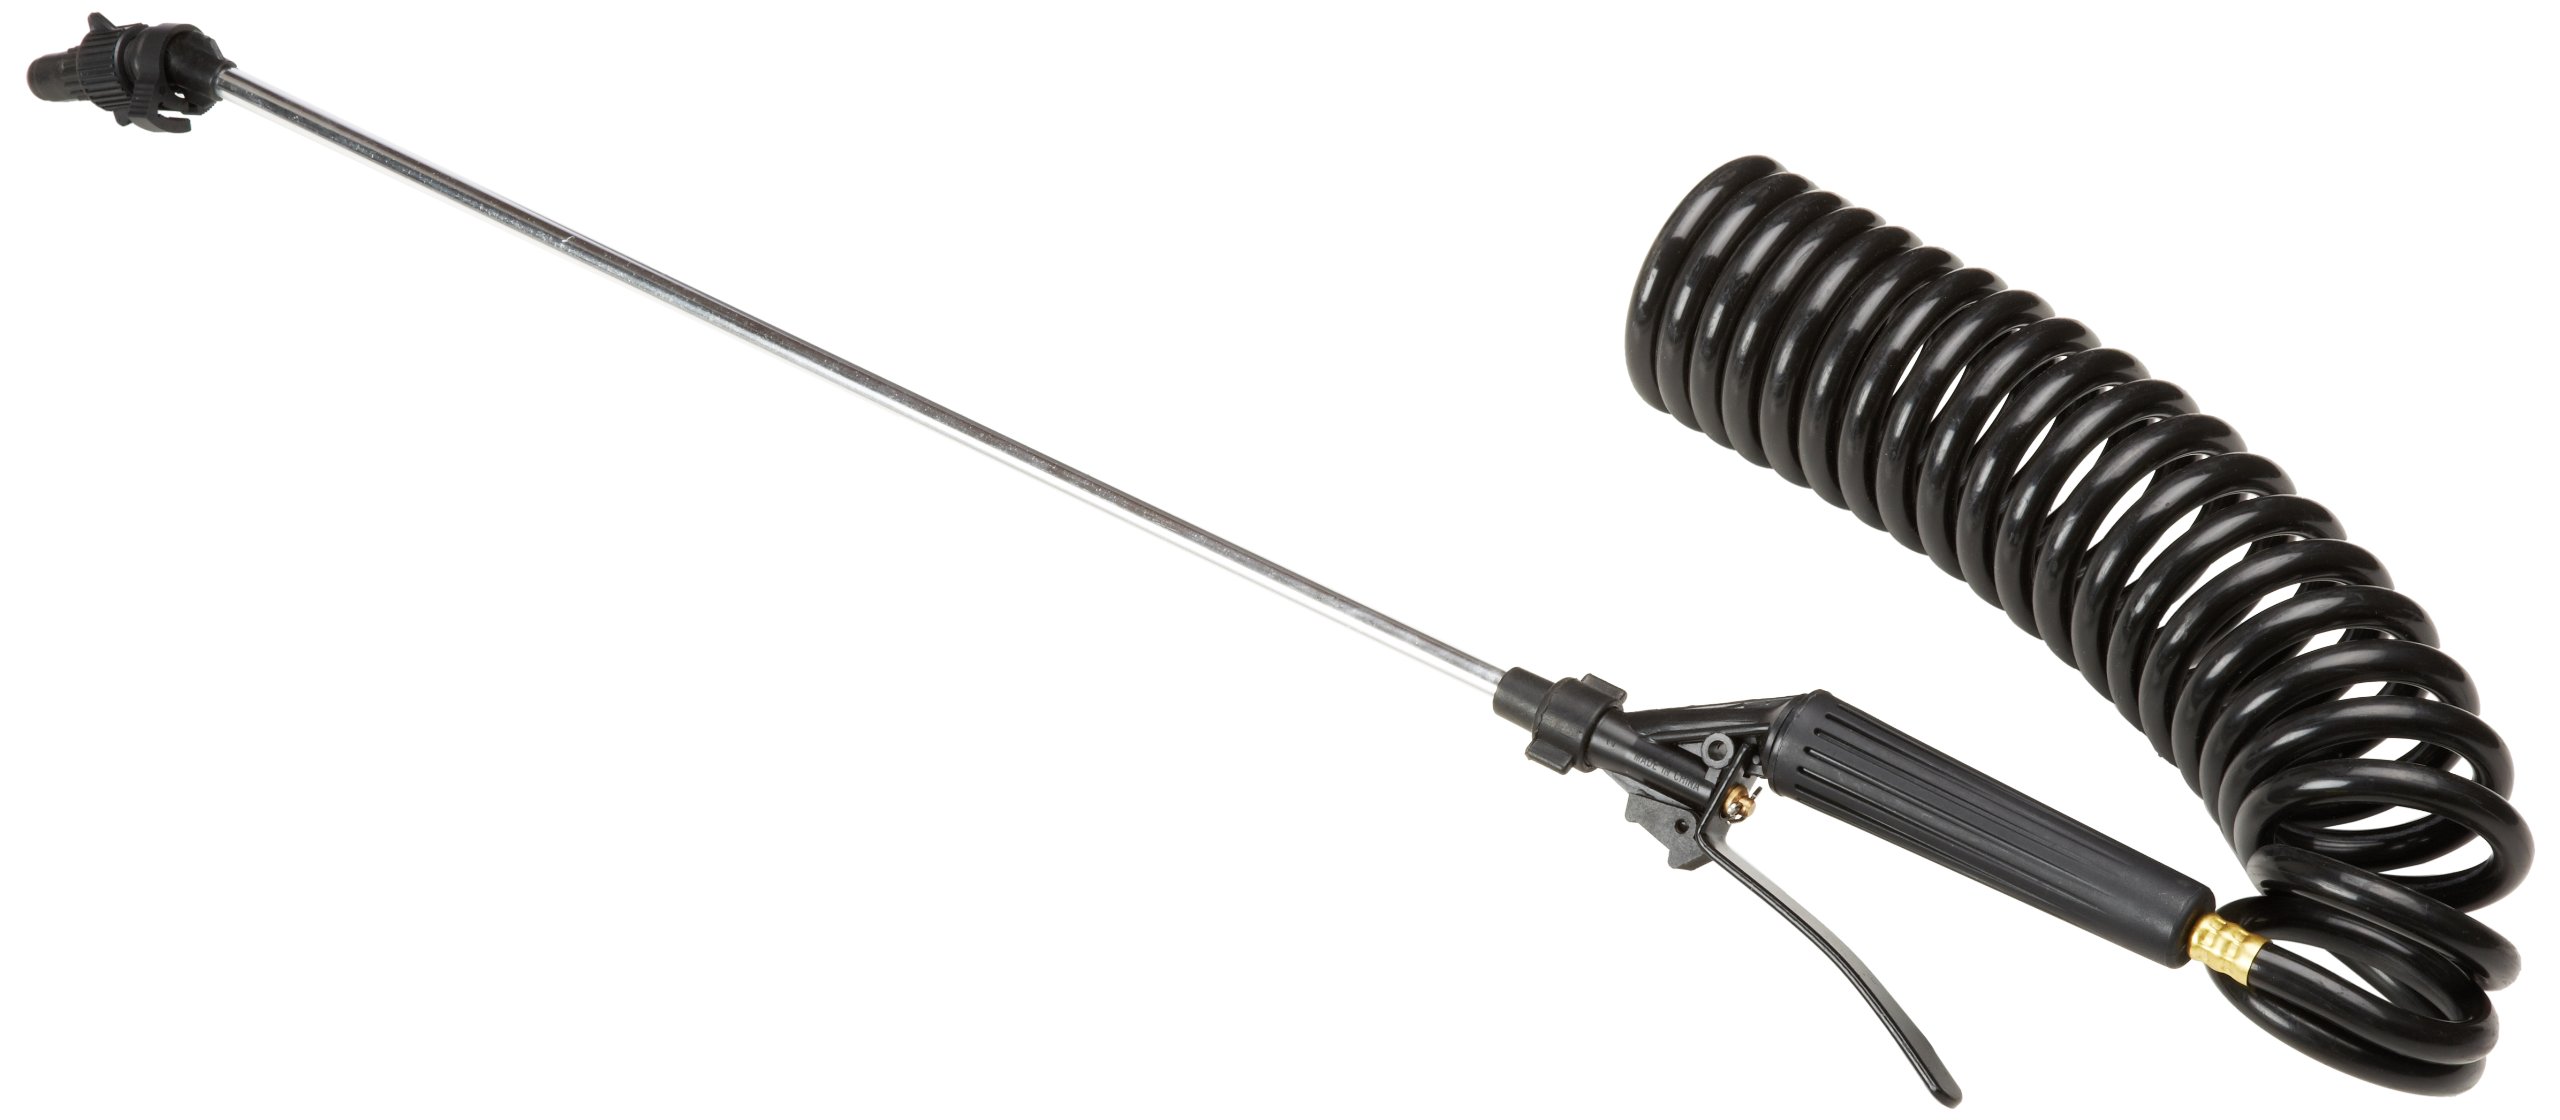
Figure 1: Agri-Fab 65310 Spray Gun Assembly. This image shows the complete spray gun, ready for connection to a sprayer hose.

Figure 2: Close-up view of the Agri-Fab 65310 Spray Gun Assembly, highlighting the nozzle and handle.
4. Setup and Assembly
The 65310 is a spray gun assembly, typically requiring connection to a sprayer hose and tank. Refer to your main sprayer unit's manual for specific connection diagrams if this is a replacement part.
- Unpack Components: Carefully remove the spray gun assembly from its packaging. Verify all components are present and undamaged.
- Connect to Hose: Securely attach the spray gun assembly to your existing sprayer hose. Ensure a tight connection to prevent leaks. Depending on your sprayer model, this may involve threading, quick-connect fittings, or clamps.
- Check Nozzle: Ensure the included nozzle is properly seated and tightened onto the spray gun.
- Test for Leaks: Before adding chemicals, fill your sprayer tank with water and pressurize the system. Check all connections for leaks. Tighten any leaking connections.
5. Operating Instructions
Once the spray gun assembly is properly connected and tested, you can begin operation.
- Prepare Solution: Mix your desired chemical solution according to the manufacturer's instructions in your sprayer tank.
- Pressurize System: If using a manual pump sprayer, pump the handle to build pressure. For electric sprayers, turn on the pump.
- Adjust Nozzle: The nozzle can typically be adjusted to change the spray pattern from a fine mist to a solid stream. Rotate the nozzle tip to achieve the desired spray.
- Begin Spraying: Aim the spray gun at the target area and depress the trigger to release the spray. Maintain a consistent distance and speed for even application.
- Release Pressure: After use, always release any remaining pressure in the sprayer system before disconnecting or storing.
6. Maintenance
Regular maintenance ensures the longevity and proper function of your spray gun assembly.
- Clean After Each Use: After each use, thoroughly rinse the spray gun assembly with clean water. Spray clean water through the nozzle until all chemical residues are flushed out.
- Inspect Nozzle: Periodically check the nozzle for clogs or damage. Clean any blockages using a soft brush or by back-flushing with water. Do not use metal objects that could damage the nozzle orifice.
- Check Connections: Ensure all hose connections remain tight. Replace worn O-rings or gaskets as needed to prevent leaks.
- Storage: Store the spray gun assembly in a clean, dry place, away from direct sunlight and extreme temperatures. Disconnect it from the main sprayer unit if storing for extended periods.
7. Troubleshooting
If you encounter issues with your Agri-Fab 65310 Spray Gun Assembly, refer to the following common problems and solutions:
| Problem | Possible Cause | Solution |
|---|---|---|
| No spray or weak spray | Clogged nozzle; Insufficient pressure; Kinked hose | Clean nozzle; Increase sprayer pressure; Straighten hose |
| Leaking from connections | Loose connection; Worn O-ring/gasket | Tighten connections; Replace O-ring/gasket |
| Inconsistent spray pattern | Partially clogged nozzle; Damaged nozzle | Clean nozzle thoroughly; Replace nozzle if damaged |
| Trigger sticking | Debris in trigger mechanism; Lack of lubrication | Flush with clean water; Apply silicone lubricant if accessible |
8. Specifications
- Model Name: 65310
- Brand: Agri-Fab
- Material: Plastic, Stainless Steel
- Included Components: Nozzle
- Recommended Uses: Garden sprayer
- Item Weight: 1 Pound
- Maximum Pressure: 150 PSI (Pound per Square Inch)
- Power Source: Manual (as a component of a manual sprayer system)
9. Support and Warranty
For further assistance, replacement parts, or warranty information, please refer to the original user manual of your complete Agri-Fab sprayer unit or visit the official Agri-Fab website. Agri-Fab is dedicated to providing quality products and support.
Official Agri-Fab Website: Visit the Agri-Fab Store on Amazon