1. Introduction
The Apevia X-HERMES-BL is a mid-tower PC gaming case designed to accommodate ATX and Micro ATX motherboards. This chassis features a durable metal construction with a sleek black finish and an armored aesthetic. It includes a large blue-tinted side window, multiple cooling fans, and convenient front access ports, providing a functional and versatile foundation for your PC build.

Image 1.1: Angled front view of the Apevia X-HERMES-BL case, showcasing its design and blue LED lighting.
2. Features
- Case Type: Mid Tower with a large blue-tinted side window.
- Front Access Ports: 1 x USB 3.0, 2 x USB 2.0, and 2 x HD Audio ports for convenient connectivity.
- Cooling System: Equipped with 5 pre-installed cooling fans (4 x 120mm fans and 1 x 200mm fan). Supports up to 7 fans total and includes provisions for water cooling.
- Drive Bays: Features 5 external bays (4x 5.25", 1x 3.5"/2.5" hot-swap) and 5 internal bays (4x 3.5", 1x 2.5").
- Motherboard Compatibility: Supports ATX and Micro ATX motherboards up to 11" x 12".
- Graphics Card Clearance: Accommodates graphics cards up to 16 inches in length.
- Power Supply Mounting: Designed for a bottom-mounted power supply.

Image 2.1: Front view of the Apevia X-HERMES-BL, highlighting the drive bays and front panel ports.
3. Setup and Installation
This section provides general guidelines for installing components into your Apevia X-HERMES-BL PC case. Always refer to your component manuals for specific installation instructions.
3.1 Unpacking and Preparation
- Carefully remove the case from its packaging.
- Place the case on a stable, flat surface.
- Locate and remove the screws securing the side panels (typically thumbscrews at the rear). Slide the panels backward and lift them off.
3.2 Motherboard Installation
- Identify the correct standoff locations for your ATX or Micro ATX motherboard. Install any necessary standoffs that are not pre-installed.
- Install the I/O shield into the rear opening of the case.
- Carefully place the motherboard onto the standoffs, aligning the screw holes.
- Secure the motherboard with the provided screws. Do not overtighten.
3.3 Power Supply Installation
- Position the power supply unit (PSU) in the bottom-mounted bay, ensuring the fan faces the correct direction (typically downwards for cases with a bottom vent).
- Secure the PSU to the rear of the case with screws.
3.4 Drive Installation
- 5.25" Drives (Optical Drives): Remove the desired front panel bay cover. Slide the drive into the bay from the front and secure it using the screwless mounting mechanism or screws.
- 3.5"/2.5" Drives (HDDs/SSDs): For internal bays, slide the drive into the appropriate tray or cage and secure it. The hot-swap bay allows for tool-less installation of a 3.5" or 2.5" drive.
3.5 Expansion Card Installation
- Remove the necessary expansion slot covers from the rear of the case.
- Insert your graphics card or other expansion cards into the appropriate PCIe slots on the motherboard.
- Secure the cards with screws.
3.6 Cable Management
Utilize the space behind the motherboard tray and cable tie points to route and secure cables. This improves airflow and aesthetics.

Image 3.1: Interior view of the Apevia X-HERMES-BL case, showing drive bays, fan mounts, and motherboard tray.

Image 3.2: Rear view of the Apevia X-HERMES-BL case, showing expansion slots, rear fan, and power supply opening.
4. Operation
4.1 Powering On/Off
Press the power button located on the front panel to turn your computer on or off. A short press typically initiates a soft shutdown, while a long press (several seconds) forces a hard shutdown.
4.2 Front Panel Ports
The front panel provides convenient access to:
- USB 3.0 Port: For high-speed data transfer with compatible devices.
- USB 2.0 Ports: For connecting various USB peripherals.
- HD Audio Ports: For connecting headphones and microphones.
4.3 Hot-Swap Drive Bay
The dedicated hot-swap bay allows for easy insertion and removal of a 3.5" or 2.5" SATA drive without needing to open the case or power down the system (ensure your motherboard and operating system support hot-swapping for optimal functionality).
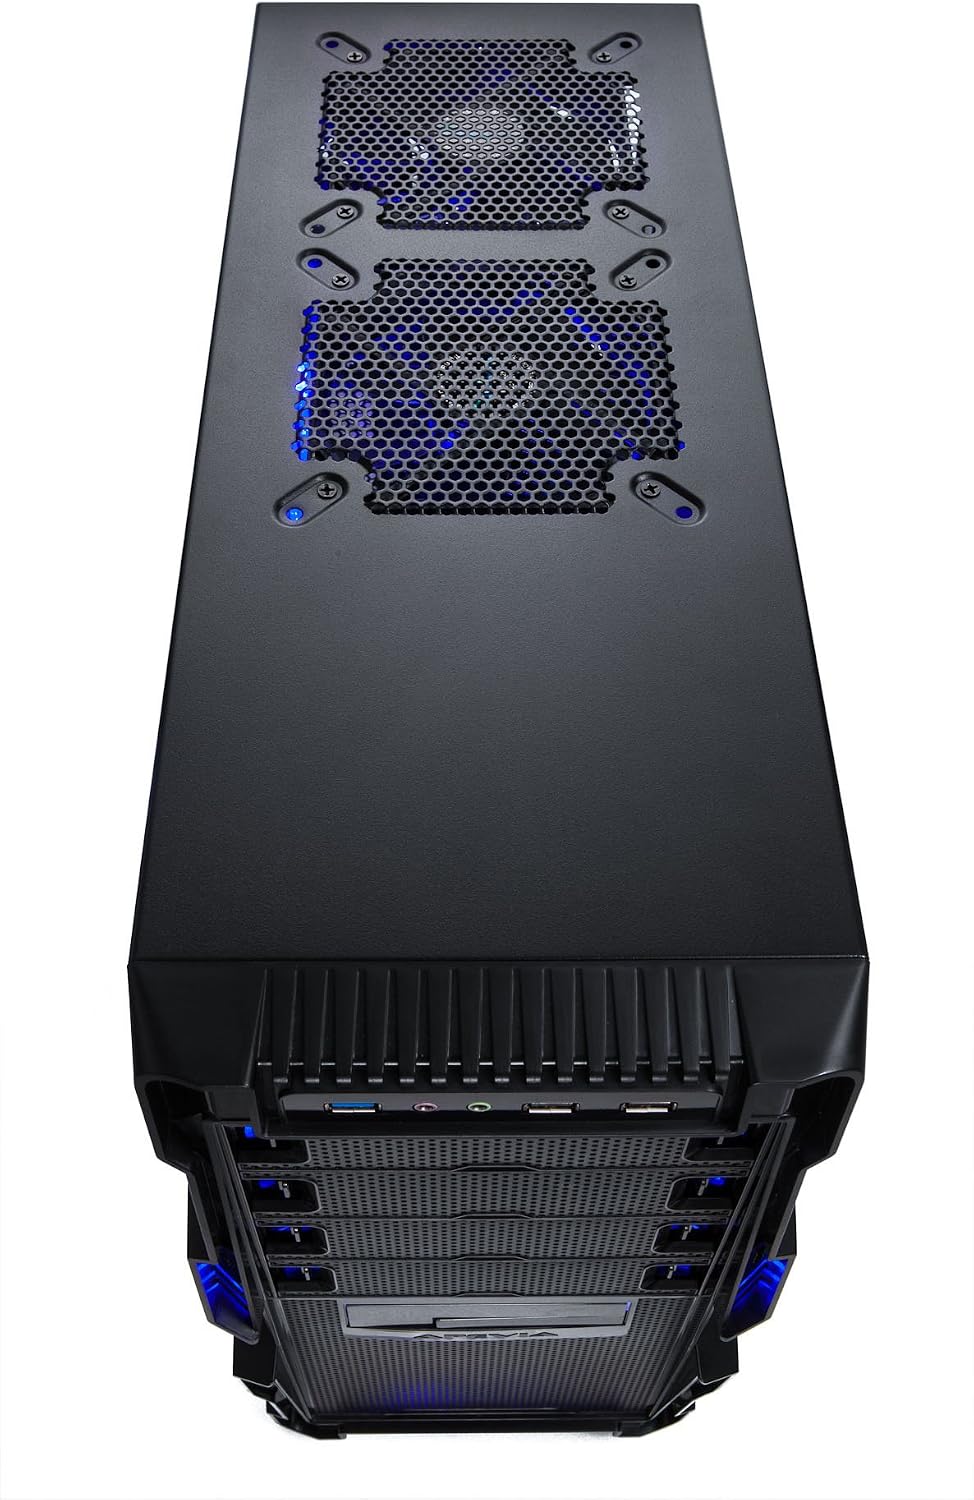
Image 4.1: Top view of the Apevia X-HERMES-BL case, showing top fan mounts and front panel connectivity.
5. Maintenance
Regular maintenance helps ensure optimal performance and longevity of your PC components.
5.1 Dust Cleaning
- Periodically clean dust filters (if present) and internal components using compressed air.
- Ensure the system is powered off and unplugged before performing any internal cleaning.
5.2 Exterior Cleaning
Wipe the exterior surfaces with a soft, damp cloth. Avoid abrasive cleaners or solvents that may damage the finish.
5.3 Fan Inspection
Check fans regularly for dust buildup or signs of wear. Clean or replace as necessary to maintain adequate airflow.

Image 5.1: Side view of the Apevia X-HERMES-BL case, showing the blue tinted window and large side fan.
6. Troubleshooting
If you encounter issues with your PC case, consider the following common troubleshooting steps:
- No Power: Ensure all power cables (PSU to wall, PSU to motherboard, CPU, and components) are securely connected. Verify the power switch on the PSU is in the 'ON' position.
- Fans Not Spinning: Check that all fan power cables are correctly connected to the motherboard or power supply.
- Front Panel Ports Not Working: Confirm that the front panel USB and audio headers are correctly connected to the corresponding pins on your motherboard.
- Overheating: Ensure all case fans are installed and spinning in the correct orientation for optimal airflow. Clean any dust buildup from fans and filters.
- Loose Connections: During transport or over time, internal cables can become loose. Power down and unplug your system, then re-seat all power and data cables.
7. Specifications
| Feature | Specification |
|---|---|
| Brand | Apevia |
| Model Number | X-HERMES-BL |
| Case Type | Mid Tower |
| Color | Black / Blue |
| Material | Metal |
| Motherboard Compatibility | ATX, Micro ATX (up to 11" x 12") |
| External Drive Bays | 4 x 5.25", 1 x 3.5"/2.5" (Hot-Swap) |
| Internal Drive Bays | 4 x 3.5", 1 x 2.5" |
| Expansion Slots | 7 |
| Front Access Ports | 1 x USB 3.0, 2 x USB 2.0, 2 x HD Audio |
| Pre-installed Fans | 4 x 120mm, 1 x 200mm |
| Max Fan Support | 7 |
| Cooling Method | Air, Water Cooling Ready |
| Power Supply Mounting | Bottom Mount |
| Max Graphics Card Length | 16 inches |
| Item Weight | 15 Pounds |
8. Warranty and Support
For warranty information, technical support, or further assistance, please refer to the official Apevia website or contact their customer service department. Keep your proof of purchase for warranty claims.
Apevia Official Website: www.apevia.com