Introduction
This manual provides essential instructions for the safe and efficient operation, maintenance, and care of your Ronco Digital Showtime Rotisserie and BBQ Oven, Model ST5250RDGEN. Please read all instructions thoroughly before first use and retain this manual for future reference.
Important Safety Instructions
- Read all instructions before operating the appliance.
- Do not touch hot surfaces. Use handles or knobs.
- To protect against electrical shock, do not immerse cord, plugs, or the appliance in water or other liquid.
- Close supervision is necessary when any appliance is used by or near children.
- Unplug from outlet when not in use and before cleaning. Allow to cool before putting on or taking off parts.
- Do not operate any appliance with a damaged cord or plug, or after the appliance malfunctions or has been damaged in any manner. Contact customer service for examination, repair, or adjustment.
- The use of accessory attachments not recommended by the appliance manufacturer may cause injuries.
- Do not use outdoors.
- Do not let cord hang over edge of table or counter, or touch hot surfaces.
- Do not place on or near a hot gas or electric burner, or in a heated oven.
- Extreme caution must be used when moving an appliance containing hot oil or other hot liquids.
- Always attach plug to appliance first, then plug cord into the wall outlet. To disconnect, turn any control to “off,” then remove plug from wall outlet.
- Do not use appliance for other than intended use.
- Caution: When operating, ensure the appliance is placed in an open area, away from overhead cabinets or walls, to allow for proper ventilation and heat dissipation. Hot air is released from the top grill.
- Caution: When using food ties, ensure no excess string hangs loosely to prevent contact with the heating element.
- Safety Feature: The unit will not turn on if the drip tray is not fully inserted. Ensure it is correctly in place before operation.
Package Contents
Verify that all components are present in your package:
- Ronco Digital Showtime Rotisserie and BBQ Oven (Main Unit)
- Nonstick Rotisserie Basket
- Nonstick Drip Tray
- Grate Cover
- Food Ties
- Carving Base
- Gloves
- Recipe Booklet
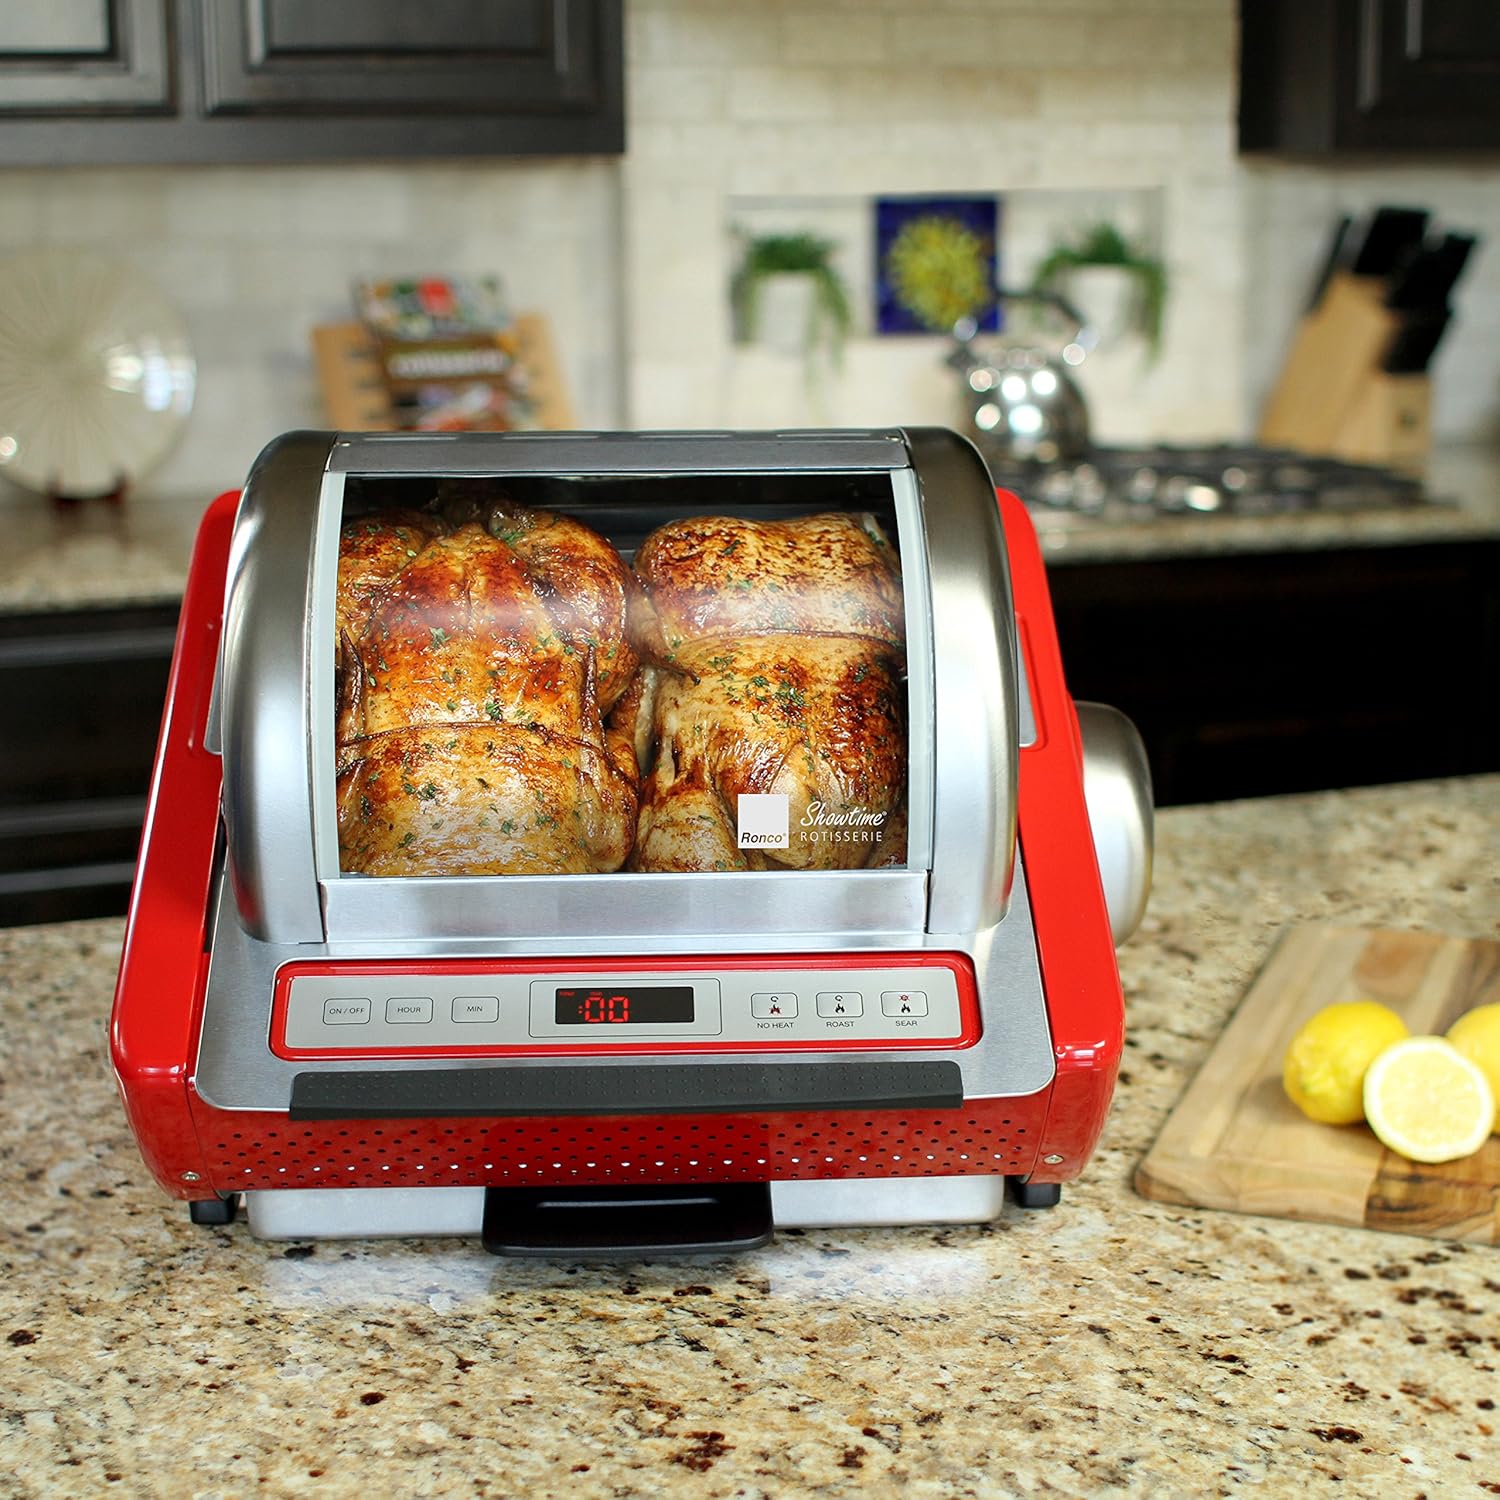
Image: Included accessories for the Ronco Digital Showtime Rotisserie.
Setup
- Unpacking: Carefully remove all components from the packaging. Remove any protective films or packing materials.
- Placement: Place the rotisserie on a stable, heat-resistant surface. Ensure there is adequate clearance (at least 6 inches) from walls and overhead cabinets for proper ventilation.
- Initial Cleaning: Before first use, wash all removable parts (rotisserie basket, drip tray, grate cover, carving base) in warm, soapy water. Wipe the interior and exterior of the main unit with a damp cloth. Dry all parts thoroughly.
- Assemble Drip Tray: Insert the nonstick drip tray into the bottom of the unit. Ensure it is fully seated to allow the unit to power on.
- Power Connection: Plug the power cord into a grounded electrical outlet.

Image: Top view of the rotisserie with the basket in place, ready for use.
Operating Instructions
The Ronco Digital Showtime Rotisserie features a digital display and push-button operation for ease of use.

Image: Front view of the rotisserie, highlighting the digital controls and heating elements.
- Preparation: Prepare your food item (e.g., chicken, roast) for rotisserie cooking. For poultry, truss the bird securely using the provided food ties to ensure no parts hang loosely and to maintain an even shape for rotation.
- Loading Food: Depending on your food item, either secure it onto the rotisserie spit or place it inside the rotisserie basket. Ensure the food is centered and balanced for smooth rotation.
- Insert Food: Carefully place the loaded spit or basket into the rotisserie unit, ensuring it engages with the motor drive.
- Power On: Press the ON/OFF button to power on the unit. The digital display will illuminate.
- Set Time: Use the HOUR and MIN buttons to set the desired cooking time. Refer to the recipe booklet for recommended cooking times.
- Select Mode: Choose the appropriate cooking mode using the dedicated buttons: NO HEAT (for rotation only), ROAST, or SEAR. The ROAST setting provides a perfect preset temperature and precision rotation speed for even browning.
- Start Cooking: The unit will begin cooking once the time and mode are set. The horizontal, self-basting rotation helps lock in flavor.
- Monitor Progress: Periodically check the internal temperature of your food using a meat thermometer to ensure it reaches safe cooking temperatures. Cooking times may vary.
- Completion: Once the cooking cycle is complete, the unit will automatically turn off. Carefully remove the food using the provided gloves or appropriate utensils.

Image: The rotisserie in operation, cooking two chickens to a golden brown.
Cleaning and Maintenance
Regular cleaning ensures the longevity and optimal performance of your rotisserie. Always unplug the unit and allow it to cool completely before cleaning.
- Removable Parts: The lid, nonstick drip tray, grate cover, rotisserie basket, and carving base are dishwasher safe. For best results, wash them on the top rack or by hand with warm, soapy water.
- Main Unit: Wipe the interior and exterior surfaces of the main unit with a damp cloth and mild detergent. Do not immerse the main unit in water or any other liquid.
- Heating Element: The heating element and the splash guard behind it may require gentle scrubbing to remove baked-on residue. Use a non-abrasive sponge or brush.
- Spit/Skewers: The skewers can be removed from the wheel for easier cleaning.
- Storage: The unit is designed for compact storage. Parts nest inside, allowing the unit to break down to approximately 7.75 inches tall. Store in a dry place.

Image: The rotisserie shown in its compact storage configuration.
Troubleshooting
| Problem | Possible Cause | Solution |
|---|---|---|
| Unit does not turn on. | Drip tray not fully inserted. Power cord not plugged in. | Ensure the drip tray is correctly and fully inserted. Check power cord connection to outlet and unit. |
| Food not rotating smoothly. | Food not properly balanced or trussed. Spit/basket not correctly engaged. | Ensure food is centered and securely trussed. Verify the spit or basket is correctly seated in the motor drive. |
| Uneven cooking. | Food not properly prepared or positioned. | Ensure food is evenly sized and trussed. Check that the rotisserie is not overloaded. |
| Excessive smoke. | Grease buildup or food drippings on heating element. | Ensure drip tray is clean and properly positioned. Clean heating element and interior thoroughly after each use. |
Specifications
- Brand: Ronco
- Model Name: Ronco Showtime EZ-Store Rotisserie
- Model Number: ST5250RDGEN
- Color: Red
- Product Dimensions (D x W x H): 12.75" x 15.75" x 12.75"
- Capacity: 17 Liters
- Wattage: 17 watts
- Control Type: Push Button
- Power Source: AC adapter
- Material: Alloy Steel
- Item Weight: 17 Pounds
- Special Feature: Rotisserie Feature
- GTIN/UPC: 665860770496
Warranty and Support
For warranty information or customer support, please refer to the documentation included with your purchase or visit the official Ronco website. Keep your purchase receipt as proof of purchase.