Introduction
This manual provides detailed instructions for the safe and efficient operation of your Tekpower TP1803D Lab Grade Variable Linear DC Power Supply. The TP1803D is a compact and reliable instrument designed for various applications, including laboratory testing, research, and educational projects. It offers a variable output of 0-18 volts and 0-3 amps, making it a versatile tool for precise power delivery.
Important Safety Instructions
- Always connect the power supply to a grounded outlet.
- Do not operate the unit in wet or damp conditions.
- Ensure proper ventilation to prevent overheating. Do not block the ventilation openings.
- Before making any connections or disconnections, ensure the power supply is turned off.
- Do not attempt to open or service the unit yourself. Refer all servicing to qualified personnel.
- Avoid short-circuiting the output terminals for extended periods.
Product Overview
The Tekpower TP1803D features a clear digital display for voltage and current, along with rotary switches for precise adjustments. Below are illustrations of the unit's front and rear panels.

Figure 1: Overall view of the Tekpower TP1803D DC Power Supply.
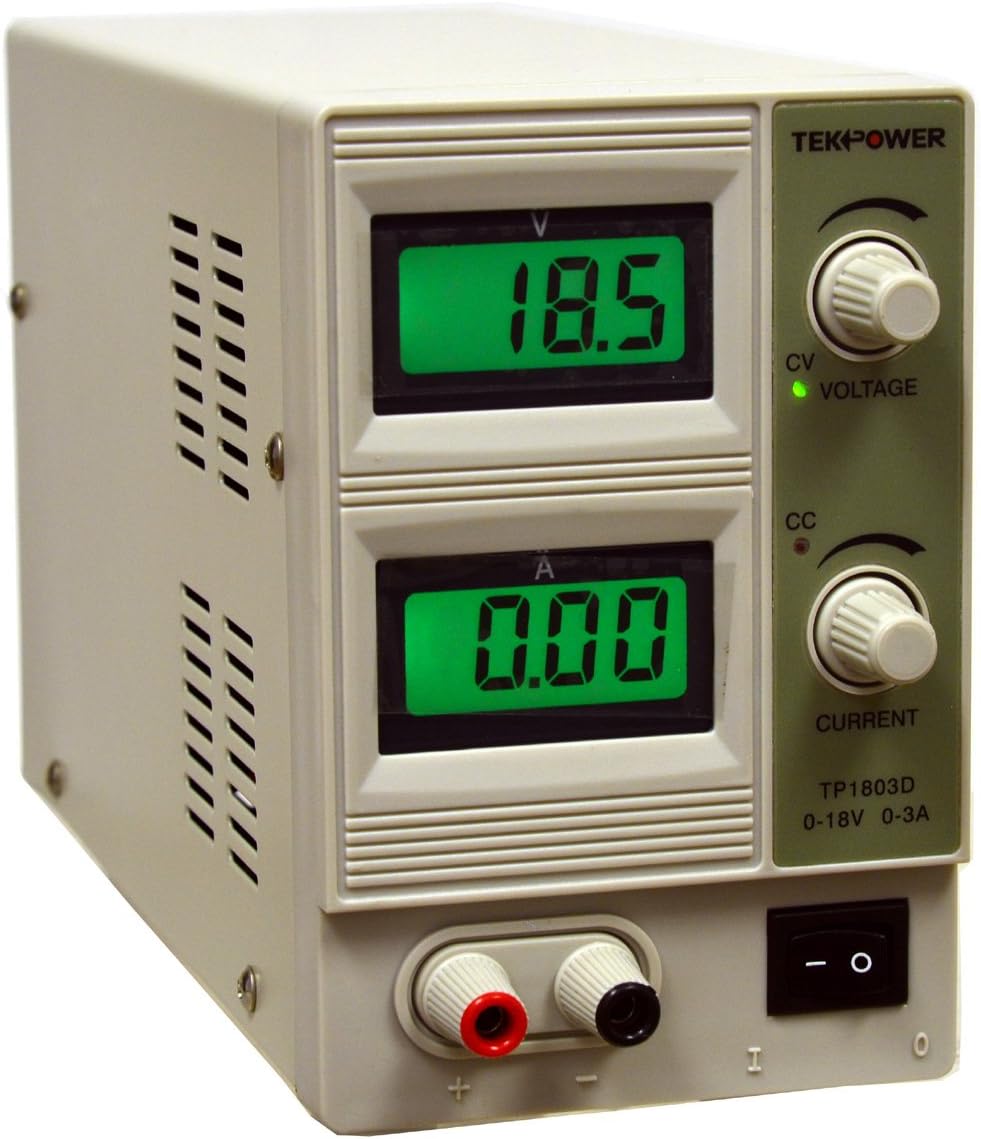
Figure 2: Front panel of the Tekpower TP1803D DC Power Supply, showing digital displays for voltage and current, adjustment knobs, and output terminals.

Figure 3: Rear panel of the Tekpower TP1803D, showing the power input, fuse holder, and cooling fan.
Front Panel Controls and Indicators:
- Voltage Display (V): Shows the output voltage in Volts.
- Current Display (A): Shows the output current in Amperes.
- Voltage Adjustment Knob: Used to set the desired output voltage.
- Current Adjustment Knob: Used to set the maximum allowable output current limit.
- CV Indicator (Green LED): Illuminates when the power supply is operating in Constant Voltage mode.
- CC Indicator (Red LED): Illuminates when the power supply is operating in Constant Current mode.
- Power Switch: Turns the unit ON or OFF.
- Output Terminals: Red (+) and Black (-) terminals for connecting test leads.
Rear Panel Features:
- AC Power Input: Connector for the AC power cord.
- Fuse Holder: Contains the protective fuse.
- Cooling Fan: Automatically activates to dissipate heat when the internal temperature reaches approximately 50°C.
Setup Instructions
- Unpacking: Carefully remove the power supply and all accessories from the packaging. Verify that all components are present:
- Tekpower TP1803D Power Supply
- AC Power Cord
- Test Leads with Alligator Clips
- User Manual (this document)
- Placement: Place the power supply on a stable, level surface with adequate ventilation. Ensure that the air vents on the sides and rear of the unit are not obstructed.
- Power Connection:
- Ensure the power switch on the front panel is in the OFF (O) position.
- Connect the supplied AC power cord to the power input socket on the rear panel of the power supply.
- Plug the other end of the AC power cord into a standard 110V/AC, 60Hz grounded electrical outlet.
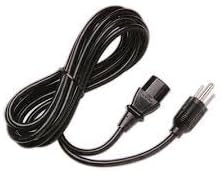
Figure 4: Included AC Power Cord.
- Output Lead Connection:
- Connect the test leads with alligator clips to the output terminals on the front panel. The red lead connects to the red (+) terminal, and the black lead connects to the black (-) terminal.
- Ensure connections are secure before powering on the unit.
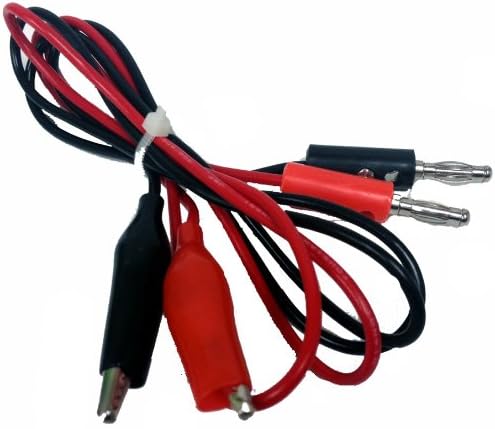
Figure 5: Test Leads with Alligator Clips for output connection.
Operating Instructions
- Power On: Flip the power switch on the front panel to the ON (I) position. The digital displays will illuminate, showing the current voltage and current settings.
- Setting Voltage:
- Turn the Voltage Adjustment Knob to set the desired output voltage. The voltage display will show the set value.
- Note: The voltage control knob is a single-turn potentiometer. Adjust carefully for precise values.
- Setting Current Limit:
- Turn the Current Adjustment Knob to set the maximum allowable output current. This acts as a current limit to protect your circuit.
- To set the current limit accurately without a load, you can temporarily short the output terminals (briefly, and with caution) and adjust the current knob until the desired current is displayed. The CC (Constant Current) indicator will light up. Then remove the short.
- Alternatively, connect a known load and adjust the current knob until the desired current is reached.
- Connecting a Load:
- With the power supply OFF, connect your device or circuit to the output terminals using the test leads. Ensure correct polarity (red to positive, black to negative).
- Once connected, turn the power supply ON.
- Constant Voltage (CV) and Constant Current (CC) Modes:
- The power supply automatically operates in either Constant Voltage (CV) or Constant Current (CC) mode, depending on the load and your settings.
- If the load resistance is high, the unit will maintain the set voltage, and the current drawn will be less than the set current limit. The CV indicator (green) will be lit.
- If the load resistance is low, causing the current to reach the set current limit, the unit will switch to Constant Current mode. The voltage will drop to maintain the set current, and the CC indicator (red) will be lit.
- Power Off: When finished, turn the power switch to the OFF (O) position before disconnecting your load.
Maintenance
- Cleaning: Disconnect the power supply from the AC outlet before cleaning. Use a soft, dry cloth to wipe the exterior. Do not use abrasive cleaners or solvents.
- Ventilation: Regularly check that the ventilation openings on the unit are free from dust and debris to ensure proper airflow and prevent overheating.
- Fuse Replacement: If the unit does not power on, check the fuse located on the rear panel. Replace it only with a fuse of the same type and rating (2A).
- Storage: When not in use for extended periods, store the power supply in a cool, dry place, away from direct sunlight and extreme temperatures.
Troubleshooting
| Problem | Possible Cause | Solution |
|---|---|---|
| No power/Unit does not turn on |
|
|
| No output voltage/current |
|
|
| Unit overheats |
|
|
Specifications
| Output DC Voltage | 0.0 - 18.0V |
| Output DC Current | 0.00 - 3.00 A |
| Input Voltage | 110V/AC, 60Hz |
| Voltage Regulation (CV) | <0.01% + 3mV |
| Current Regulation (CC) | <0.2% + 6 mA |
| Load Regulation (CV) | <0.01% + 3mV |
| Load Regulation (CC) | <0.02% + 3mA |
| Ripple and Noises (CV) | <1 mV rms |
| Ripple and Noises (CC) | <3 mA rms |
| Protection | High current limiting |
| Operating Temperature | 0 - 40°C (32 - 104°F) |
| Relative Humidity | <80% |
| LCD Accuracy | +/- 2.5% |
| Dimensions (L x W x H) | 9.45 x 3.74 x 5.91 inches (approx. 24 x 9.5 x 15 cm) |
| Weight | Approx. 6.6 lbs (3 kg) |
Warranty and Support
Tekpower provides a 90-day warranty for the TP1803D power supply. For technical support, warranty claims, or service inquiries, please contact Tekpower customer service. Please refer to your purchase documentation for specific contact details or visit the official Tekpower website.
Note: Unauthorized opening or modification of the unit will void the warranty.