Introduction
This manual provides instructions for the installation, operation, and maintenance of your Delaney Hardware Brayden Entry Door Knob, Model KA1001. This keyed entry door knob features a satin nickel finish and is designed for doors measuring 1-3/8 inches to 1-3/4 inches thick. Please read these instructions carefully before installation and use to ensure proper function and longevity of your product.
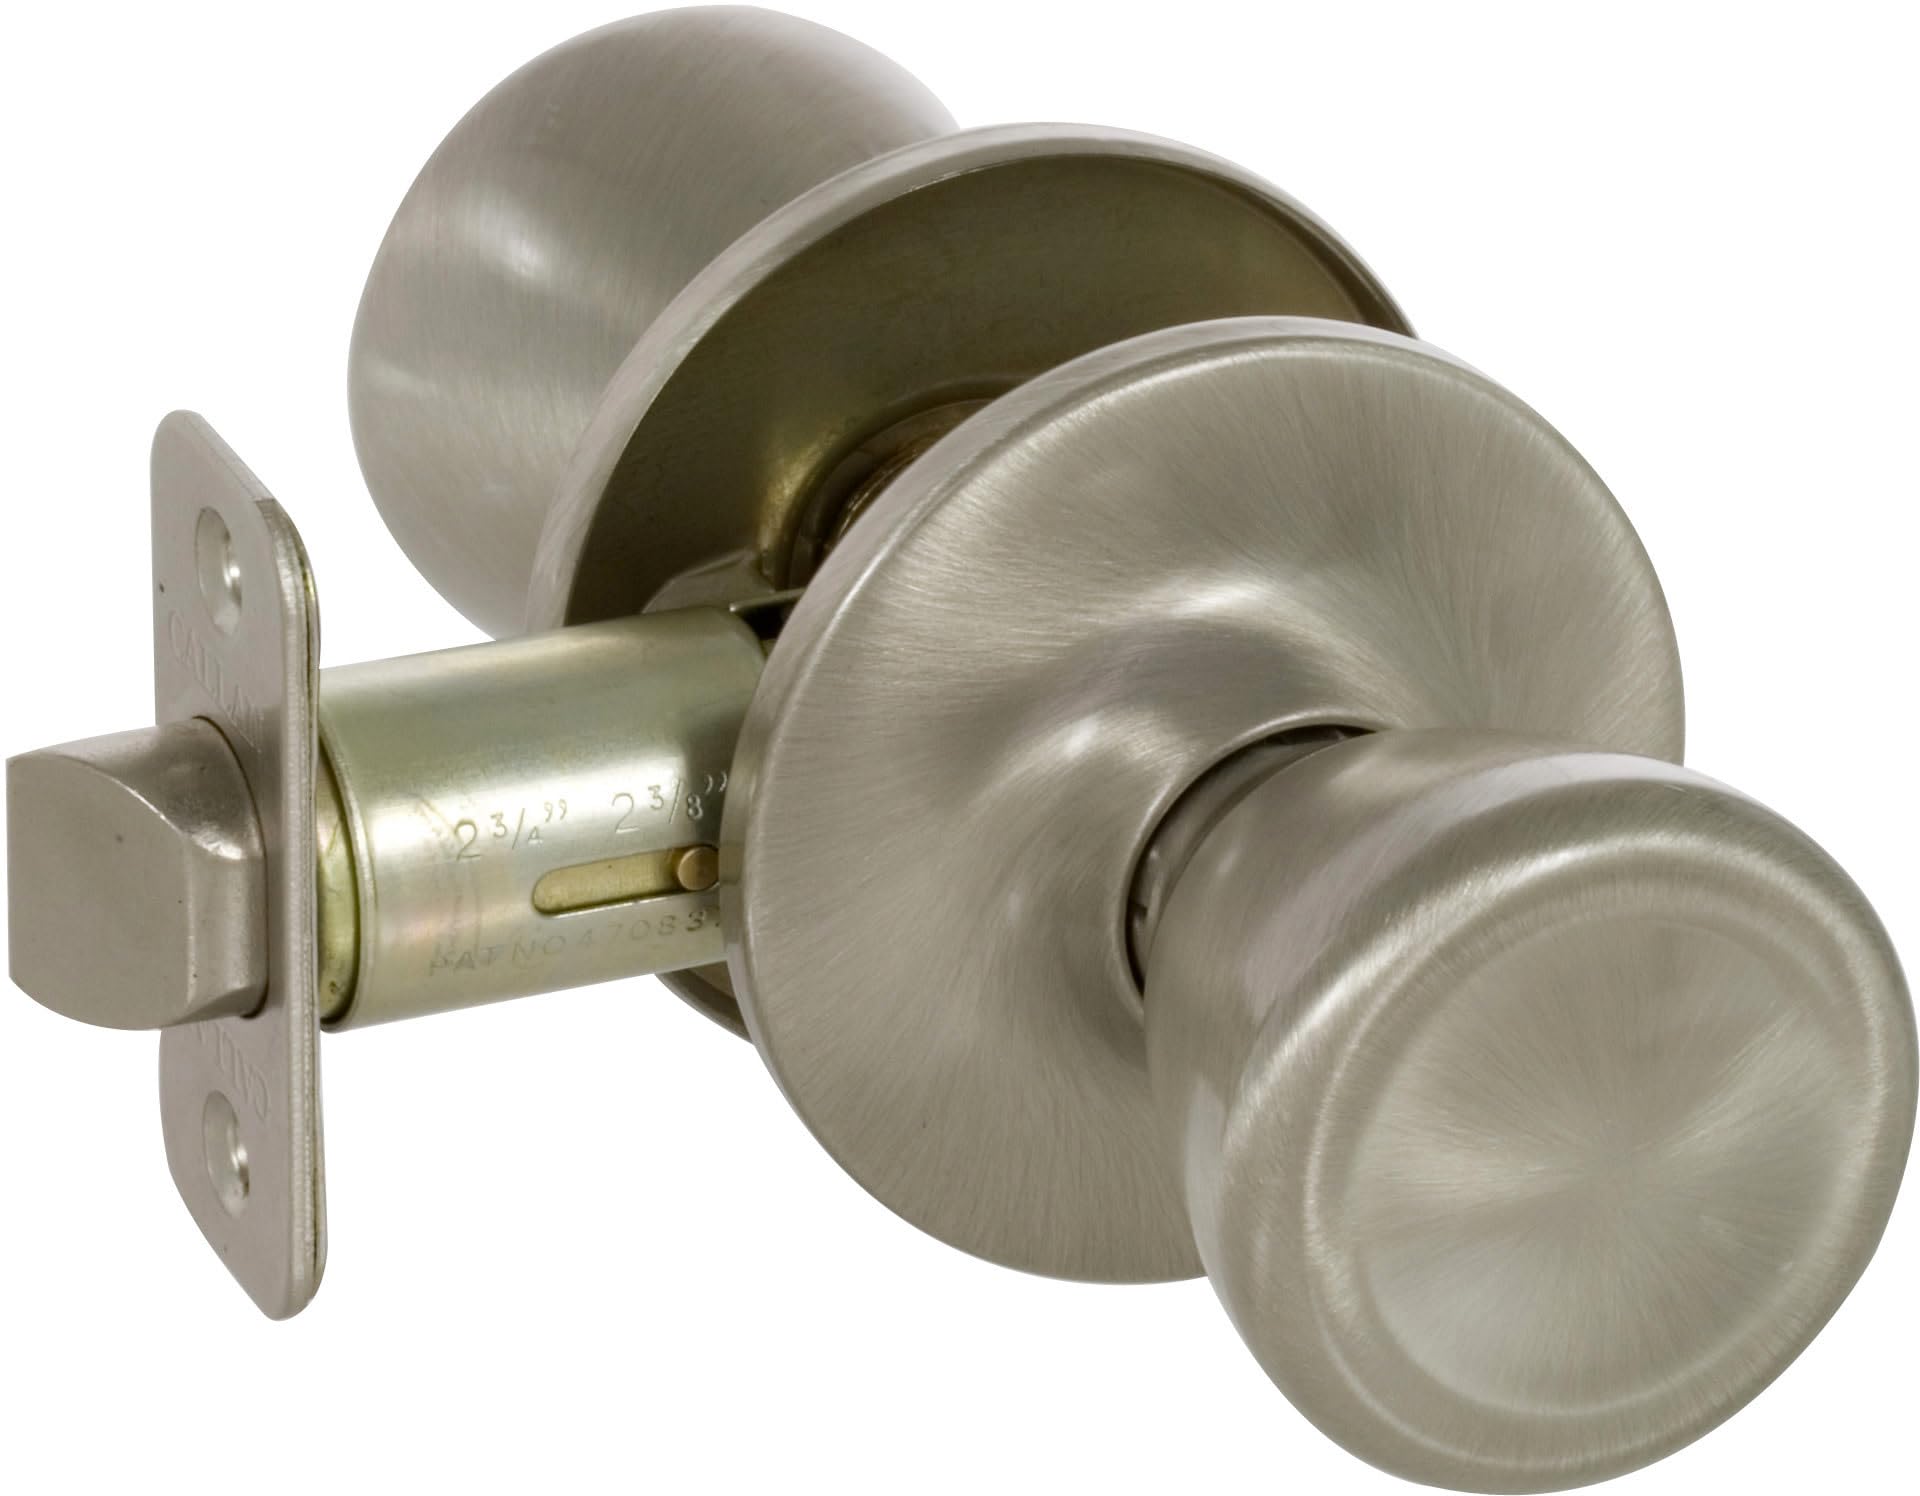
Image: The Delaney Hardware Brayden Entry Door Knob, featuring a classic design and satin nickel finish. This image displays the exterior and interior components of the knob set.
Setup and Installation
The Brayden Entry Door Knob is designed for straightforward installation. A Phillips head screwdriver is the primary tool required. Ensure your door thickness is between 1-3/8 inches and 1-3/4 inches.
Required Tools:
- Phillips Head Screwdriver
- Measuring Tape (optional, for verifying door thickness)
Installation Steps:
- Prepare the Door: Ensure the door has standard bore holes (typically 2-1/8 inches for the knob and 1 inch for the latch). Verify the backset (distance from door edge to center of bore hole) is either 2-3/8 inches or 2-3/4 inches.
- Install the Latch: Insert the latch mechanism into the edge bore hole of the door. Secure it with the provided screws, ensuring the bevel of the latch bolt faces the door frame.
- Install the Exterior Knob: Place the exterior knob assembly through the larger bore hole, ensuring the spindle aligns with the latch mechanism.
- Install the Interior Knob: Position the interior knob assembly over the spindle and align the mounting posts with the exterior assembly.
- Secure the Knobs: Insert and tighten the through-bolts or screws that connect the interior and exterior knob assemblies. Do not overtighten, as this can cause binding.
- Test Operation: Close the door and test the latching mechanism, key operation, and thumbturn function to ensure smooth and correct operation.
For detailed diagrams and specific instructions, refer to the installation guide included in your product packaging.
Operating Instructions
The Brayden Entry Door Knob provides secure locking from both the exterior and interior sides of the door.
Locking the Door:
- From the Exterior: Insert the key into the keyway on the exterior knob. Turn the key clockwise (or counter-clockwise, depending on installation) until the knob is locked. Remove the key.
- From the Interior: Rotate the thumbturn located on the interior knob to the horizontal position to lock the door.
Unlocking the Door:
- From the Exterior: Insert the key into the keyway. Turn the key counter-clockwise (or clockwise) until the knob is unlocked. The knob will now turn freely.
- From the Interior: Rotate the thumbturn on the interior knob to the vertical position to unlock the door.
Always ensure the door is properly latched and locked when security is required.
Maintenance
Regular maintenance helps preserve the finish and functionality of your door knob.
- Cleaning the Finish: Clean the satin nickel finish with a soft, damp cloth. Avoid using abrasive cleaners, harsh chemicals, or polishing agents, as these can damage the finish.
- Lubrication: If the keyway or latch mechanism becomes stiff, apply a small amount of graphite lubricant or a silicone-based spray lubricant into the keyway and around the latch bolt. Do not use oil-based lubricants, as they can attract dust and debris.
- Tightening Screws: Periodically check and tighten any loose mounting screws to ensure the knob remains securely attached to the door. Do not overtighten.
Troubleshooting
If you encounter issues with your door knob, refer to the following common problems and solutions:
| Problem | Possible Cause | Solution |
|---|---|---|
| Knob does not turn or is stiff. | Overtightened mounting screws; debris in mechanism; worn parts. | Loosen mounting screws slightly. Apply lubricant to the mechanism. If problem persists, inspect for damage. |
| Key does not turn or is difficult to insert. | Debris in keyway; bent key; incorrect key. | Clean keyway with compressed air. Lubricate keyway. Ensure you are using the correct, undamaged key. |
| Latch bolt does not retract or extend fully. | Misalignment; debris; worn spring. | Check alignment of latch with strike plate. Clean around latch bolt. Lubricate latch mechanism. |
| Door does not latch securely. | Strike plate misalignment; worn latch bolt. | Adjust the strike plate on the door frame to align with the latch bolt. Ensure the latch bolt extends fully. |
If these solutions do not resolve the issue, contact Delaney Hardware customer support.
Specifications
| Feature | Detail |
|---|---|
| Model Number | KA1001 |
| Brand | Delaney Hardware |
| Product Type | Entry Door Knob (Keyed) |
| Material | Zinc |
| Finish | Satin Nickel |
| Door Thickness Compatibility | 1-3/8 inches to 1-3/4 inches |
| Product Dimensions (L x W) | 2"L x 3"W |
| Item Weight | 1.35 Pounds |
| Lock Type | Key Lock |
| Included Components | Door knob assembly, latch, strike plate, screws, keys |
Warranty Information
Specific warranty details for the Delaney Hardware Brayden Entry Door Knob are typically provided with the product packaging or can be found on the official Delaney Hardware website. Please retain your proof of purchase for warranty claims.
For the most current and detailed warranty information, please visit the manufacturer's website or contact their customer service department.
Support
If you require further assistance, have questions about installation, or need to report a product issue, please contact Delaney Hardware customer support.
- Manufacturer: Delaney Hardware
- Website: www.delaneyhardware.com (Please check the official website for contact information and support resources.)
When contacting support, please have your product model number (KA1001) and purchase details available.


