Introduction
This manual provides detailed instructions for the safe installation, operation, and maintenance of your Designers Fountain 13-inch 3-Light Flush Mount Ceiling Light. Please read this manual thoroughly before beginning installation and retain it for future reference. This fixture is designed to provide ambient lighting in various indoor settings, featuring a pewter finish and an alabaster glass shade.
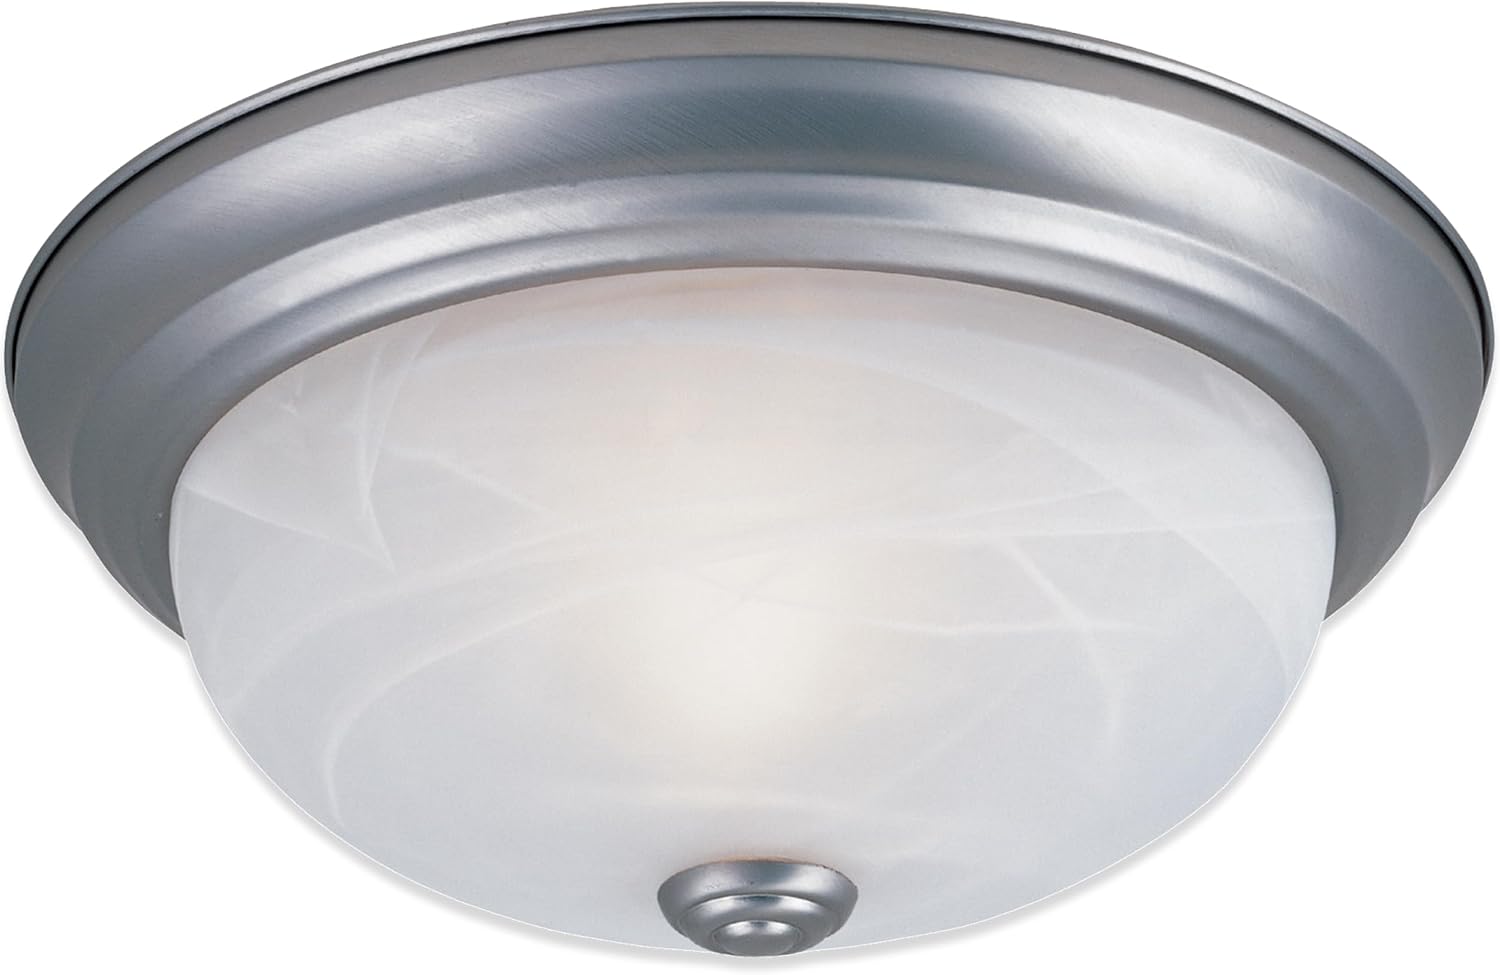
Image: The Designers Fountain 13-inch 3-Light Flush Mount Ceiling Light in pewter finish with alabaster glass shade.
Important Safety Instructions
To reduce the risk of fire, electric shock, or personal injury, always follow these basic safety precautions:
- Read all instructions: Carefully read all instructions provided in this manual before installation.
- Electrical Safety: All wiring must be in accordance with national and local electrical codes. If you are unfamiliar with wiring, consult a qualified electrician.
- Disconnect Power: Before installing, servicing, or changing bulbs, always turn off power at the main circuit breaker or fuse box.
- Grounding: Ensure the fixture is properly grounded to avoid potential electrical shock.
- Bulb Requirements: Use only the type and wattage of bulbs specified for this fixture. Do not exceed the maximum wattage.
- Handle with Care: The glass shade is fragile. Handle with care during installation and maintenance.
- Damp Location Rated: This fixture is rated for damp locations, suitable for bathrooms or covered outdoor areas, but not for direct water exposure.
Package Contents
Verify that all components listed below are included in your package. If any parts are missing or damaged, contact customer support before proceeding with installation.
- Lighting Fixture (1)
- Alabaster Glass Shade (1)
- Mounting Hardware Kit (1)
- Instruction Manual (1)
Note: Bulbs are NOT included and must be purchased separately.
Specifications
| Feature | Detail |
|---|---|
| Model Number | 1257M-PW-AL |
| Brand | DESIGNERS FOUNTAIN |
| Dimensions (L x W x H) | 13.25" x 13.25" x 5.25" |
| Color/Finish | Pewter |
| Shade Material | Alabaster Glass |
| Material | Alloy Steel, Glass |
| Light Source Type | Incandescent; LED (Bulbs not included) |
| Number of Light Sources | 3 |
| Max Wattage per Bulb | 60 Watts |
| Voltage | 120 Volts |
| Bulb Base | E26 (Medium Base) |
| Installation Type | Flush Mount |
| Indoor/Outdoor Usage | Indoor (Damp Location Rated) |
| Special Features | Dimmable (with compatible dimmer switch), Frosted Glass |
| Certifications | UL/cUL Listed |

Image: Visual representation of product dimensions, bulb compatibility (2 or 3 bulbs, 60W max), dampness rating for indoor areas, and dimming capability (10-100% with standard wall dimmer).
Setup and Installation
Before You Begin
- Ensure the power to the circuit you are working on is turned off at the main electrical panel.
- Gather necessary tools: Phillips screwdriver, flathead screwdriver, wire strippers, electrical tape, safety glasses.
- Unpack the fixture and its components carefully. Inspect for any damage.
Mounting the Fixture

Image: A visual comparison of a room before and after the ceiling light installation, highlighting ease of installation.
- Attach Mounting Bracket: Secure the mounting bracket to the junction box in the ceiling using the screws provided. Ensure the bracket is firmly attached.
- Wire Connections: Connect the fixture's wires to the house wires according to standard electrical practices:
- Connect the bare copper (ground) wire from the fixture to the ground wire from the junction box (usually bare copper or green).
- Connect the white (neutral) wire from the fixture to the white (neutral) wire from the junction box.
- Connect the black (hot) wire from the fixture to the black (hot) wire from the junction box.
- Mount Fixture Base: Carefully push the wired fixture base up to the ceiling, aligning the screw holes on the fixture with the mounting screws on the bracket. Secure the fixture base with the decorative nuts or screws provided.
- Install Bulbs: Screw three E26 medium base bulbs (max 60W each, not included) into the sockets. Do not overtighten.
- Attach Glass Shade: Carefully place the alabaster glass shade over the fixture base and secure it with the finial or retaining screws. Ensure it is snug but do not overtighten to avoid cracking the glass.
- Restore Power: Once installation is complete, turn the power back on at the main circuit breaker.
Operation
The Designers Fountain Flush Mount Ceiling Light operates via a standard wall switch. If connected to a compatible dimmer switch, the light output can be adjusted from 10% to 100% brightness. Ensure the dimmer switch is rated for LED or incandescent bulbs, depending on the type of bulbs installed.
Care and Maintenance
Regular care will help maintain the appearance and functionality of your light fixture.
- Cleaning: To clean the fixture, turn off the power and allow it to cool. Wipe the metal parts with a soft, dry cloth. For the glass shade, use a soft cloth dampened with a mild glass cleaner. Avoid abrasive cleaners or solvents that could damage the finish or glass.
- Bulb Replacement: To replace bulbs, turn off the power at the circuit breaker. Carefully remove the finial and glass shade. Unscrew the old bulbs and replace them with new E26 medium base bulbs (max 60W each). Reattach the glass shade and finial, then restore power.
- Inspection: Periodically inspect the wiring and connections for any signs of wear or damage. If any issues are found, consult a qualified electrician.
Troubleshooting
If you encounter issues with your light fixture, refer to the following table for common problems and solutions.
| Problem | Possible Cause | Solution |
|---|---|---|
| Light does not turn on |
|
|
| Light flickers |
|
|
| Humming noise from fixture | Incompatible dimmer switch or bulb type. | Replace with a high-quality, compatible LED dimmer or incandescent dimmer as appropriate for your bulbs. |
Warranty and Customer Support
This Designers Fountain product is covered by a 1-year warranty from the date of original shipment when purchased on Amazon. The warranty covers all items and conditions identified in the original manufacturer's warranty. Please note that the warranty does not cover loss, theft, water damage, customer abuse, or finish deterioration due to UV or coastal exposure.
Additionally, a 30-day replacement parts policy is in place to ensure a fully working item upon receipt.
For warranty claims, missing parts, or technical assistance, please contact Designers Fountain customer support through their official website or the retailer where the product was purchased. Please have your model number (1257M-PW-AL) and proof of purchase available.