1. Introduction
This instruction manual provides essential information for the proper setup, operation, and maintenance of your Neumann PS 20 a Pop Screen. Please read this manual thoroughly before using the product to ensure optimal performance and longevity. The Neumann PS 20 a is designed to effectively reduce plosive sounds (pops) during vocal recordings, ensuring clear and professional audio.
2. Product Overview
2.1. Components Included
The Neumann PS 20 a Pop Screen package includes the following items:
- Pop Screen PS 20 A
- Gooseneck (30 cm / 12 inches)
- Clamp with knurled screw for stand attachment
2.2. Key Features
The Neumann PS 20 a Pop Screen offers the following features:
- 20 cm diameter pop filter for effective plosive reduction.
- Acoustically transparent design that does not interfere with sound passage.
- Flexible 30 cm (12") gooseneck for precise positioning.
- Robust clamp for secure attachment to most microphone stands.
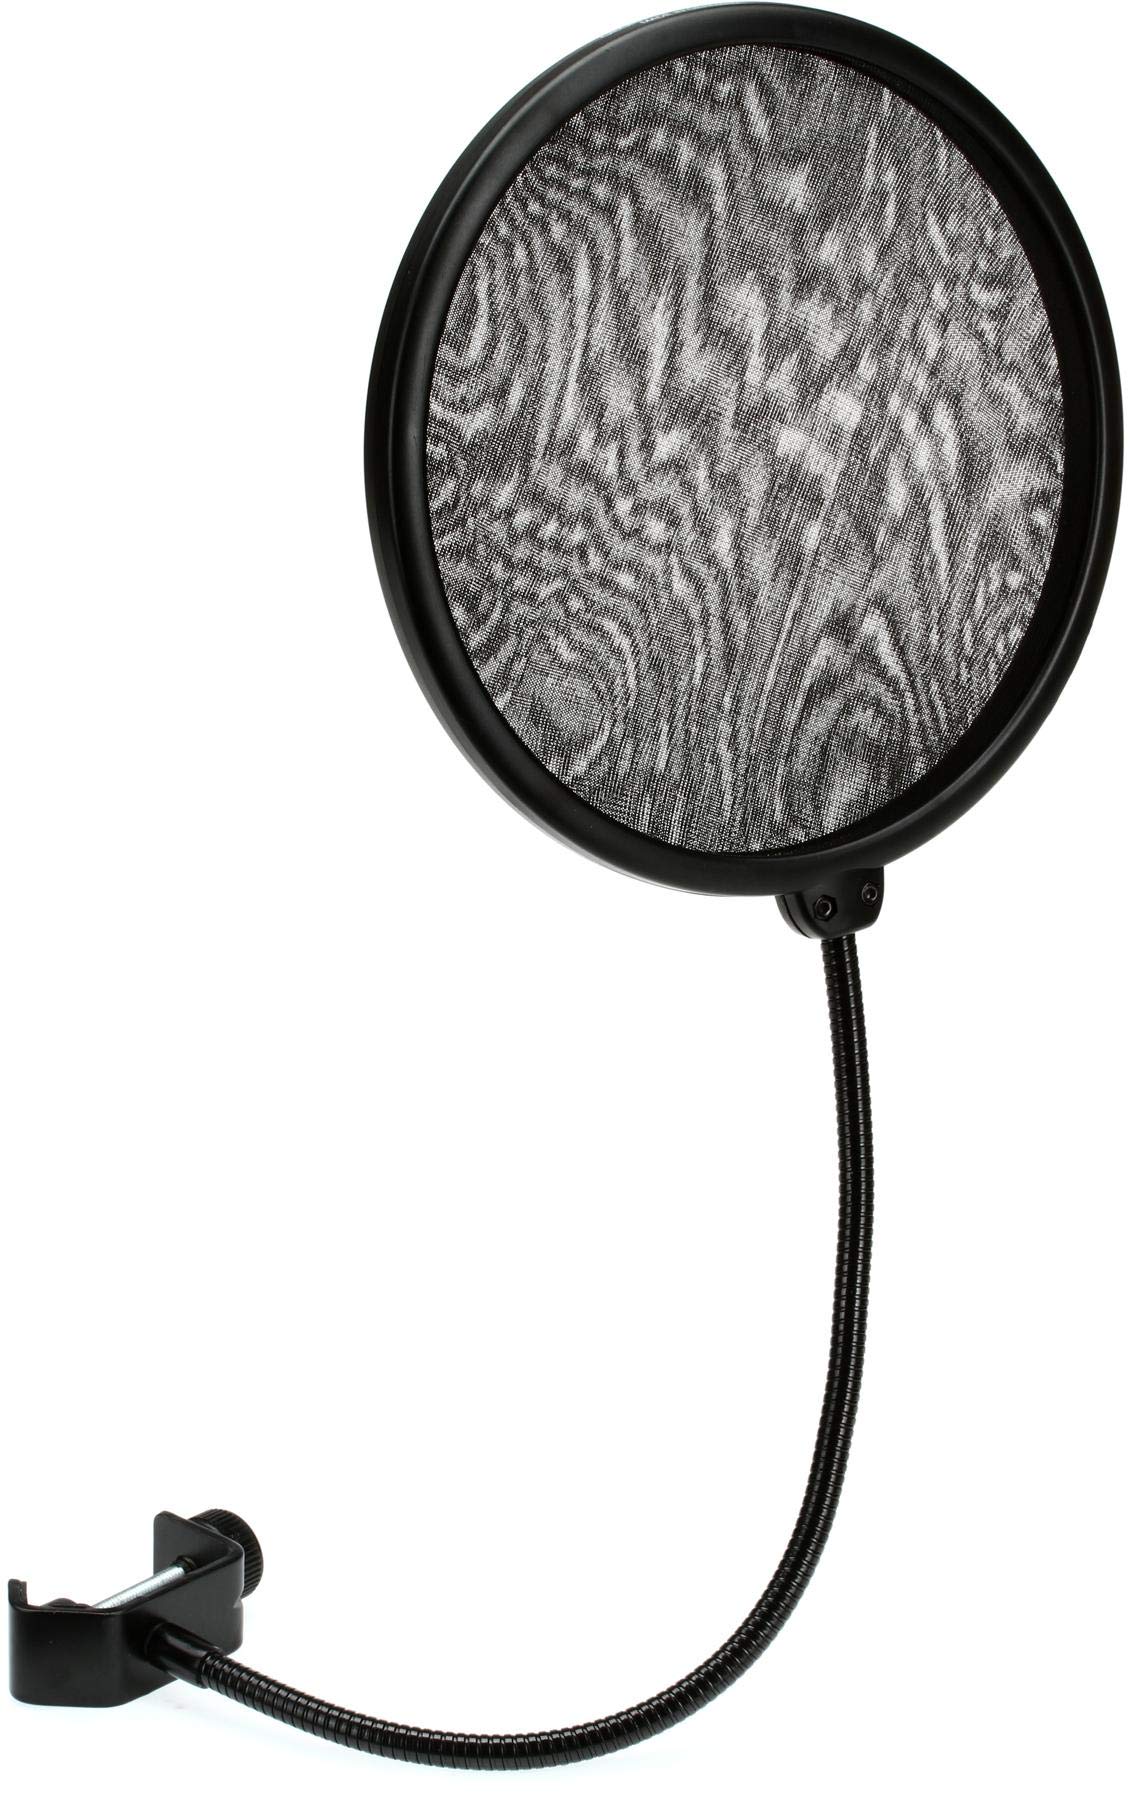
Figure 1: Neumann PS 20 a Pop Screen. This image displays the circular pop filter, the flexible gooseneck, and the clamp mechanism used for attaching it to a microphone stand.
3. Setup
3.1. Attaching the Pop Screen to a Microphone Stand
Follow these steps to properly attach your pop screen:
- Identify the Clamp: Locate the clamp mechanism at the base of the gooseneck.
- Open the Clamp: Turn the knurled screw counter-clockwise to open the clamp jaws wide enough to fit around your microphone stand.
- Position the Clamp: Place the clamp onto a suitable section of your microphone stand. Ensure it is positioned securely and will not interfere with microphone placement.
- Secure the Clamp: Turn the knurled screw clockwise to tighten the clamp firmly onto the microphone stand. Do not overtighten, but ensure it is stable.
- Adjust Gooseneck: Once the clamp is secure, you can adjust the flexible gooseneck to position the pop screen as needed.
Figure 2: Example of pop screen attachment. This image illustrates how the pop screen's clamp connects to a microphone stand, with the gooseneck positioned for use.
4. Operating Instructions
4.1. Positioning for Optimal Performance
The primary function of the Neumann PS 20 a Pop Screen is to prevent plosive sounds (e.g., "p" and "b" sounds) from reaching the microphone diaphragm, which can cause undesirable "popping" noises in recordings. Proper positioning is crucial:
- Distance from Microphone: Position the pop screen approximately 2-6 inches (5-15 cm) in front of the microphone. This distance allows the pop screen to effectively dissipate air blasts without being too close to the sound source.
- Distance from Vocalist: The vocalist should be positioned approximately 4-8 inches (10-20 cm) from the pop screen. Experiment with this distance to find the best balance between plosive reduction and vocal clarity.
- Angle: Ensure the pop screen is directly between the vocalist's mouth and the microphone. The flexible gooseneck allows for precise angular adjustments.
Note: The pop screen is acoustically transparent and should not significantly alter the frequency response of your microphone. Its purpose is purely to manage air pressure from plosives.
5. Maintenance
5.1. Cleaning
To maintain the hygiene and appearance of your pop screen:
- Screen Material: Gently wipe the fabric screen with a soft, dry, lint-free cloth. For minor smudges, a slightly damp cloth with plain water can be used, but ensure the screen is completely dry before storage or next use. Avoid harsh chemicals or abrasive cleaners.
- Gooseneck and Clamp: Wipe metal and plastic parts with a dry or slightly damp cloth.
- Disinfection: If disinfection is required, use an audio equipment-safe disinfectant spray on a cloth, then wipe the screen. Do not spray directly onto the screen.
5.2. Storage
When not in use, store the pop screen in a clean, dry environment, away from direct sunlight and extreme temperatures. Avoid bending the gooseneck into excessively tight angles for prolonged periods, as this may weaken the internal structure over time.
6. Troubleshooting
This section addresses common issues you might encounter with your Neumann PS 20 a Pop Screen.
| Problem | Possible Cause | Solution |
|---|---|---|
| Pop sounds are still present in recordings. | Incorrect positioning of the pop screen or vocalist. | Ensure the pop screen is 2-6 inches from the microphone and 4-8 inches from the vocalist. Adjust the angle so it is directly between the mouth and microphone. |
| Pop screen feels loose on the microphone stand. | Clamp is not tightened sufficiently. | Tighten the knurled screw on the clamp until the pop screen is securely fastened to the stand. |
| Gooseneck does not hold position. | Excessive bending or wear over time. | Avoid extreme bends. If the issue persists after careful adjustment, contact customer support. |
7. Specifications
7.1. Technical Data
| Feature | Detail |
|---|---|
| Model Number | PS 20 a |
| Pop Screen Diameter | 20 cm (approximately 7.87 inches) |
| Gooseneck Length | 30 cm (12 inches) |
| Body Material | Thin frame covered with black gauze |
| Overall Material Type | Fabric (Gauze), Metal/Plastic (Frame) |
| Item Weight | 1.04 pounds (approximately 0.47 kg) |
| Product Dimensions (L x W x H) | 13.2 x 9.5 x 2.65 inches (approximately 33.5 x 24.1 x 6.7 cm) |
8. Warranty and Support
8.1. Warranty Information
Neumann products are manufactured to high-quality standards. For specific warranty terms and conditions applicable to your region, please refer to the warranty card included with your product or visit the official Neumann website. Keep your proof of purchase for warranty claims.
8.2. Customer Support
If you have any questions, require technical assistance, or need to report an issue, please contact Neumann customer support. You can find contact information and additional resources by visiting the official Neumann website or their Amazon Brand Store.