
1. Introduction
Thank you for choosing the Lunartec Radio-Controlled Digital LED Wall Clock. This modern and sleek timepiece is designed to provide precise timekeeping through its radio-controlled technology, ensuring it is always accurate and automatically adjusts for daylight saving time. Its vibrant red LED display, featuring large digits and a unique animated second ring, makes it highly visible and a striking addition to any space.
2. Safety Instructions
- Read all instructions carefully before use and retain for future reference.
- Ensure the power adapter is connected to a suitable power outlet (230V AC, 50Hz).
- Do not expose the clock to water, high humidity, or extreme temperatures.
- Avoid placing the clock in direct sunlight or near heat sources.
- Do not attempt to open or repair the device yourself. Refer all servicing to qualified personnel.
- Keep the clock and its power adapter out of reach of children.
- Clean the clock only with a soft, dry cloth. Do not use abrasive cleaners or solvents.
3. Package Contents
Please check that all items are present and in good condition:
- Lunartec Radio-Controlled Digital LED Wall Clock
- Power Adapter
- User Manual
4. Setup
4.1 Power Connection
- Connect the power adapter to the DC input port on the back of the clock.
- Plug the power adapter into a standard electrical outlet.
- The clock display will illuminate, and it will begin searching for the radio signal.
4.2 Radio Signal Synchronization (DCF77)
The clock is designed to automatically synchronize with the DCF77 radio signal for accurate timekeeping.
- Upon initial power-up, the clock will automatically attempt to receive the radio signal. This process may take several minutes to a few hours depending on your location and signal strength.
- For optimal reception, place the clock near a window and away from electronic devices that may cause interference.
- If the clock does not synchronize automatically after a few hours, or if you need to force a synchronization:
- Locate the "C" button on the back of the clock.
- Press and hold the "C" button for approximately 10 seconds until the second ring LEDs turn off. This indicates the clock has initiated a new signal search.
- Release the button. The clock will attempt to re-synchronize.
- Once synchronized, the clock will display the correct time and automatically adjust for daylight saving time.
4.3 Mounting Options
The clock can be either wall-mounted or placed on a flat surface.
- Wall Mounting: Use the integrated hanging eyelet on the back of the clock. Ensure you use appropriate wall anchors and screws for secure installation.
- Tabletop Placement: Place the clock on a stable, flat surface.

Figure 1: Front view of the Lunartec Radio-Controlled Digital LED Wall Clock.
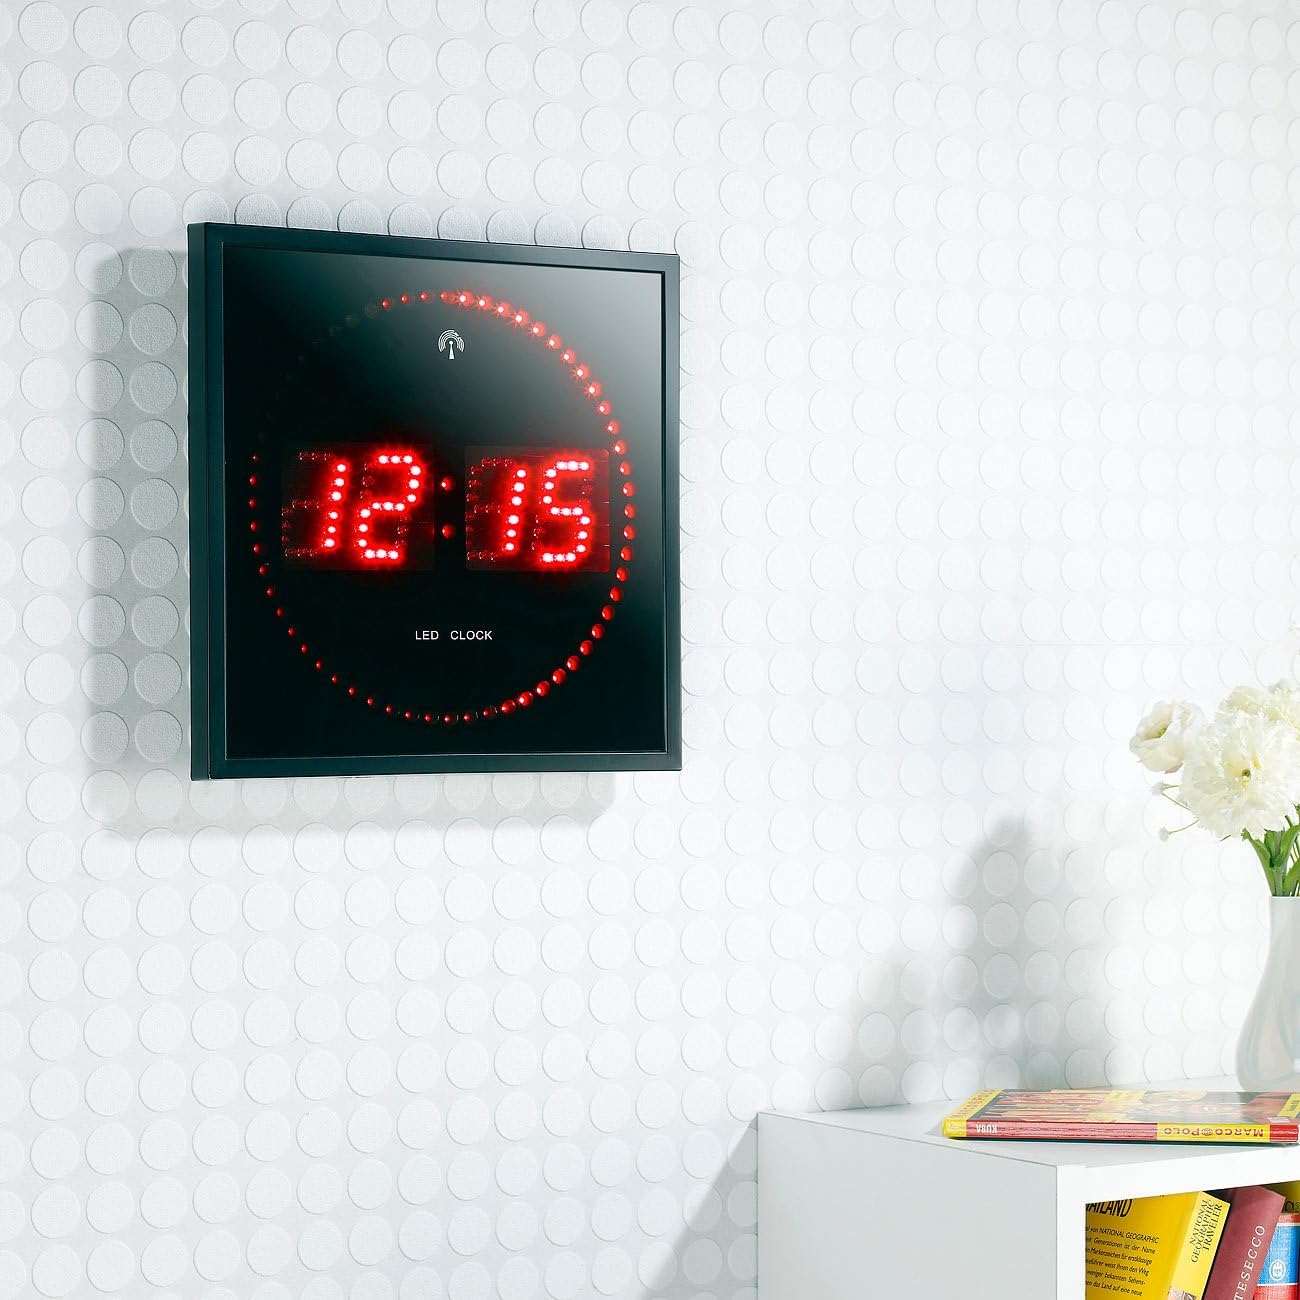
Figure 2: The clock displayed in a room, showing its wall-mounted appearance.
5. Operating
5.1 Time Display
The clock displays hours, minutes, and seconds using bright red LEDs. The large 45mm digits ensure excellent readability even from a distance or in low-light conditions.
5.2 Second Ring Animation
A unique feature of this clock is the animated ring of 60 LEDs around the main display. These LEDs light up sequentially, indicating the passing seconds and adding a dynamic visual element to the clock.
5.3 Automatic Time Adjustment
Thanks to its radio-controlled functionality, the clock automatically adjusts for daylight saving time (summer/winter time changes) without any manual intervention.
6. Maintenance
6.1 Cleaning
To clean the clock, gently wipe the surface with a soft, dry, lint-free cloth. Do not use liquid cleaners, sprays, or abrasive materials, as these can damage the display or casing.
6.2 Storage
If storing the clock for an extended period, disconnect it from the power supply and store it in a cool, dry place, away from direct sunlight and extreme temperatures.
7. Troubleshooting
| Problem | Possible Cause | Solution |
|---|---|---|
| Clock not displaying time / No power | Power adapter not connected or faulty outlet. | Ensure the power adapter is securely plugged into the clock and a working electrical outlet. Test the outlet with another device. |
| Time is incorrect or not synchronizing | Poor radio signal reception; clock not initiating synchronization. |
|
| Display is dim or flickering | Power supply issue or internal fault. | Ensure the power adapter is providing stable power. If the issue persists, contact customer support. |
8. Specifications
| Brand | Lunartec |
| Model Number | NC-7268-944 |
| Color | Red |
| Dimensions (L x W x H) | Approx. 250 x 250 x 60 mm (9.84 x 9.84 x 2.36 inches) |
| Weight | 1 Kilogram (2.2 lbs) |
| Material | Metal, Plastic |
| Display Type | Digital LED |
| Digit Height | 45 mm |
| LEDs | 140 powerful red LEDs (including 60 for the second ring) |
| Special Features | Radio-controlled (Atomic), Automatic Daylight Saving Time adjustment |
| Power Source | AC Adapter |
9. Warranty and Support
Specific warranty information for this product may vary by region and retailer. Please refer to the documentation provided at the time of purchase or contact your retailer for details regarding warranty coverage.
For technical support or inquiries, please visit the official Lunartec website or contact their customer service department.