1. Introduction
This manual provides essential information for the safe and efficient use of your Philips GC101/02 750-Watt HV-Coated Dry Iron. Please read these instructions carefully before using the appliance and retain them for future reference.

Figure 1.1: Philips GC101/02 Dry Iron. This image displays the overall design of the iron, featuring its blue and white body, ergonomic handle, and polished soleplate.
2. Safety Information
Always follow basic safety precautions when using electrical appliances to reduce the risk of fire, electric shock, and personal injury.
- Ensure the voltage indicated on the iron corresponds to your local mains voltage before connecting.
- Do not immerse the iron, its cord, or plug in water or any other liquid.
- Keep the iron out of reach of children and pets when it is switched on or cooling down.
- Never leave the iron unattended when it is connected to the mains.
- Always unplug the iron from the power outlet before cleaning, filling, or emptying, and when not in use.
- Do not operate the iron with a damaged cord or plug, or if the iron has been dropped or damaged.
- Use the iron only for its intended household use.
- Avoid ironing over metal parts like zippers, rivets, or buttons, as this can scratch the soleplate.
3. Product Features
The Philips GC101/02 Dry Iron is designed for efficient and comfortable ironing. Key features include:
- HV-Coated Soleplate: Provides smooth gliding over fabrics.
- 750-Watt Power: Ensures quick heating for effective ironing.
- Temperature Control: Adjustable thermostat for different fabric types.
- Power Indicator Light: Illuminates when the iron is heating and turns off when the set temperature is reached.
- Modified Handle: Designed for a comfortable and secure grip during use.

Figure 3.1: Angled view of the Philips GC101/02 Dry Iron, highlighting its sleek design and soleplate.
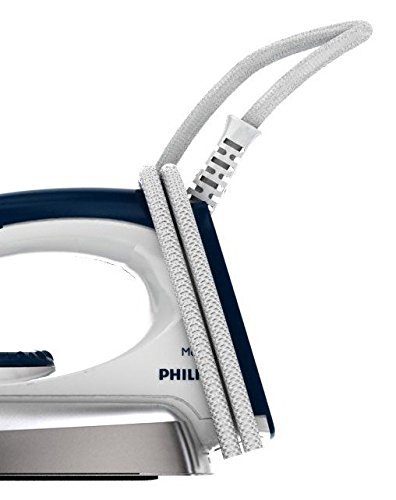
Figure 3.2: The iron's design allows for convenient cord wrapping for storage.

Figure 3.3: Detail of the durable power cord connection, designed for flexibility and longevity.
4. Setup
Before first use, ensure the iron is clean and free from any packaging materials.
- Unpack: Carefully remove the iron and all accessories from the packaging.
- Inspect: Check the iron for any visible damage. If damaged, do not use and contact customer support.
- Clean Soleplate: Wipe the soleplate with a damp cloth to remove any dust or residue from manufacturing.
- Initial Heating: For the first use, heat the iron to its maximum temperature setting and let it heat for a few minutes. A slight odor or smoke may occur, which is normal and will disappear.
5. Operating Instructions
Follow these steps for effective and safe ironing:

Figure 5.1: Visual guide for dry iron usage directions.
- Prepare Fabric: Ensure the garment is clean and suitable for ironing. Check the fabric care label for recommended ironing temperature.
- Set Temperature: Turn the temperature control dial to the appropriate setting for your fabric type (e.g., linen, cotton, wool, silk, synthetics). The power indicator light will illuminate.
- Heat Up: Place the iron on its heel rest on a stable, heat-resistant surface. Wait for the power indicator light to turn off, indicating the iron has reached the desired temperature.
- Ironing: Begin ironing the garment. For best results, use an ironing board. Iron in smooth, even strokes.
- Cool Down: After use, unplug the iron and allow it to cool down completely on its heel rest before storing.
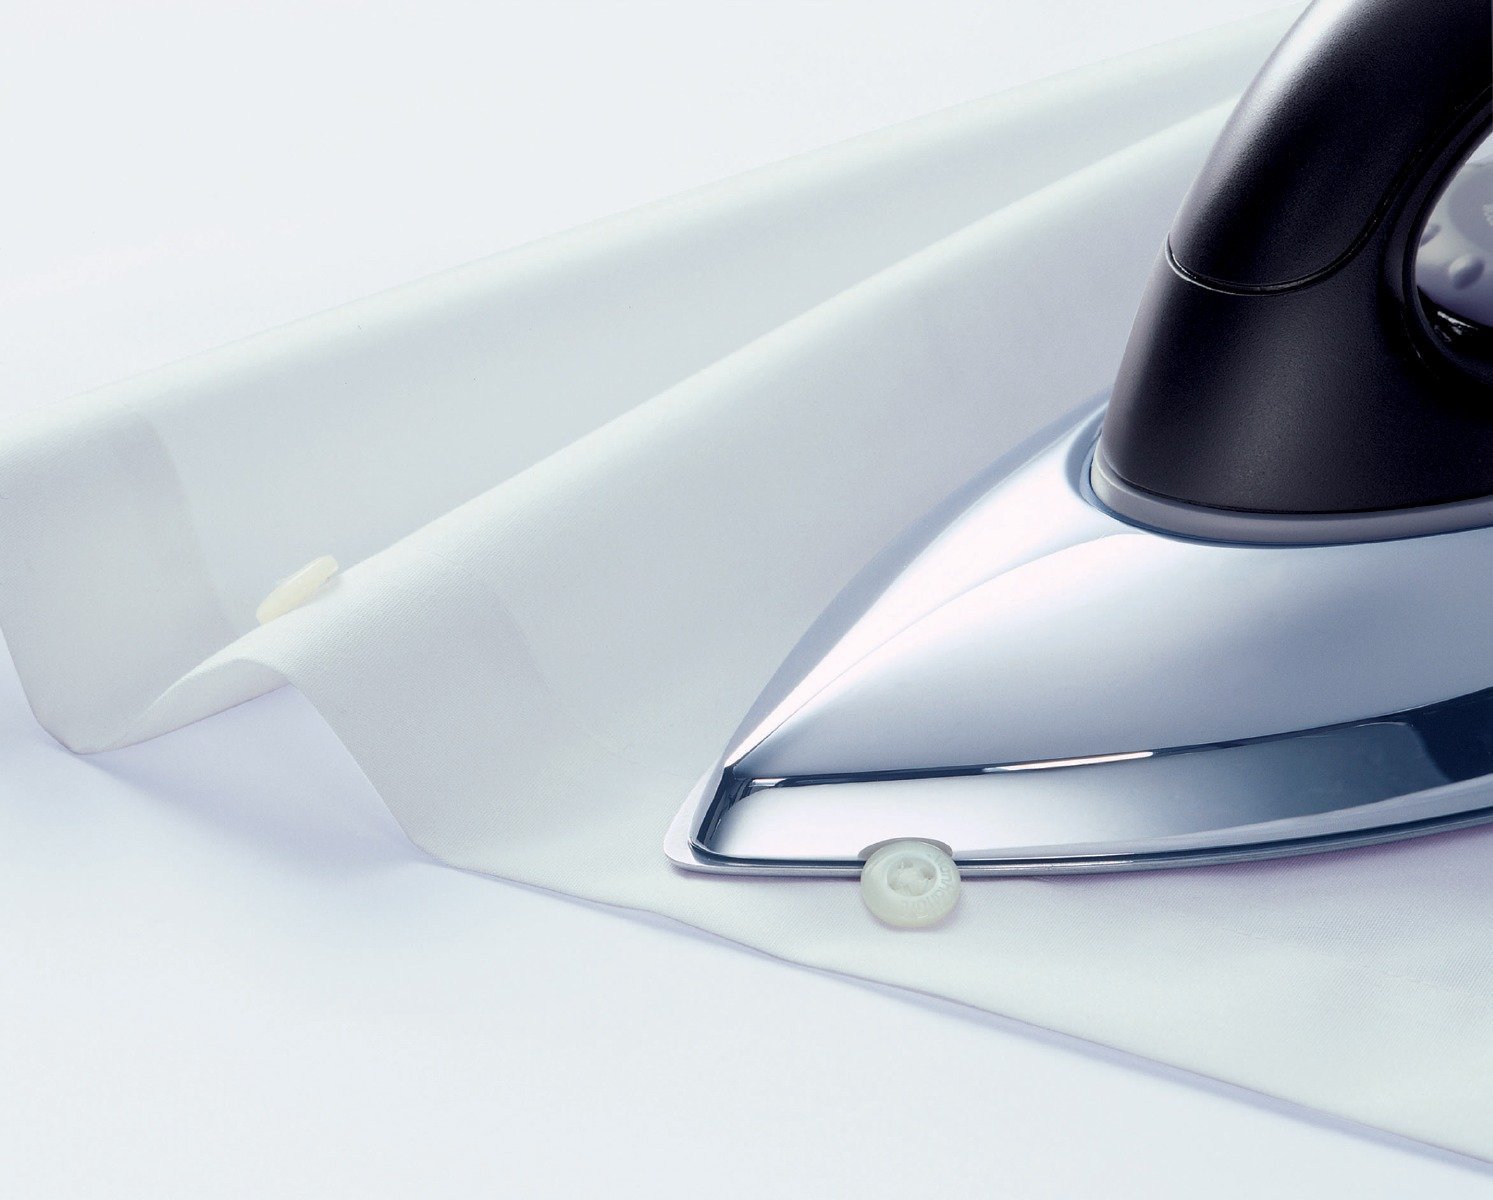
Figure 5.2: The iron in use, demonstrating its ability to glide smoothly over fabric, even around buttons.

Figure 5.3: The iron safely resting on its heel, a stable position when not actively ironing.
6. Maintenance
Proper maintenance ensures the longevity and performance of your iron.
- Cleaning the Soleplate:
- After the iron has cooled down, wipe the soleplate with a damp cloth and a non-abrasive cleaner if necessary.
- Do not use abrasive scouring pads or harsh cleaners as they can damage the HV-coated surface.
- Cleaning the Housing: Wipe the plastic parts of the iron with a damp cloth.
- Storage: Store the iron upright on its heel rest in a dry, safe place after it has completely cooled down. Wrap the cord neatly around the cord wrap area if available.
7. Troubleshooting
If you encounter issues with your Philips GC101/02 Dry Iron, refer to the following common problems and solutions:
| Problem | Possible Cause | Solution |
|---|---|---|
| Iron does not heat up. | Not plugged in; power outlet faulty; temperature dial set to minimum. | Ensure the iron is securely plugged into a working power outlet. Adjust the temperature dial to a higher setting. |
| Power indicator light does not turn on. | Iron not connected to power; internal fault. | Check power connection. If problem persists, contact customer support. |
| Iron is not gliding smoothly. | Soleplate is dirty or scratched. | Clean the soleplate as per maintenance instructions. Avoid ironing over sharp objects. |
| Smoke or odor during first use. | Normal residue from manufacturing. | This is normal and will dissipate after a few minutes of use. Ensure good ventilation. |
If the issue persists after trying these solutions, please contact Philips customer support.
8. Specifications
| Attribute | Detail |
|---|---|
| Brand | Philips |
| Model Name | GC101/02 |
| Power | 750 W |
| Voltage | 230 Volts (AC) |
| Soleplate Type | HV-Coated (Black American Heritage) |
| Base Material | Cast Iron |
| Color | Silver |
| Item Weight | 770 g |
| Included Components | Dry Iron |
9. Warranty and Support
Your Philips GC101/02 Dry Iron comes with a manufacturer's warranty.
- Warranty Period: This product is covered by a 2-year company warranty from the date of purchase.
- Claiming Warranty: In case of any manufacturing defects or issues covered under warranty, please contact Philips customer service with your proof of purchase.
- Customer Support: For assistance, troubleshooting, or to find authorized service centers, please visit the official Philips website or refer to the contact information provided with your product packaging.
For more information, you may visit the Philips Domestic Appliances Store on Amazon.


