1. Introduction
This manual provides detailed instructions for the proper use and maintenance of your Vivitar DF-583 Power Zoom DSLR Flash. Designed for Nikon DSLR cameras, this flash unit offers advanced features to enhance your photography. Please read this manual thoroughly before using the product to ensure optimal performance and safety.
2. Safety Information
- Do not attempt to disassemble or modify the flash unit. This can cause electric shock or damage the product.
- Keep the flash unit away from water and moisture. Exposure to liquids can cause malfunction or electric shock.
- Avoid direct eye exposure to the flash light, especially at close range, as it can cause temporary vision impairment.
- Use only recommended batteries. Incorrect battery types or improper insertion can lead to leakage, overheating, or explosion.
- Store the flash unit in a cool, dry place, away from direct sunlight and extreme temperatures.
3. Package Contents
Verify that all items are present in the package:
- Vivitar DF-583 Power Zoom DSLR Flash Unit
- Mini Stand
- Protective Pouch
- User Manual (this document)

Image: Vivitar DF-583 flash unit, mini stand, and protective pouch.
4. Part Names and Functions
4.1 Front and Side View
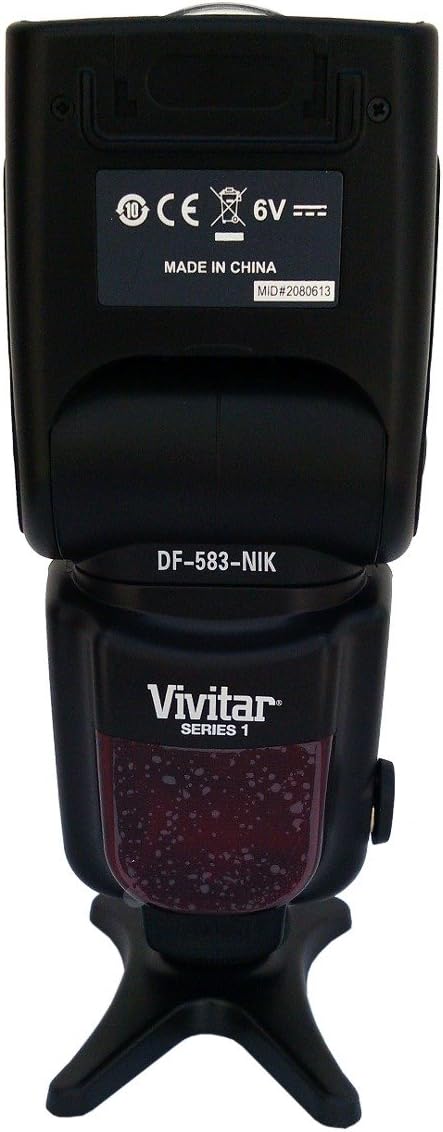
Image: Front and side view of the Vivitar DF-583 flash, showing the flash head, body, and hot shoe mount.
- Flash Head: Contains the flash tube and light-emitting components. Can be rotated and tilted for bounce flash.
- Wide-Angle Diffuser: Pulls out from the flash head to spread light for wider coverage.
- Bounce Card: Pulls out from the flash head to create a catchlight in the subject's eyes or provide subtle fill light.
- Hot Shoe Mount: Connects the flash to the camera's hot shoe for communication and triggering.
4.2 Control Panel and Rear View

Image: Rear view of the Vivitar DF-583 flash, highlighting the LCD display and control buttons.
- LCD Display: Shows current flash settings, mode, zoom position, and battery status.
- MODE Button: Cycles through flash modes (e.g., TTL, Manual, Multi, S1, S2).
- PILOT Button: Test flash button. Press to fire a test flash and check readiness.
- ON/OFF Button: Powers the flash unit on or off.
- ZOOM Buttons (Left/Right Arrows): Adjusts the flash zoom head position manually.
- Dial/Set Button: Navigates menus and confirms selections.
- LOCK Switch: Secures the flash unit to the camera's hot shoe.
- Battery Compartment: Holds the batteries for the flash unit.
4.3 Flash Head Features
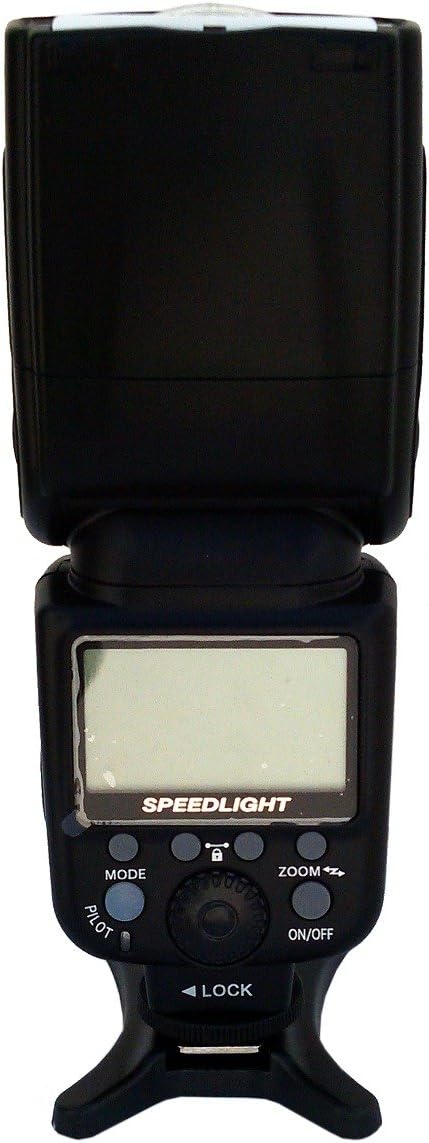
Image: Flash head with the wide-angle diffuser pulled out, showing its mechanism.
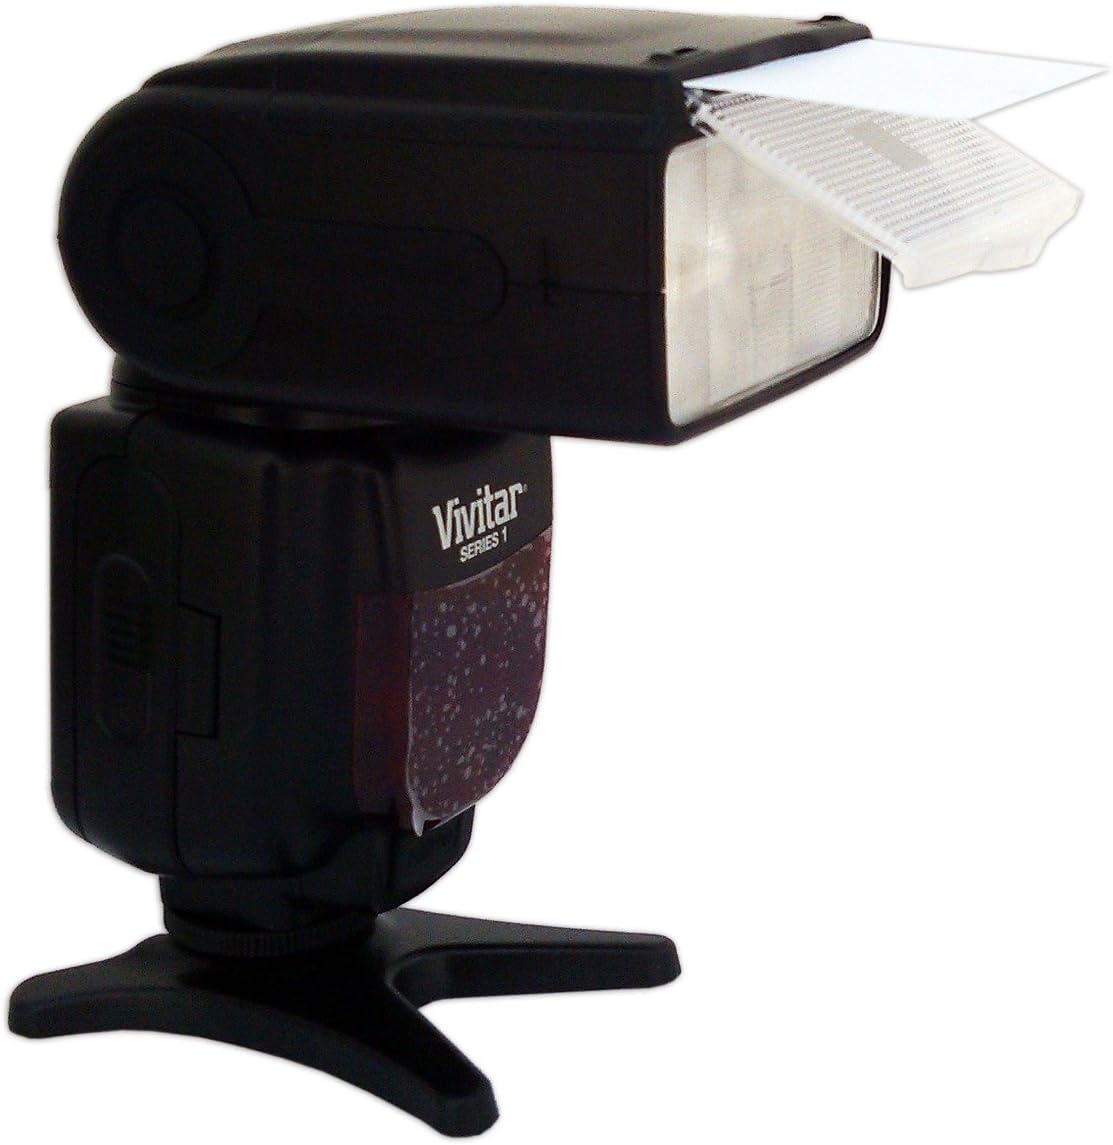
Image: Flash head with the bounce card extended, demonstrating its use for indirect lighting.
5. Setup
5.1 Battery Installation
- Open the battery compartment cover located on the rear of the flash unit.
- Insert four (4) AA-size batteries, ensuring correct polarity (+/-) as indicated inside the compartment.
- Close the battery compartment cover securely.
5.2 Mounting to Camera
- Ensure both the camera and flash are powered off.
- Slide the flash unit's hot shoe mount into the camera's hot shoe slot.
- Rotate the LOCK switch on the flash unit clockwise to secure it firmly to the camera.
- To remove, rotate the LOCK switch counter-clockwise and slide the flash off.
6. Operating the Flash
6.1 Power On/Off
Press and hold the ON/OFF button for approximately 2 seconds to power the flash on or off. The LCD display will illuminate when powered on.
6.2 Flash Modes
Press the MODE button repeatedly to cycle through the available flash modes:
- TTL (Through-The-Lens): The camera automatically determines the flash output for correct exposure. This is the standard automatic mode.
- Manual (M): Allows manual adjustment of flash power output (e.g., 1/1, 1/2, 1/4, etc.). Use the dial or arrow buttons to adjust power.
- Multi (Stroboscopic): Fires a series of rapid flashes during a single exposure, useful for capturing multiple movements of a subject.
- S1 (Optical Slave Mode 1): The flash fires in response to the first flash from a master flash, ignoring pre-flashes.
- S2 (Optical Slave Mode 2): The flash fires in response to the second flash from a master flash, suitable for cameras that emit a pre-flash for red-eye reduction or TTL metering.
6.3 Zoom Function
The flash head's zoom position can be adjusted to match the focal length of your lens, optimizing light coverage.
- Auto Zoom: In TTL mode, the flash automatically adjusts its zoom position (18-180mm) to match the camera's lens focal length.
- Manual Zoom: In Manual or other modes, press the ZOOM arrow buttons to manually set the zoom position.
6.4 Bounce and Swivel
The flash head can be tilted and rotated to bounce light off ceilings or walls, creating softer, more natural illumination.
- Tilt: The flash head can tilt upwards from 0° to 90°.
- Swivel: The flash head can rotate horizontally up to 270°.
To adjust, gently hold the flash head and move it to the desired position. Do not force movement beyond its limits.
6.5 Using the Wide-Angle Diffuser and Bounce Card
- Wide-Angle Diffuser: Pull out the small white panel from the top of the flash head. This spreads the light for wider lens coverage (e.g., 18mm) and softens shadows.
- Bounce Card: Pull out the larger white panel from the top of the flash head. This can be used to create a catchlight in the subject's eyes when bouncing the flash, or for subtle fill light.
7. Maintenance
7.1 Cleaning
- Use a soft, dry cloth to clean the exterior of the flash unit.
- For stubborn dirt, slightly dampen the cloth with water and then wipe dry.
- Do not use solvents, alcohol, or abrasive cleaners, as these can damage the finish or internal components.
- Keep the hot shoe contacts clean to ensure proper communication with the camera.
7.2 Storage
- Remove batteries if the flash will not be used for an extended period to prevent leakage.
- Store the flash unit in its protective pouch in a cool, dry, dust-free environment.
- Avoid storing in areas with high humidity or extreme temperature fluctuations.
8. Troubleshooting
| Problem | Possible Cause | Solution |
|---|---|---|
| Flash does not power on. | Dead or incorrectly inserted batteries. | Replace batteries with fresh ones, ensuring correct polarity. |
| Flash does not fire. | Flash not securely mounted; camera/flash settings incorrect; flash not charged. | Ensure flash is locked onto hot shoe. Check camera and flash mode settings. Wait for the ready indicator light to illuminate. |
| Flash output is too bright/dark. | Incorrect flash exposure compensation; incorrect manual power setting. | Adjust flash exposure compensation on camera or flash. In Manual mode, adjust power output. |
| Flash zoom not working. | Flash in manual zoom mode; communication issue with camera. | Ensure flash is in TTL mode for auto zoom. Check hot shoe connection. Manually adjust zoom using buttons. |
9. Specifications
| Feature | Description |
|---|---|
| Model | DF-583 |
| Brand | Vivitar |
| Compatible Cameras | Nikon DSLR Cameras |
| Zoom Range | 18-180mm (Auto/Manual) |
| Flash Modes | TTL, Manual, Multi, S1, S2 |
| Vertical Rotation Angle | 0 to 90 degrees |
| Horizontal Rotation Angle | 0 to 270 degrees |
| Power Source | 4 x AA batteries |
| Dimensions (L x W x H) | 26.16 x 13.21 x 9.65 cm (approx.) |
| Weight | 612.35 g (approx.) |
| UPC | 681066327449 |
10. Warranty and Support
For warranty information or technical support, please refer to the warranty card included with your product or visit the official Vivitar website. Keep your purchase receipt as proof of purchase for any warranty claims.


