Introduction
This manual provides essential instructions for the safe and effective use of your Niermann Standby Night Light with LED, featuring The Little Prince design. Please read this manual thoroughly before operating the device and retain it for future reference.

Image: The Niermann Standby Night Light, featuring The Little Prince design, shown from the front. The device is a purple, dome-shaped projector with star cutouts on top and character illustrations around the base.
Safety Precautions
To ensure safe operation and prevent damage, please observe the following safety guidelines:
- Do not immerse the device in water or other liquids.
- Keep the device away from direct heat sources and open flames.
- Use only the specified battery type (3 x AA batteries).
- Ensure batteries are inserted with correct polarity (+/-).
- Remove batteries if the device will not be used for an extended period.
- Do not mix old and new batteries, or different types of batteries.
- This product is not a toy. Keep out of reach of small children when not in use or supervised.
- Do not attempt to open or repair the device yourself. Refer to qualified service personnel.
Package Contents
Verify that all items are present in the package:
- 1 x Niermann Standby Night Light with LED, The Little Prince
Note: 3 x AA batteries are required for operation and are not included in the package.

Image: The retail packaging box for the Niermann Standby Night Light. The box features illustrations of The Little Prince and indicates the product's star projection and color-changing features.
Setup Instructions
1. Battery Installation
- Locate the battery compartment on the underside of the night light.
- Open the battery compartment cover.
- Insert 3 x AA batteries, ensuring correct polarity as indicated inside the compartment.
- Close the battery compartment cover securely.
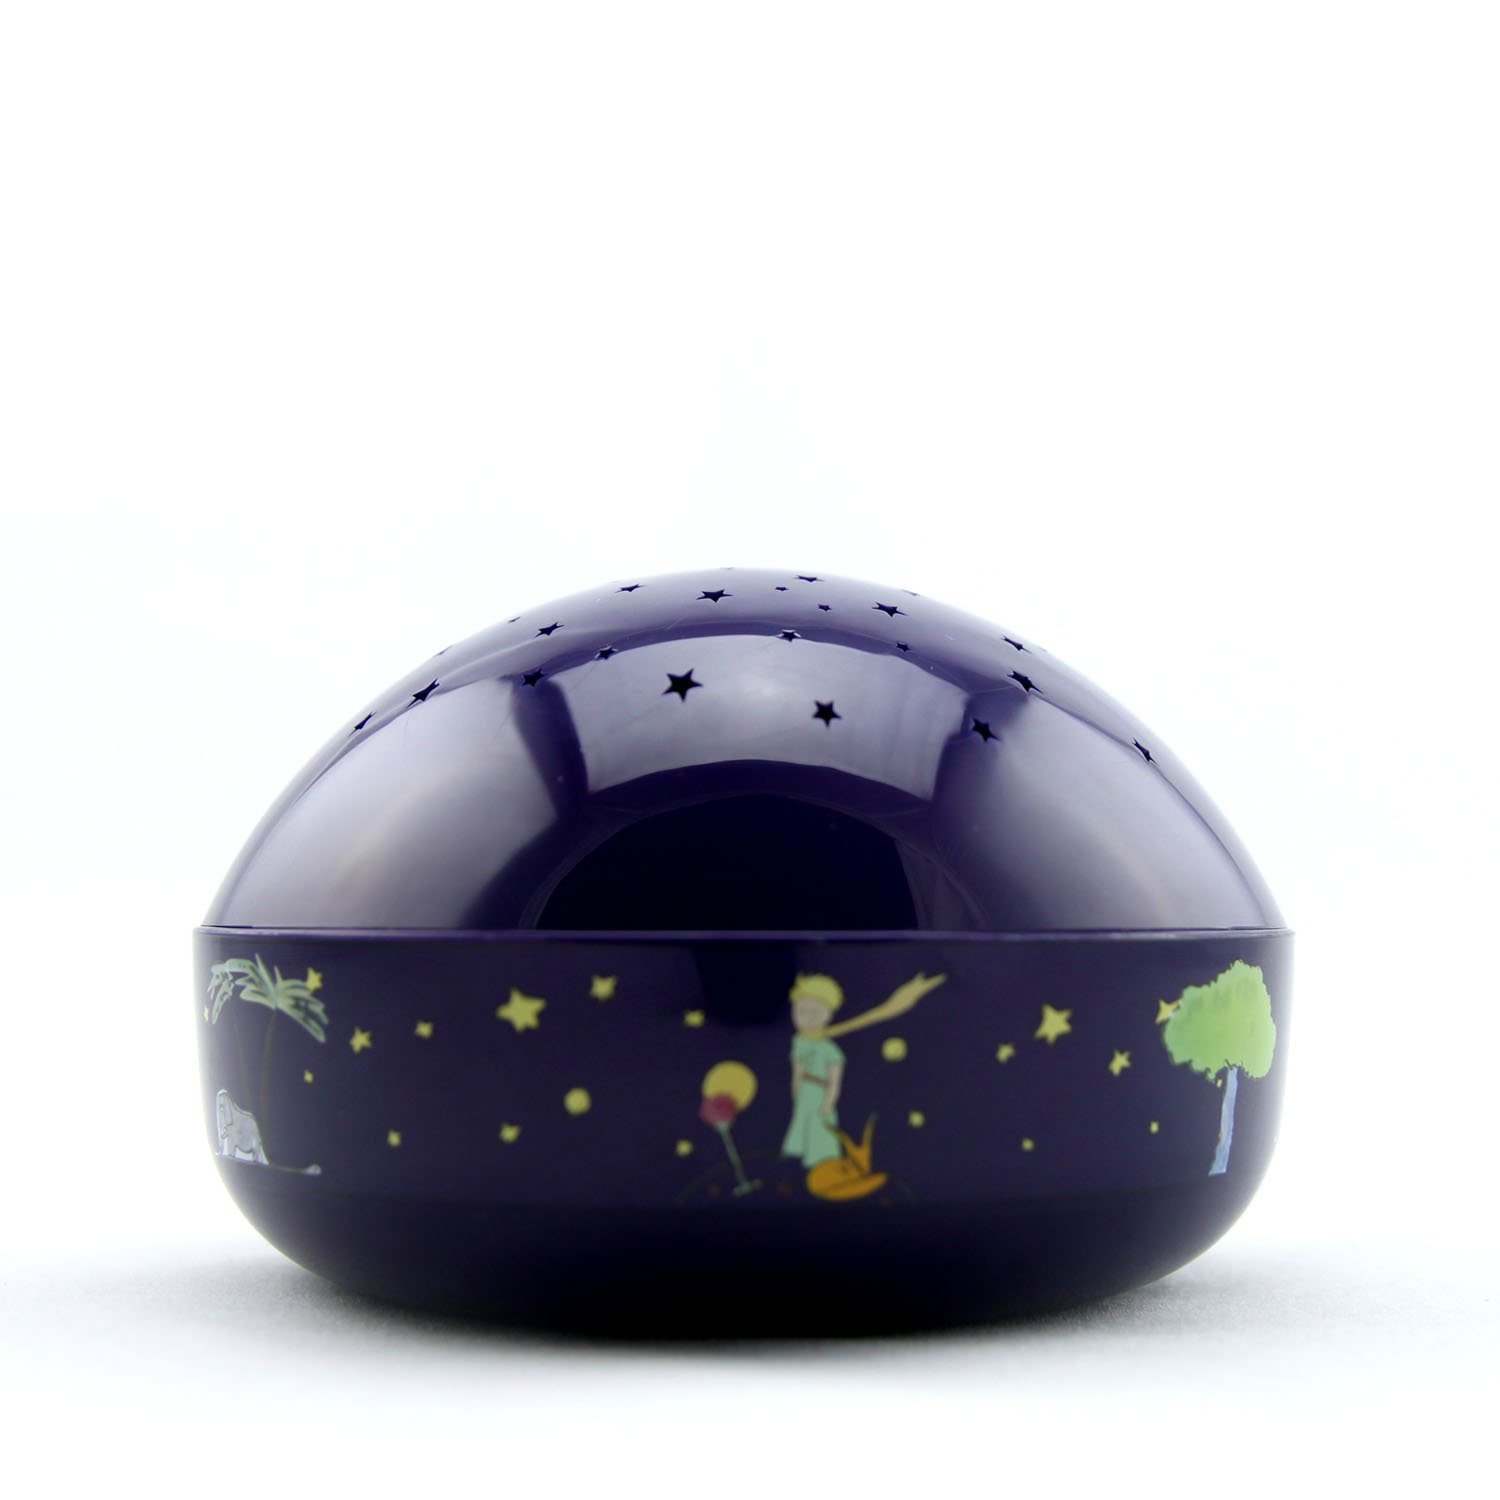
Image: A side view of the night light, showing the base where the battery compartment is located. The Little Prince character is visible on the side.
2. Placement
For optimal star projection, place the night light on a flat, stable surface in the center of the room. The closer the device is to the ceiling, the clearer and brighter the projected stars will appear.
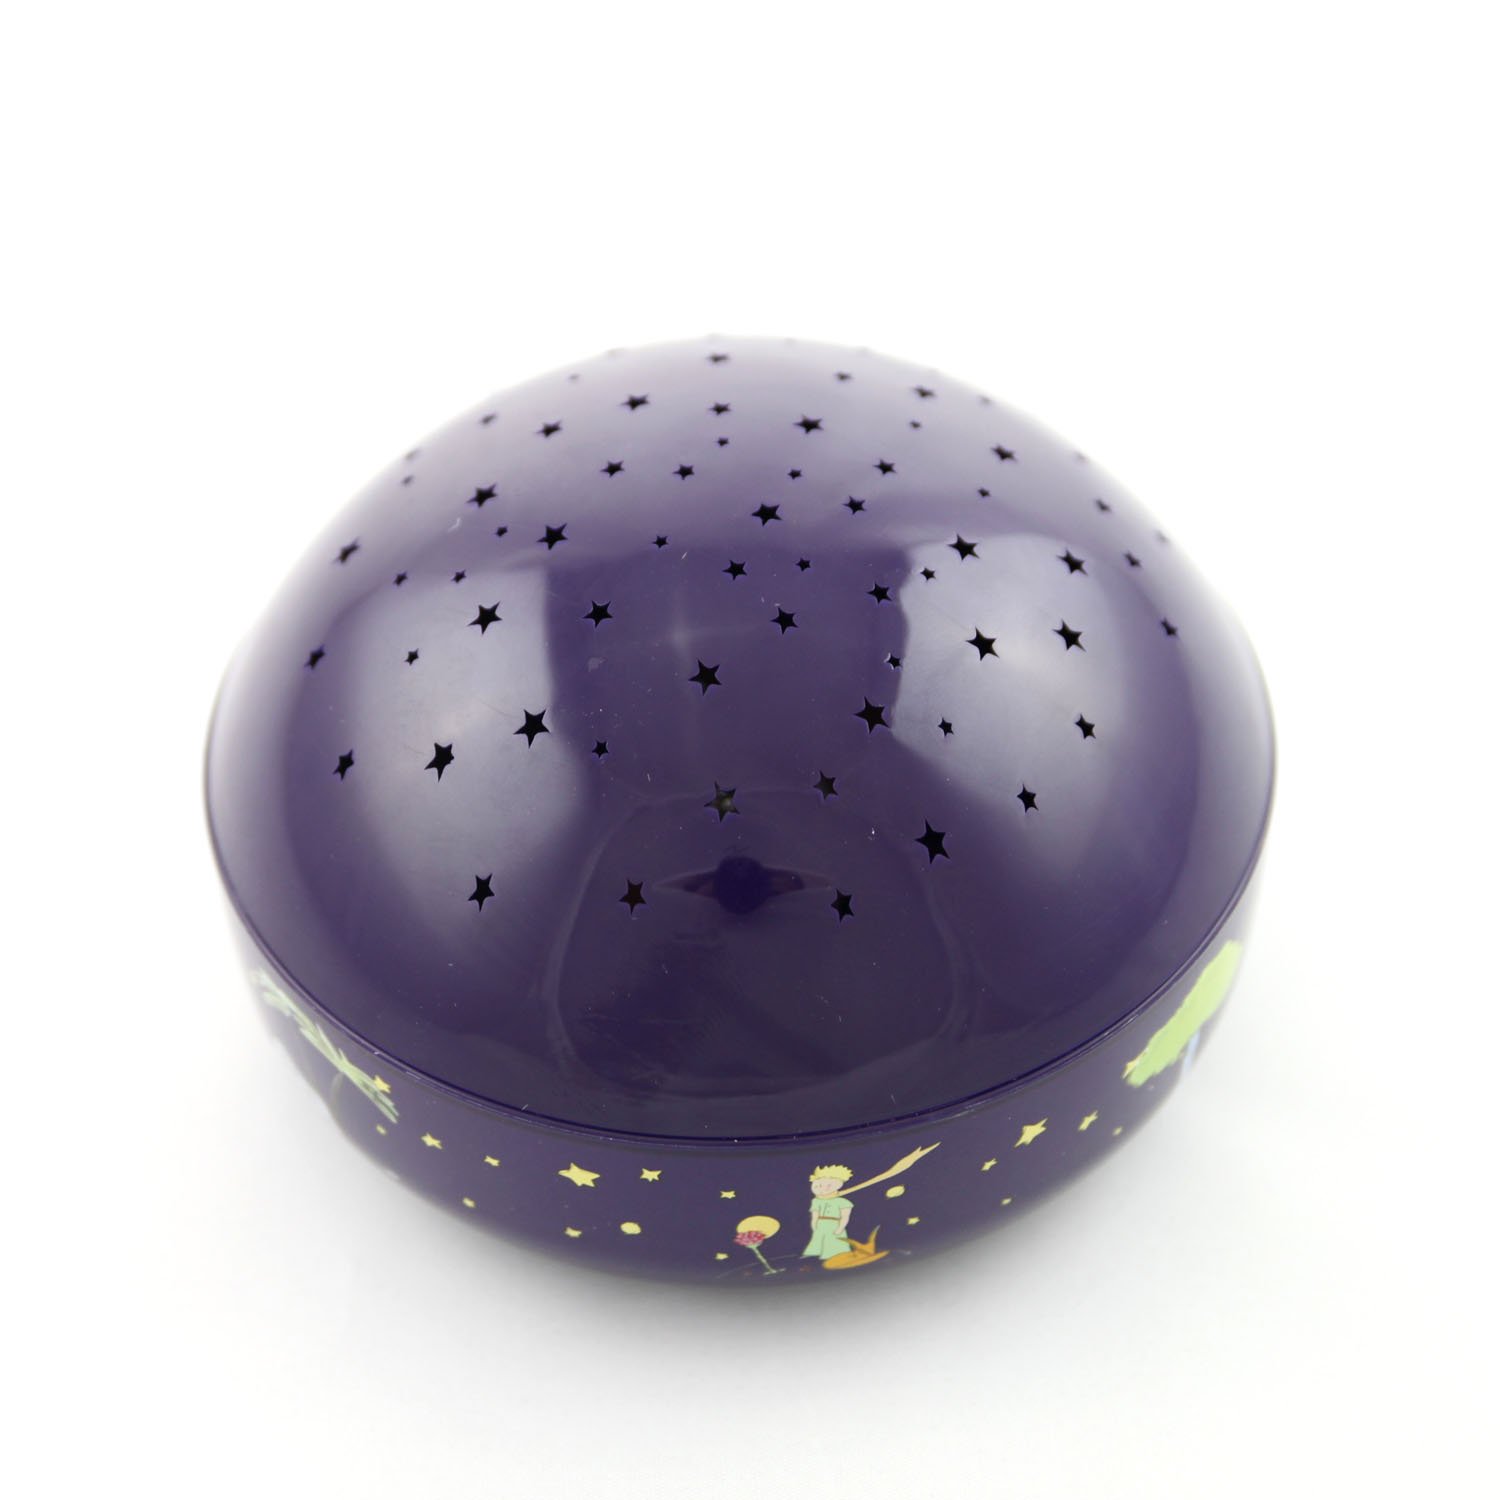
Image: A top-down view of the night light, highlighting the dome with numerous star-shaped cutouts through which the light projects.
Operating Instructions
Powering On/Off and Color Selection
The night light is operated using a touch-sensitive button. This button is typically located on the side of the device, often integrated with the "Le Petit Prince" logo. Each touch cycles through different light modes:
- 1st Touch: Activates the night light with orange star projection.
- 2nd Touch: Changes the projection to green stars.
- 3rd Touch: Changes the projection to blue stars.
- 4th Touch: Initiates a color-changing mode, cycling through orange, green, and blue.
- 5th Touch: Turns the night light off.

Image: The night light projecting orange stars onto a wall, creating a warm ambiance.
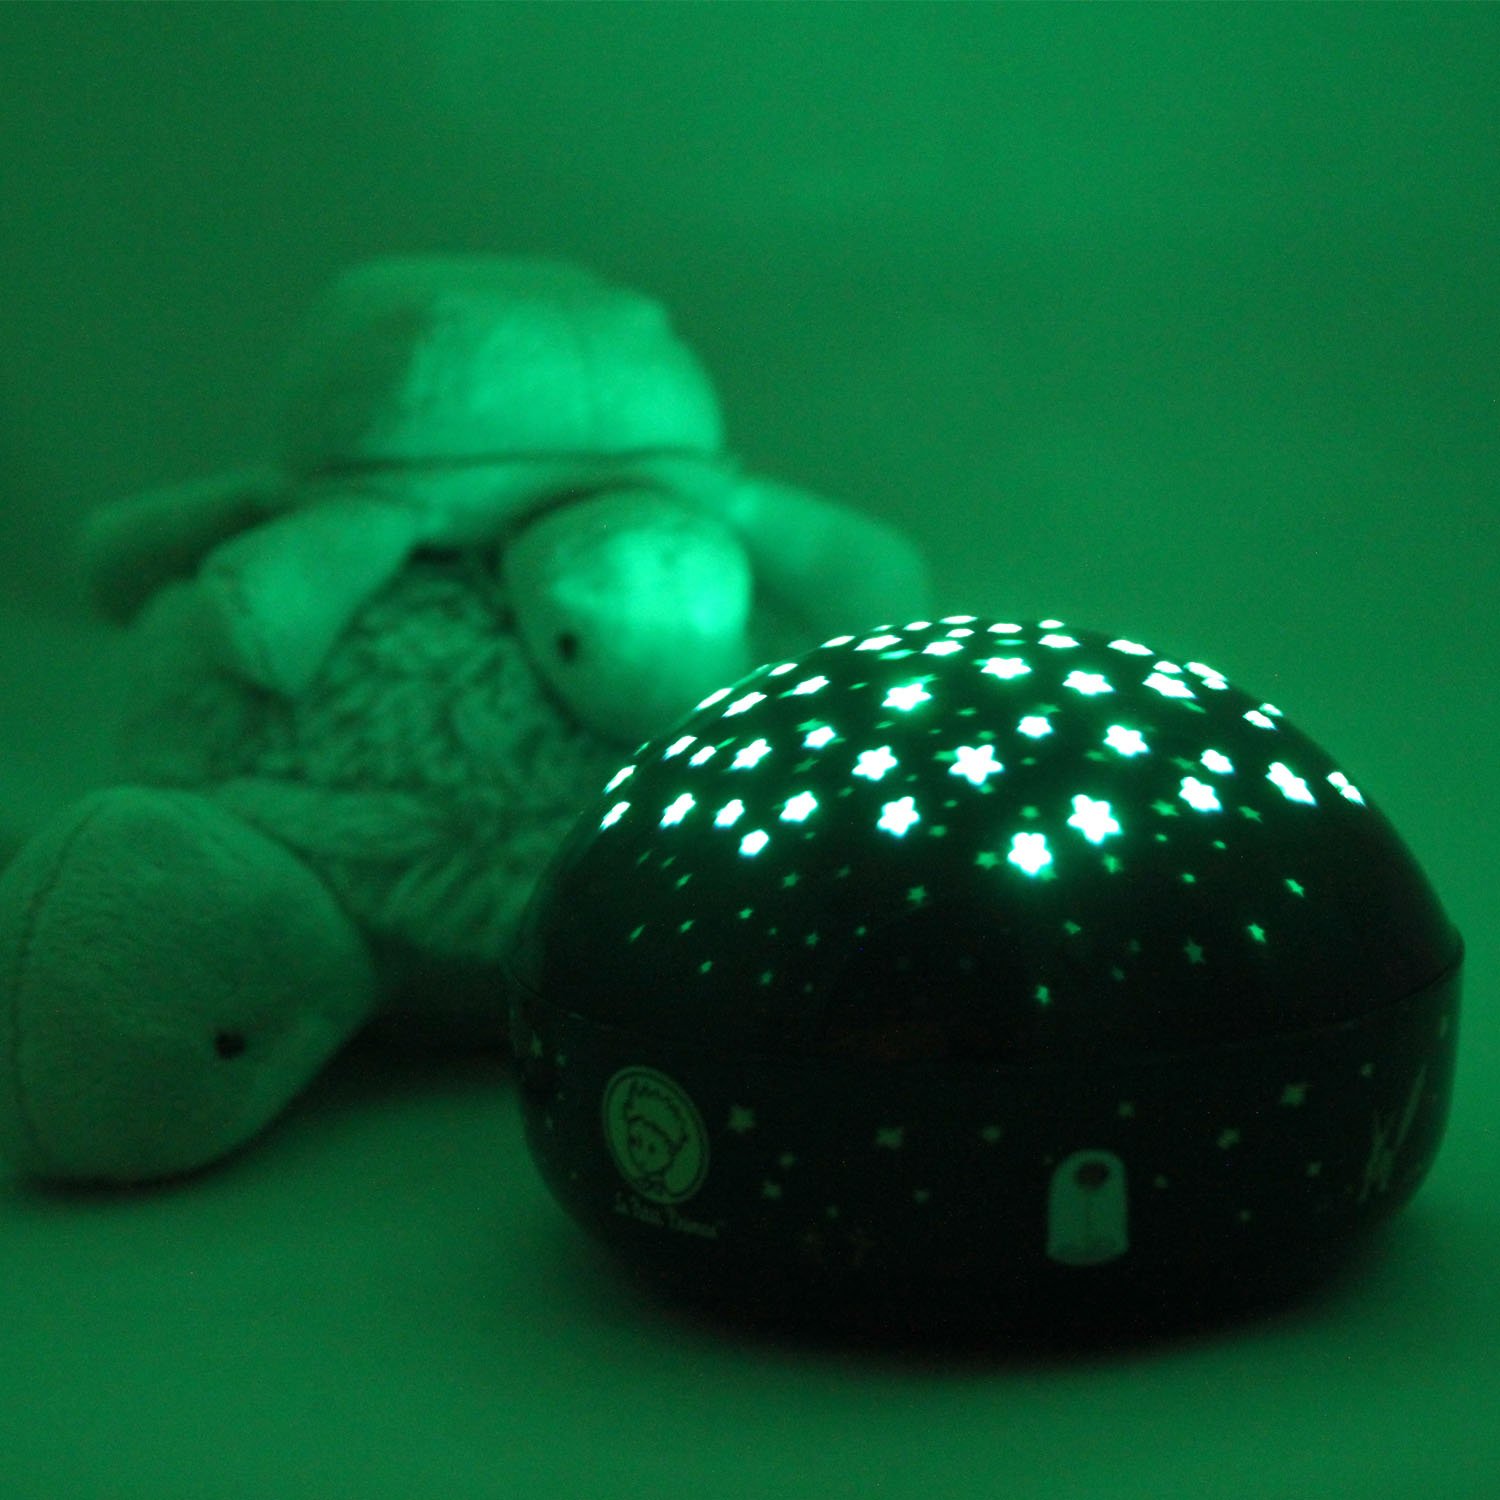
Image: The night light projecting green stars onto a wall, providing a calming green glow.
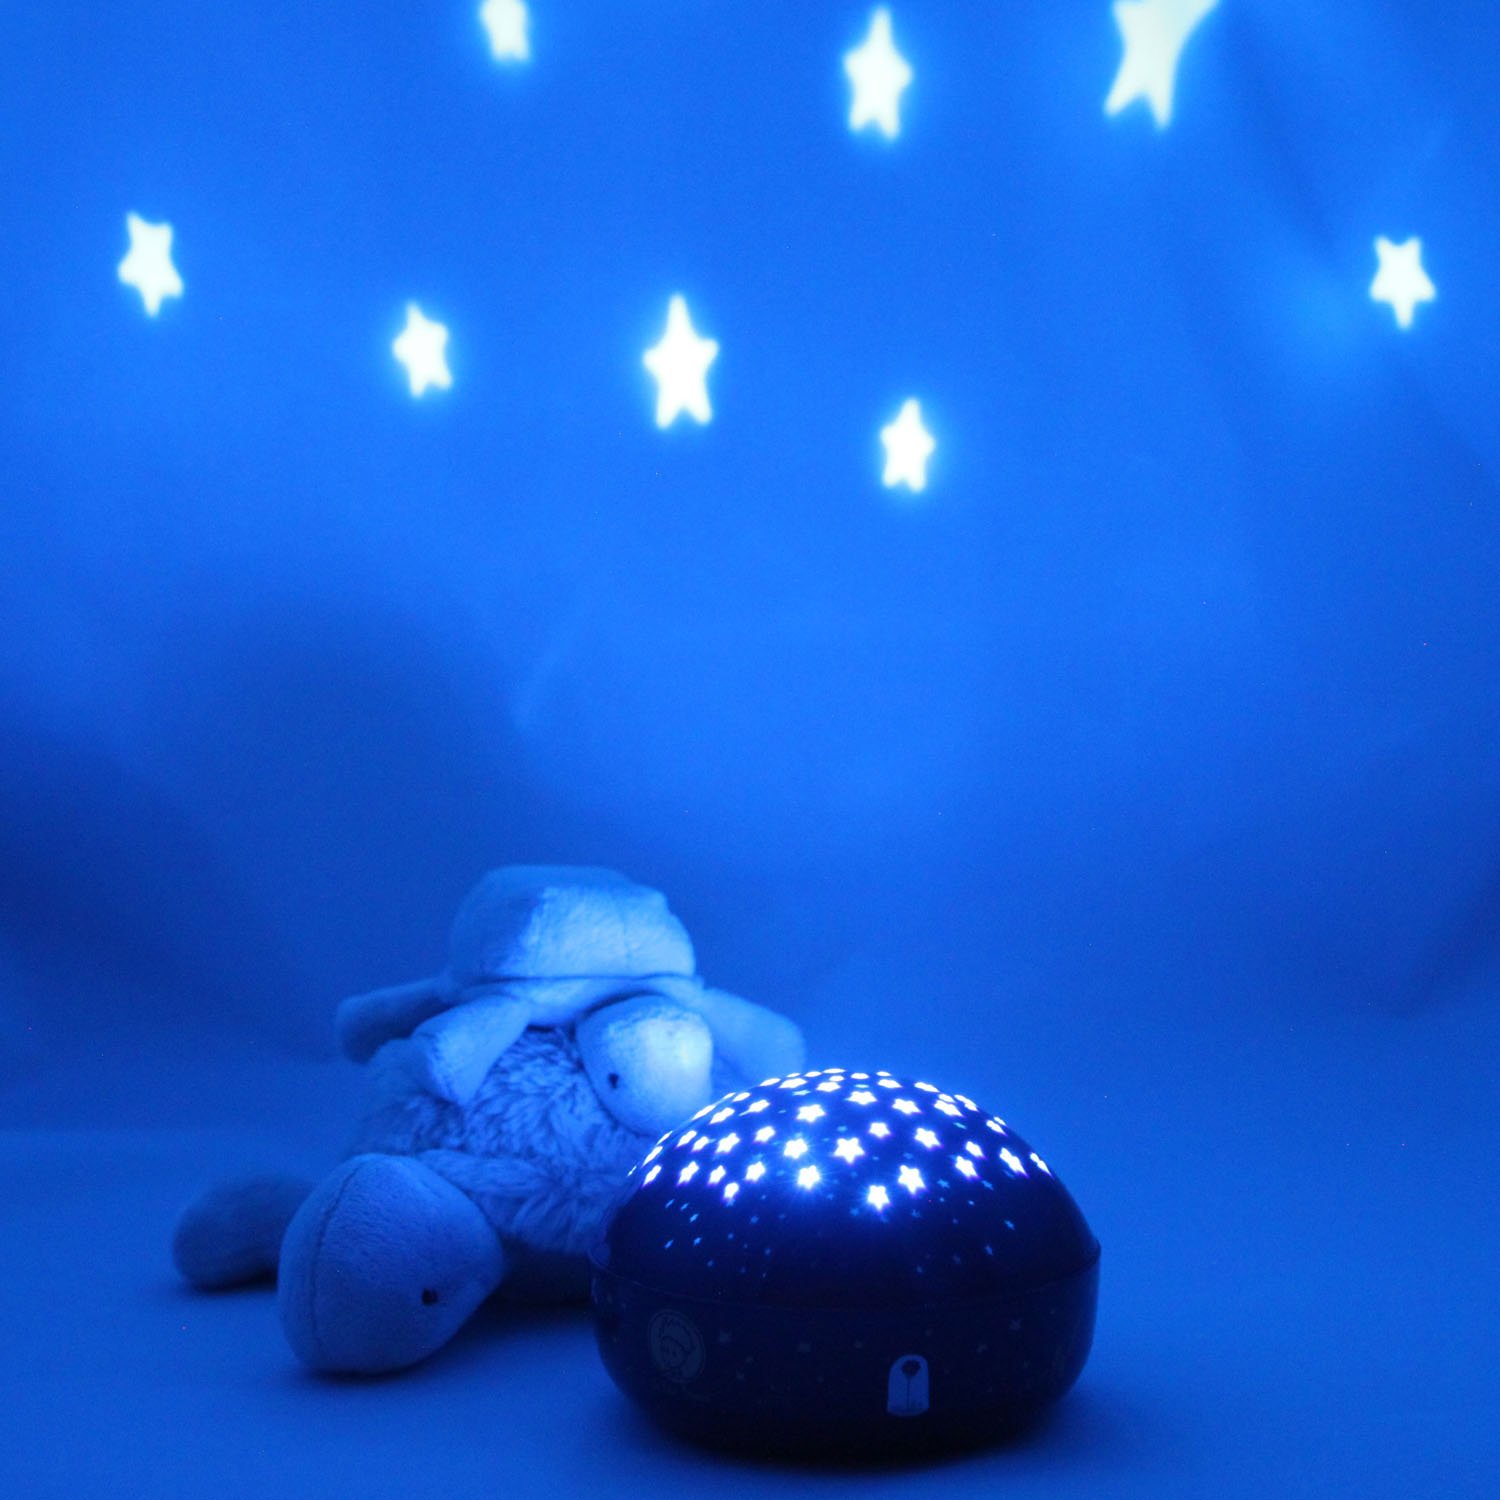
Image: The night light projecting blue stars onto a wall, creating a serene blue environment.
Automatic Shut-off
The night light is equipped with an automatic shut-off feature. It will automatically turn off after approximately 45 minutes of continuous operation to conserve battery life.
Maintenance
- Cleaning: Wipe the surface of the night light with a soft, dry cloth. Do not use abrasive cleaners or solvents.
- Battery Replacement: Replace all three AA batteries when the light dims or stops functioning. Refer to the "Battery Installation" section for instructions. Based on typical usage (45 minutes per night), a fresh set of batteries should last approximately 60 nights.
- Storage: Store the device in a cool, dry place when not in use. Remove batteries if storing for an extended period.
Troubleshooting
| Problem | Possible Cause | Solution |
|---|---|---|
| Night light does not turn on. |
|
|
| Light is dim or flickers. | Batteries are low. | Replace with new AA batteries. |
| Stars are not clear or visible. |
|
|
Product Specifications
| Model Number | 80036 |
| Brand | Niermann Standby |
| Dimensions (D x W x H) | 11.81" x 11.81" x 11.81" (approx. 30cm x 30cm x 30cm) |
| Item Weight | 0.2 Kilograms (approx. 7 ounces) |
| Lamp Type | Night Light |
| Switch Type | Touch |
| Light Source Type | LED |
| Material | Plastic |
| Power Source | Battery Powered |
| Batteries Required | 3 x AA (not included) |
| Automatic Shut-off | Approx. 45 minutes |
| Estimated Battery Life | 60 nights (based on 45 minutes/night) or 45 hours continuous use |
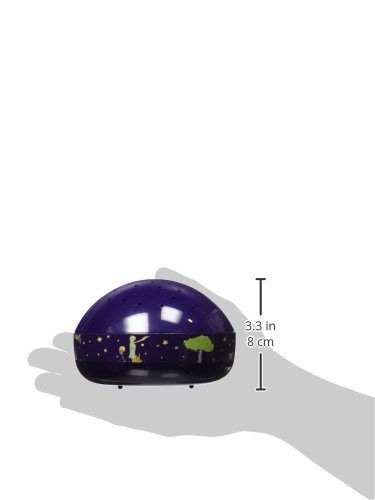
Image: A side profile of the night light with a hand for scale, indicating a height of approximately 3.3 inches (8 cm).
Warranty and Support
Niermann Standby products are manufactured to high-quality standards. For specific warranty details, please refer to the documentation provided with your purchase or contact the manufacturer directly. Keep your proof of purchase for warranty claims.
For further assistance or inquiries, please visit the official Niermann Standby website or contact their customer support. You may also find additional information and resources at http://c0d.es/lpp.