
Maestro ADS-MRR
Maestro ADS-MRR Universal Radio Replacement and Steering Wheel Interface
User Manual
Introduction
The iDatalink Maestro ADS-MRR module is designed to facilitate the installation of a new car stereo in various late-model vehicles, including select Fiat, Ford, GM, Chrysler, Toyota/Scion, Honda, Subaru, and Volkswagen models. This module ensures the retention of essential factory features such as steering wheel audio controls and the functionality of the factory amplifier, if present. It acts as a bridge between your new aftermarket head unit and your vehicle's existing electronic systems, providing seamless integration and enhanced control.
For optimal performance and feature retention, the ADS-MRR module requires a vehicle-specific harness, which is sold separately. This manual provides detailed instructions for setup, operation, maintenance, and troubleshooting to help you maximize the utility of your Maestro ADS-MRR interface.
Setup and Installation
Proper setup of your Maestro ADS-MRR module is crucial for its functionality. This involves connecting the module to your vehicle's wiring harness and your new aftermarket stereo, followed by programming the module using the iDatalink Weblink Updater.
Package Contents
- Maestro ADS-MRR Interface Module
- Wiring Harness (vehicle-specific, sold separately)
- USB Cable (for programming)
Physical Installation
Before beginning installation, ensure the vehicle's battery is disconnected. Connect the Maestro ADS-MRR module to the vehicle-specific harness and then to your aftermarket stereo according to the wiring diagrams provided with your harness and stereo. Ensure all connections are secure to prevent intermittent issues.

Figure 1: Maestro ADS-MRR module, top view, showing the iDatalink Maestro logo.
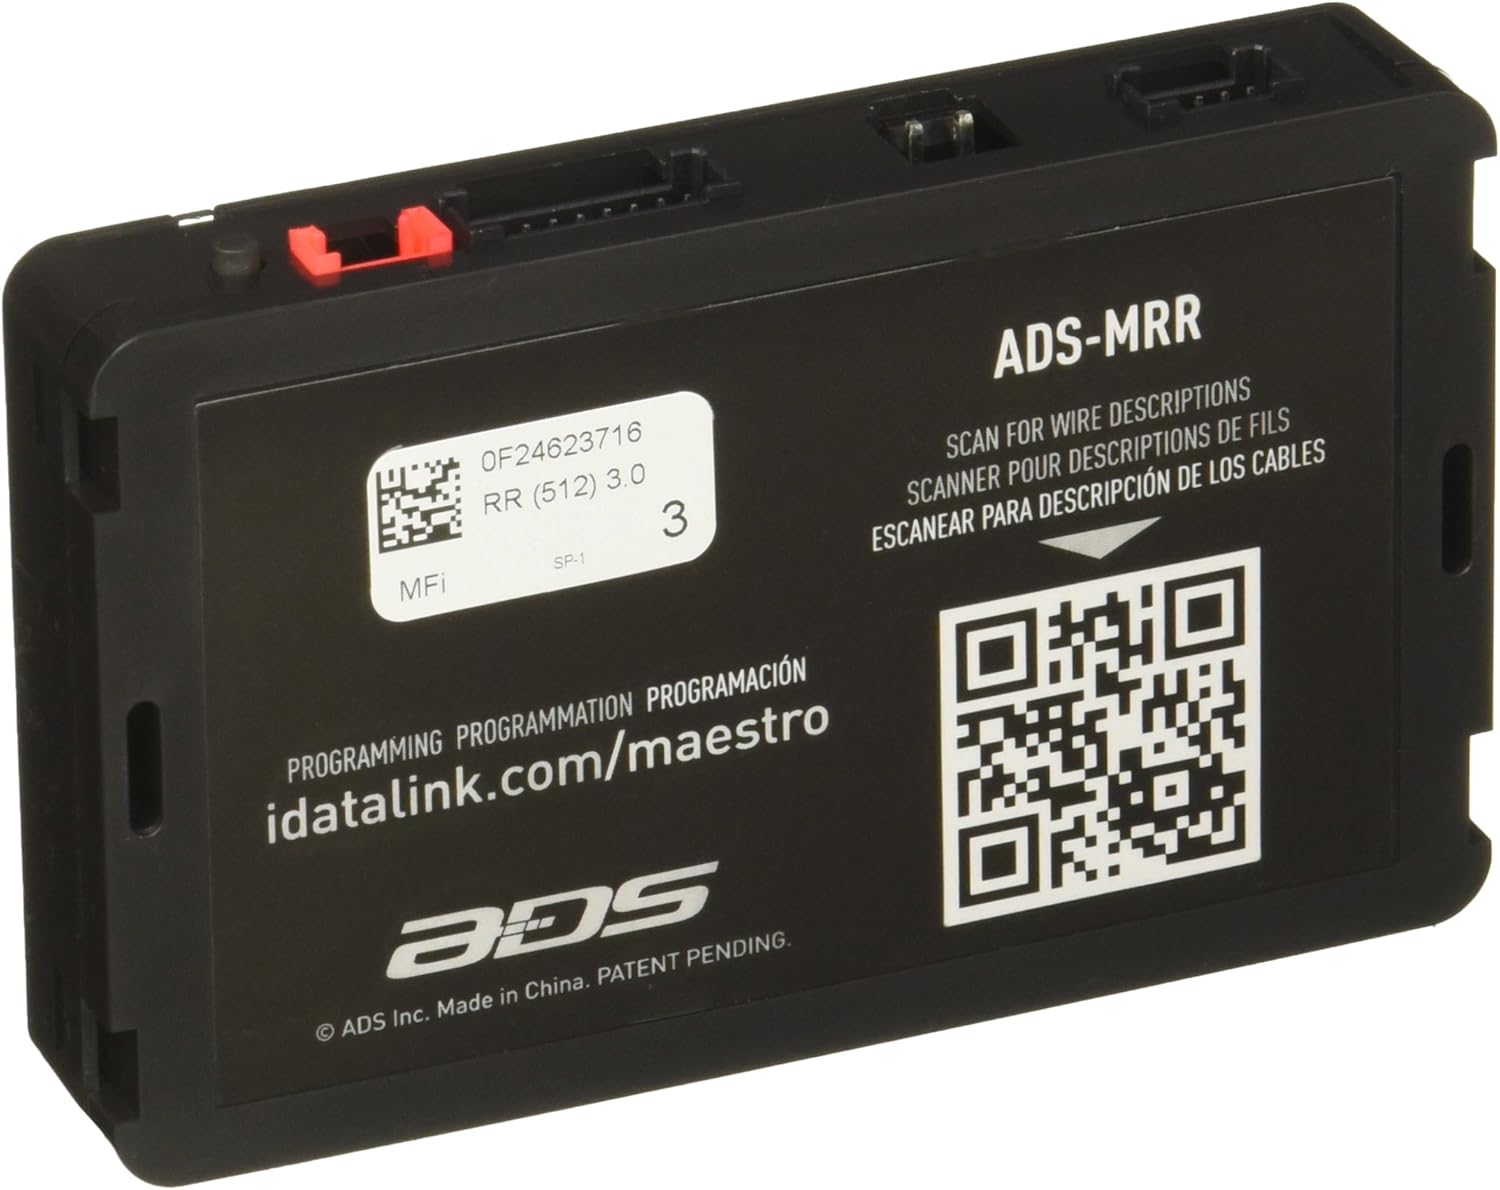
Figure 2: Maestro ADS-MRR module, bottom view, displaying the model number, QR code for wire descriptions, and the programming website idatalink.com/maestro.
For additional wire descriptions, scan the QR code or visit http://bit.ly/KM1MPF?r=qr.

Figure 3: Close-up view of the Maestro ADS-MRR module's connection ports, including a red tab indicating a specific connector.
Module Programming (Weblink Updater)
The Maestro ADS-MRR module must be programmed using the iDatalink Weblink Updater software. This software allows you to select your specific vehicle, steering wheel configuration, and aftermarket radio model to ensure proper functionality.
- Download and install the iDatalink Weblink Updater software from the official iDatalink Maestro website.
- Connect the Maestro ADS-MRR module to your computer using the provided USB cable.
- Launch the Weblink Updater and follow the on-screen prompts to select your vehicle's make, year, model, and trim.
- Confirm your steering wheel configuration.
- Select your aftermarket radio's brand and model. You may need to enter the radio's serial number for compatibility verification.
- Choose the OEM systems you wish to retain (e.g., Steering Wheel Controls, Factory Amplifier, Sync Media Player, Sync Bluetooth).
- Configure each steering wheel button function according to your preferences.
- Proceed with flashing the firmware to the module. Ensure a stable internet connection during this process.
Video 1: Flashing the iDatalink Maestro ADS-MRR. This video demonstrates the step-by-step process of programming the Maestro ADS-MRR module using the Weblink Updater software, including vehicle and radio selection, and feature retention options.
Video 2: Setting up the iDatalink Maestro Dash kit in Weblink Updater. This video provides specific instructions on how to enable and configure the iDatalink Maestro Dash Kit within the Weblink Updater software, which is essential for certain features to be active.
Operating the Maestro ADS-MRR
Once installed and programmed, the Maestro ADS-MRR module operates seamlessly in the background, integrating your aftermarket stereo with your vehicle's factory systems. The primary interaction will be through your steering wheel controls and your new stereo's interface.
Steering Wheel Control Functionality
The module retains and allows customization of your factory steering wheel audio controls. Functions such as volume up/down, track seek, source selection, and phone controls will operate as configured during the programming phase.
Advanced Camera Features
For Maestro-compatible multimedia receivers with multiple assignable camera inputs, the ADS-MRR enables advanced camera features, including Smart Parking, Front Camera Low Speed Trigger, and Off-Road 4x4 Trigger. Compatibility depends on both the vehicle and the receiver. Refer to the iDatalink Maestro fit guide for details.
- Smart Parking: Automatically switches between front and rear cameras based on the vehicle's gear placement (Reverse or Drive). This assists with parallel parking and maneuvering in tight spaces.
- Front Camera Low Speed Trigger: Automatically activates the front camera when the vehicle's speed drops below a configurable threshold, useful for parking and avoiding curbs.
- Side View Camera Trigger: Switches the radio screen to the driver or passenger side camera when the corresponding turn signal is activated, enhancing visibility during lane changes or turns.
- Off-Road 4x4 Trigger: For compatible vehicles, this feature automatically turns on the front camera when the vehicle is placed into 4x4 mode, providing a clear view of the terrain ahead.
Video 3: Advanced Camera Features - iDatalink Maestro ADS-MRR. This video illustrates the various advanced camera functionalities supported by the Maestro ADS-MRR, including Smart Parking, Low Speed Trigger, and Side View Camera Trigger, demonstrating their practical applications.
Maintenance
The Maestro ADS-MRR module is designed for long-term, maintenance-free operation. No regular physical maintenance is required.
Firmware Updates
Periodically check the iDatalink Maestro website for firmware updates. Updates may provide enhanced compatibility, new features, or bug fixes. To update the firmware, connect the module to your computer and use the Weblink Updater software, following the on-screen instructions.
Troubleshooting
If you encounter issues with your Maestro ADS-MRR module, refer to the following common troubleshooting steps:
- No Functionality After Installation:
- Verify all wiring connections are secure and correct according to the installation guide.
- Ensure the module has been properly programmed for your specific vehicle and radio using the Weblink Updater.
- Check the vehicle's fuses related to the stereo and accessory power.
- Steering Wheel Controls Not Working:
- Confirm that steering wheel controls were selected for retention during the Weblink programming.
- Re-flash the module, paying close attention to the steering wheel button configuration step.
- Factory Features Not Retained (e.g., SYNC, OnStar, Factory Amp):
- Ensure these features were selected for retention during the Weblink programming.
- Verify that your aftermarket stereo supports the retention of these specific features through the Maestro module.
- Module Not Detected by Weblink Updater:
- Try a different USB cable, as some cables may not be suitable for data transfer.
- Ensure the Weblink Updater software is up to date.
- Try connecting the module to a different USB port on your computer.
Resetting the Module
If issues persist, you may need to reset the Maestro ADS-MRR module. There are two primary methods for resetting:
Reset from Module (Physical Button)
- Disconnect all plugs from the Maestro ADS-MRR module.
- Press and hold the button located on the side of the module.
- While holding the button, reconnect the 3-pin power harness.
- Continue holding the button until the LED flashes red.
- Release the button, and the LED will turn solid green, indicating a successful reset.
- Reconnect all other plugs to the Maestro ADS-MRR module.
Reset from Radio (Software Menu)
For compatible aftermarket radios, you can reset the Maestro module directly through the radio's settings menu:
- Go into the radio settings menu.
- Locate the OEM Setup menu.
- Select "Maestro Module" from the OEM Setup menu.
- Select "Module Master Reset."
- Confirm the Master Reset when prompted.
Video 4: Resetting your iDatalink Maestro ADS-MRR Module. This video demonstrates both methods of resetting the Maestro ADS-MRR module: using the physical button on the module and through the compatible aftermarket radio's software menu.
Specifications
| Feature | Detail |
|---|---|
| Model Number | ADS-MRR |
| Item Weight | 0.8 ounces |
| Product Dimensions | 2.88 x 4.18 x 0.75 inches |
| Country of Origin | China |
| Wireless Remote | No |
| Compatibility | Select 2006-up Chrysler, Fiat, Ford, GM, Honda, Subaru, Toyota, and VW vehicles. Retains factory convenience features (OnStar, SYNC, Uconnect, etc.) with select Kenwood, Alpine, Pioneer, and JVC touchscreen receivers. Displays engine performance data on touchscreen with select Kenwood, JVC, Pioneer, and Alpine multimedia receivers. |
Warranty Information
The Maestro ADS-MRR Universal Radio Replacement and Steering Wheel Interface comes with a 1-year manufacturer warranty. For specific terms and conditions, please refer to the warranty documentation included with your product or contact Maestro customer support.
Support
For technical assistance, troubleshooting, or general inquiries regarding your Maestro ADS-MRR module, please contact Maestro customer support:
- Phone Support: 1-866-427-2999 (Monday to Friday: 8:30 AM to 5:00 PM EST)
- Website: Visit www.idatalinkmaestro.com for product information, fit guides, firmware updates, and additional resources.
Related documentsADS-MRR


Ask a question about this manual
Ask about setup, troubleshooting, compatibility, parts, safety, or missing instructions. Manuals+ will review the question and use this page’s manual context to help answer it.