TRW DF1707
TRW DF1707 Brake Disc Rotor
Product Instruction Manual
Introduction
This instruction manual provides essential information for the proper handling, installation, and maintenance of your TRW DF1707 Brake Disc Rotor. Adhering to these guidelines will help ensure the safety, performance, and longevity of the product. Please read this manual thoroughly before proceeding with any installation or maintenance.
Important Safety Information:
- Brake system components are critical for vehicle safety. Installation and maintenance should only be performed by qualified personnel using appropriate tools and following vehicle manufacturer's specifications.
- Always wear appropriate personal protective equipment (PPE) when handling brake components.
- Ensure the vehicle is securely supported on jack stands or a lift before working underneath.
- Refer to your vehicle's service manual for specific torque specifications and procedures.
Product Overview
The TRW DF1707 is a high-quality brake disc rotor designed for optimal braking performance and durability. It is a solid type brake disc, featuring a painted black surface for enhanced corrosion resistance.
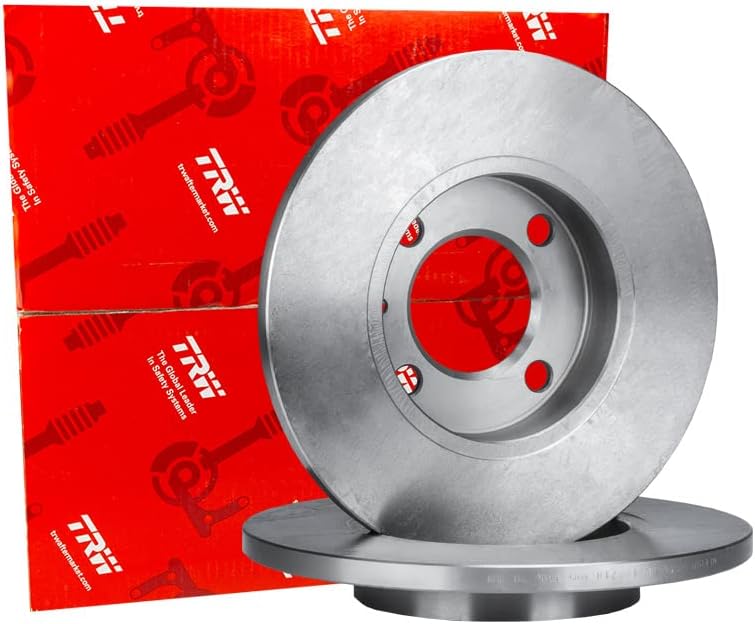
Figure 1: Two TRW DF1707 brake disc rotors, showcasing their design and packaging.
Key Features:
- Brake Disc Type: Solid
- Surface: Painted Black for corrosion protection
- Dimensions: Diameter 250.5 mm, Thickness 10 mm
- Mounting: 6 holes, Bolt hole circle diameter 80 mm, Centering diameter 62 mm
- Minimum Thickness: 8 mm (important for wear limits)

Figure 2: Detailed view of a single TRW DF1707 brake disc rotor, highlighting its smooth surface and precision-machined mounting points.
Installation (Setup)
Proper installation is crucial for the safe and effective operation of your vehicle's braking system. It is highly recommended that installation be performed by a certified automotive technician.
- Preparation:
- Ensure the vehicle is safely lifted and supported. Remove the wheel.
- Carefully remove the brake caliper and old brake disc.
- Thoroughly clean the wheel hub surface to remove any rust, dirt, or debris. A clean mounting surface is essential for proper disc seating and to prevent run-out.
- Mounting the New Disc:
- Place the new TRW DF1707 brake disc rotor onto the clean wheel hub. Ensure it sits flush against the hub.
- Secure the disc temporarily with a lug nut or retaining screw if applicable, to hold it in place during caliper reinstallation.
- Reassembly:
- Reinstall the brake caliper with new brake pads (recommended). Ensure all bolts are torqued to the vehicle manufacturer's specifications.
- Reinstall the wheel and lower the vehicle.
- Brake System Check:
- Pump the brake pedal several times to ensure the brake pads are seated against the new disc and the pedal feels firm.
- Check for any fluid leaks if brake lines were disconnected.
Always consult your vehicle's specific service manual for detailed, model-specific installation procedures and torque values.
Operating (Break-in Procedure)
After installing new brake discs and pads, a proper break-in procedure is essential to ensure optimal performance and longevity. This process, often called "bedding-in," helps transfer an even layer of friction material from the pads to the disc surface.
- Drive the vehicle at a moderate speed (e.g., 50-60 km/h or 30-40 mph).
- Apply the brakes moderately (not aggressively) to slow down to about 10-15 km/h (5-10 mph). Do not come to a complete stop.
- Repeat this process approximately 8-10 times, allowing a short cool-down period between each stop. Avoid heavy braking or prolonged braking during this phase.
- After the initial series of stops, drive for several minutes without braking to allow the discs to cool down completely.
This procedure helps prevent uneven pad deposits, which can lead to brake judder or noise. Avoid hard braking or emergency stops for the first 300-500 km (200-300 miles) after installation.
Maintenance
Regular inspection and timely maintenance are key to ensuring the safety and performance of your braking system.
- Regular Inspection: Have your brake discs inspected during routine vehicle servicing, typically every 10,000-15,000 km (6,000-9,000 miles) or as recommended by your vehicle manufacturer.
- Check for Wear: Inspect the disc surface for scoring, cracks, or excessive wear. The minimum thickness for the TRW DF1707 is 8 mm. If the disc thickness is at or below this value, it must be replaced.
- Rust and Corrosion: While the TRW DF1707 has a painted surface for corrosion resistance, inspect for any signs of significant rust buildup, especially on the braking surface or hub mounting area.
- Brake Pad Condition: Always check the condition of your brake pads when inspecting discs. Worn or unevenly worn pads can damage new discs.
- Cleaning: Keep brake components clean from excessive dust and debris. Use a non-petroleum-based brake cleaner if necessary, ensuring proper ventilation.
Never attempt to machine or resurface brake discs that are below their minimum thickness specification. Always replace them with new, high-quality components like the TRW DF1707.
Troubleshooting
If you experience any issues with your braking system after installing new discs, consider the following common problems and potential causes. Always consult a qualified mechanic for diagnosis and repair.
- Brake Noise (Squealing/Grinding):
- Squealing: Often caused by new pads bedding in, worn pads, or lack of anti-squeal shims/lube.
- Grinding: Typically indicates metal-on-metal contact, meaning brake pads are completely worn out and the backing plate is rubbing against the disc. Immediate attention required.
- Brake Judder/Vibration:
- Can be caused by uneven disc wear, disc run-out (disc not perfectly flat or mounted correctly), or warped discs due to overheating.
- Ensure the hub mounting surface is clean and flat.
- Improper break-in procedure can also lead to judder.
- Reduced Braking Performance:
- Could be due to air in the brake lines, worn pads, contaminated pads/discs (oil, grease), or issues with the brake fluid or master cylinder.
- New discs and pads require a break-in period before reaching full performance.
- Pulling to One Side During Braking:
- Often indicates an issue with one side of the braking system, such as a seized caliper, unevenly worn pads, or a contaminated disc on one side.
If you experience any of these symptoms, it is crucial to have your vehicle inspected by a professional mechanic immediately to ensure your safety.
Specifications
Detailed technical specifications for the TRW DF1707 Brake Disc Rotor:

Figure 3: Technical diagram illustrating the key dimensions of the TRW DF1707 brake disc rotor.
| Attribute | Value |
|---|---|
| Brand | TRW |
| Model Number | DF1707 |
| Product Dimensions | 2.6 x 10.08 x 10.16 cm (approx. 1.02 x 3.97 x 4.00 inches) |
| Item Weight | 14.53 kg (approx. 32.03 lbs) |
| Brake Disc Type | Solid |
| Diameter | 250.5 mm |
| Brake Disc Thickness | 10 mm |
| Minimum Thickness | 8 mm |
| Height | 20.7 mm |
| Number of Holes | 6 |
| Bolt Hole Circle Diameter | 80 mm |
| Centering Diameter | 62 mm |
| Exterior Finish | Black (Painted) |
| Position | Rear (as per specification, though brake discs can be front or rear depending on vehicle) |
| OEM Part Numbers | 11650.26215.00, 116502621501, 161502621501, 60526121, 60701786 |
Warranty Information
Specific warranty terms and conditions for the TRW DF1707 Brake Disc Rotor are provided by the manufacturer, TRW. Please refer to the official TRW website or contact their customer service for detailed warranty coverage, duration, and claim procedures. Retain your proof of purchase for any warranty claims.
Customer Support
For technical assistance, product inquiries, or support regarding the TRW DF1707 Brake Disc Rotor, please contact:
- TRW Automotive: Visit the official TRW website for contact information, technical resources, and FAQs.
- Your Retailer/Seller: For purchase-related issues, returns, or specific order inquiries, contact the retailer from whom you purchased the product.
When contacting support, please have your product model number (DF1707) and purchase details readily available.
Ask a question about this manual
Ask about setup, troubleshooting, compatibility, parts, safety, or missing instructions. Manuals+ will review the question and use this page’s manual context to help answer it.