1. Introduction
This manual provides detailed instructions for the installation, operation, and maintenance of your Jensen MSX65R Marine Coaxial Speakers. These 6.5-inch speakers are designed for high-performance audio in marine environments, featuring waterproof construction and robust design. Please read this manual thoroughly before installation and use to ensure optimal performance and longevity of your speakers.
2. Package Contents
Verify that all items are present in the package before proceeding with installation:
- 2 x Jensen MSX65R Marine Coaxial Speakers
- Silver White Grilles (included with speakers)
- Mounting Hardware (screws, clips, etc. - specific hardware may vary, refer to packaging)
- Instruction Manual (this document)
3. Specifications
The following table outlines the key technical specifications for the Jensen MSX65R speakers:
| Feature | Specification |
|---|---|
| Model Number | JEN-MSX65R |
| Speaker Type | 6.5" Marine Coaxial |
| Maximum Output Power | 75 Watts |
| Frequency Response | 65Hz - 20kHz |
| Impedance | 4 Ohms |
| Woofer Material | Polypropylene |
| Voice Coil Size | 1 inch |
| Mounting Type | Flush Mount (Coaxial, Ceiling Mount, Boat Mount) |
| Mounting Hole Diameter | 6.5 inches |
| Mounting Depth | 2.375 inches (2 3/8") |
| Water Resistance Level | Waterproof (UV Exposure Standard Compliant) |
4. Setup & Installation
Proper installation is crucial for optimal performance and safety. If you are unsure about any step, consult a qualified marine audio technician.
4.1 Choosing a Mounting Location
Select a location that allows for the required mounting depth (2 3/8 inches) and diameter (6.5 inches). Ensure the location is free from obstructions and provides adequate clearance behind the speaker. Consider sound dispersion and protection from physical damage.
4.2 Cutting the Mounting Hole
- Carefully mark the center of your desired speaker location.
- Using a compass or template, draw a 6.5-inch diameter circle.
- Using an appropriate cutting tool (e.g., jigsaw), carefully cut out the marked hole. Ensure the edges are smooth.
- Test fit the speaker to ensure it sits flush.
4.3 Wiring the Speakers
Connect the speaker wires to your marine audio amplifier or head unit. Pay close attention to polarity (+ and -) to ensure correct phase and optimal sound quality. The MSX65R speakers have a 4 Ohm impedance. Ensure your amplifier is stable at this impedance.
- Connect the positive (+) terminal of the speaker to the positive (+) output of the amplifier.
- Connect the negative (-) terminal of the speaker to the negative (-) output of the amplifier.
- Use marine-grade wiring to prevent corrosion and ensure reliable connections in the marine environment.
4.4 Mounting the Speakers
- Once wired, carefully place the speaker into the mounting hole.
- Secure the speaker using the provided mounting screws. Do not overtighten, as this can damage the speaker frame or mounting surface.
- Attach the silver-white grilles by aligning them with the speaker and pressing firmly until they click into place or securing with screws if applicable.
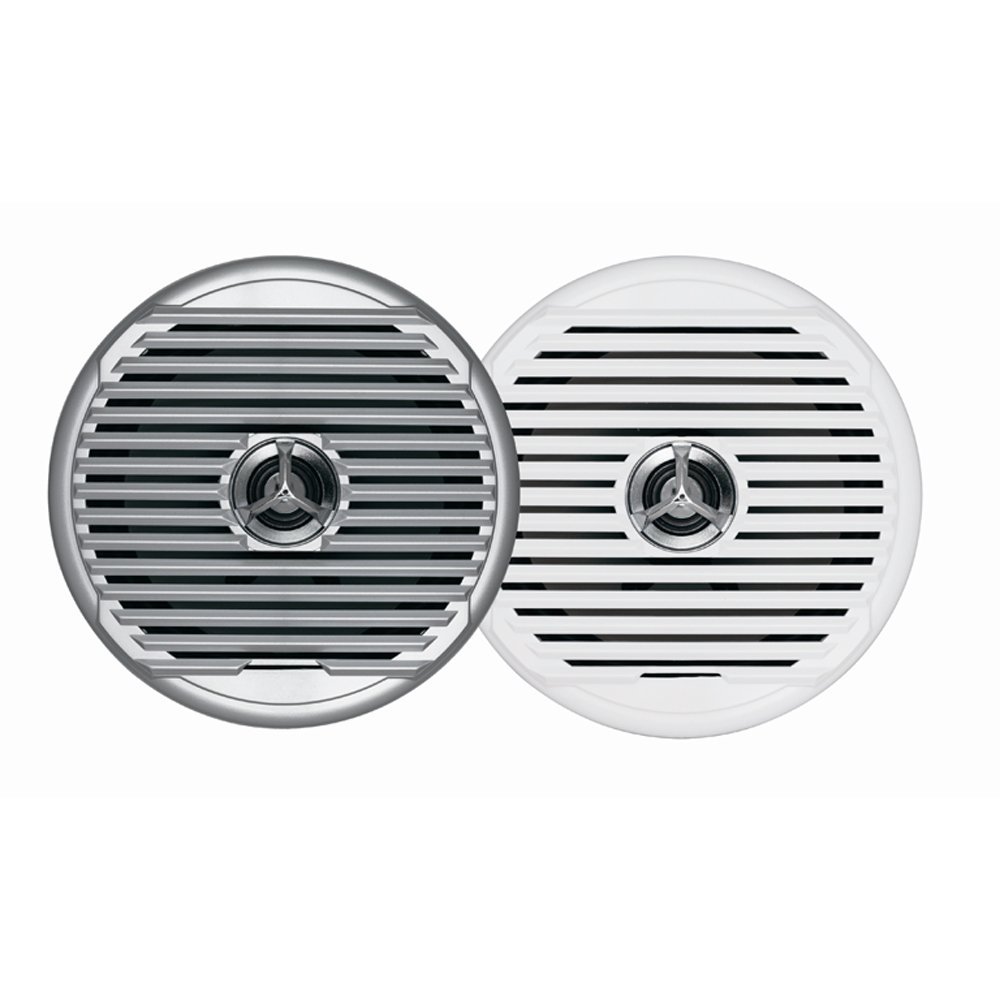
Figure 4.1: Jensen MSX65R Marine Coaxial Speaker. This image shows the speaker with its silver-white grille, ready for flush mounting.
5. Operation
Once properly installed and connected to an audio source (e.g., marine stereo, amplifier), the Jensen MSX65R speakers will reproduce audio. Ensure your audio source is powered on and configured correctly.
- Volume Control: Adjust the volume level from your connected audio source. Avoid excessively high volumes that can cause distortion or damage to the speakers.
- Balance/Fader: Use the balance and fader controls on your audio source to optimize sound distribution within your vessel.
- Tone Controls: Adjust bass, treble, and other tone controls on your audio source to suit your listening preferences.
These speakers are designed for marine environments and are waterproof. However, avoid submerging them or exposing them to high-pressure water jets.
6. Maintenance
Regular maintenance will help prolong the life and performance of your Jensen MSX65R speakers.
- Cleaning: Periodically wipe down the speaker grilles and surrounds with a soft, damp cloth to remove salt, dirt, and grime. Do not use harsh chemicals or abrasive cleaners.
- Inspection: Regularly inspect the speaker grilles and mounting hardware for any signs of damage or loosening. Tighten screws if necessary.
- UV Protection: While the speakers are UV exposure standard compliant, prolonged direct exposure to intense sunlight can still affect their appearance over time. Consider using covers when the vessel is not in use for extended periods.
- Wiring: Check wiring connections periodically for corrosion or loose contacts, especially in saltwater environments.
7. Troubleshooting
If you experience issues with your speakers, refer to the following common troubleshooting steps:
| Problem | Possible Cause | Solution |
|---|---|---|
| No sound from speakers |
|
|
| Distorted or poor sound quality |
|
|
| One speaker not working |
|
|
If these steps do not resolve the issue, please contact Jensen customer support.
8. Warranty & Support
For detailed warranty information, please refer to the warranty card included with your product or visit the official Jensen website. Warranty terms and conditions may vary.
For technical support, replacement parts, or further assistance, please contact Jensen customer service through their official website or the contact information provided in your product packaging.
Jensen Official Website: www.jensen.com (Note: This is a placeholder URL. Please refer to your product packaging for the most accurate support contact information.)