1. Introduction
Thank you for purchasing the Lexon LR98R1 Onoff LCD Alarm Clock. This manual provides detailed instructions for the proper setup, operation, and maintenance of your device. Please read this manual thoroughly before use and retain it for future reference.
The Lexon Onoff alarm clock features a unique design where flipping the clock activates or deactivates the alarm. It includes an LCD display with a blue electroluminescent backlight for clear visibility.
2. Safety Information
- Do not expose the device to extreme temperatures, direct sunlight, or high humidity.
- Avoid dropping the device or subjecting it to strong impacts.
- Do not attempt to disassemble or modify the alarm clock. This will void the warranty.
- Keep the device away from water and other liquids.
- Dispose of used batteries responsibly according to local regulations.
- Use only the specified battery type (2 x AAA).
3. Package Contents
Ensure all items are present in the package:
- Lexon LR98R1 Onoff LCD Alarm Clock
- User Manual (this document)
Note: AAA batteries are not included and must be purchased separately.
4. Product Overview
Familiarize yourself with the components of your Lexon Onoff alarm clock.
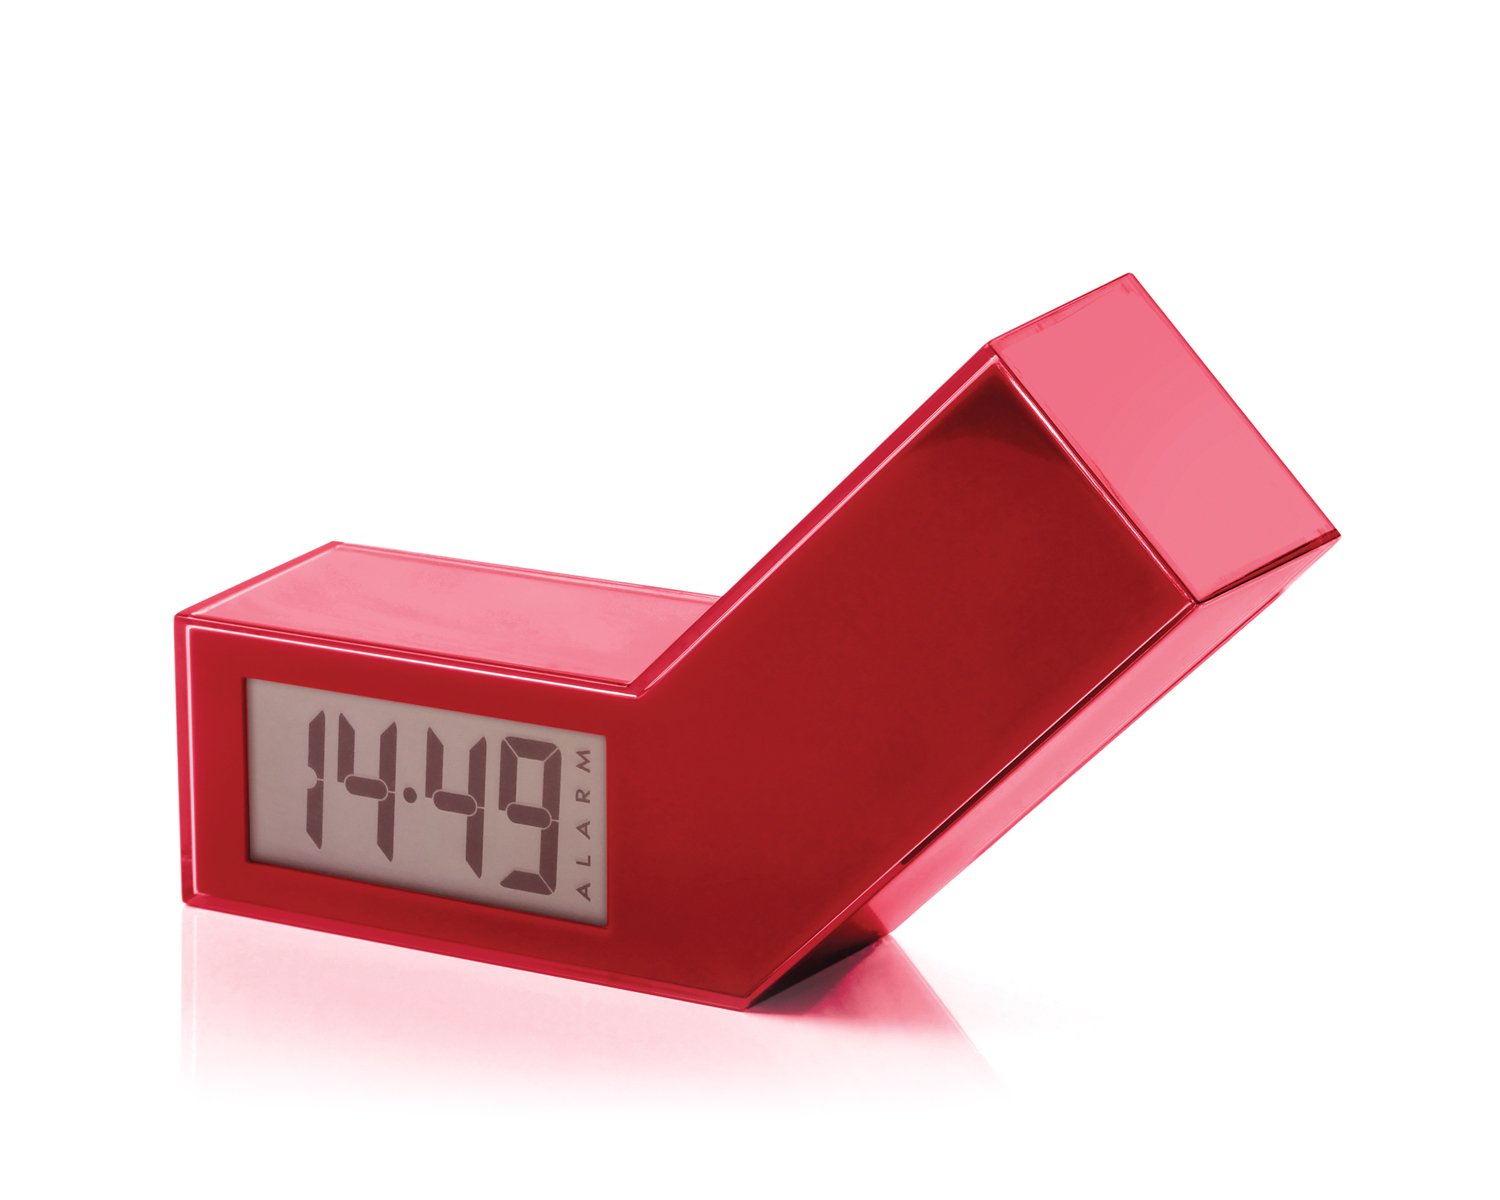
Figure 1: Front view of the Lexon LR98R1 Onoff LCD Alarm Clock. The image displays the alarm clock in its red casing, with the LCD screen visible. The side labeled 'ON' is facing upwards, indicating the alarm is active. The clock has a minimalist rectangular design.
While specific button labels are not visible in the provided image, typical alarm clock controls are usually located on the back or sides. These generally include:
- Time Set Button: To adjust the current time.
- Alarm Set Button: To adjust the alarm time.
- Hour/Minute Adjustment Buttons: To change hour and minute values.
- Snooze/Light Button: To temporarily silence the alarm or activate the backlight.
- Battery Compartment: Located on the back or bottom.
5. Setup
5.1 Battery Installation
- Locate the battery compartment cover on the back or bottom of the alarm clock.
- Slide or lift the cover to open the compartment.
- Insert two (2) AAA batteries, ensuring the correct polarity (+ and -) as indicated inside the compartment.
- Replace the battery compartment cover securely.
Note: Batteries are not included. Please use new AAA alkaline batteries for optimal performance.
5.2 Initial Power On
Once batteries are installed, the LCD display should illuminate, and the clock will typically start at a default time (e.g., 12:00 AM). You will then need to set the current time and alarm.
6. Operating Instructions
6.1 Setting the Current Time
- Press and hold the TIME SET button (or similar, refer to device markings) until the hour digits begin to flash.
- Use the HOUR and MINUTE adjustment buttons to set the correct hour and minute.
- Press TIME SET again to confirm and exit time setting mode.
6.2 Setting the Alarm Time
- Press and hold the ALARM SET button (or similar) until the alarm hour digits begin to flash.
- Use the HOUR and MINUTE adjustment buttons to set your desired alarm time.
- Press ALARM SET again to confirm and exit alarm setting mode.
6.3 Activating/Deactivating the Alarm (Onoff Feature)
The Lexon Onoff alarm clock features a unique flip mechanism:
- To ACTIVATE the alarm, place the clock with the side labeled "ON" facing upwards. An alarm icon should appear on the LCD display.
- To DEACTIVATE the alarm, flip the clock so the side labeled "OFF" is facing upwards. The alarm icon should disappear from the display.
6.4 Silencing the Alarm / Snooze Function
- When the alarm sounds, press the SNOOZE/LIGHT button (usually a large button on top) to temporarily silence the alarm. The alarm will sound again after a few minutes (typically 5-10 minutes).
- To completely turn off the alarm for the day, flip the clock to the "OFF" position.
6.5 Display Backlight
Press the SNOOZE/LIGHT button to activate the blue electroluminescent backlight for a few seconds, allowing you to view the time in low-light conditions.
7. Maintenance
7.1 Cleaning
Wipe the surface of the alarm clock with a soft, dry cloth. Do not use abrasive cleaners, solvents, or chemical sprays, as these may damage the finish or electronic components.
7.2 Battery Replacement
When the display dims or the alarm function becomes unreliable, it is time to replace the batteries. Follow the battery installation steps in Section 5.1. Always replace both AAA batteries at the same time.
8. Troubleshooting
| Problem | Possible Cause | Solution |
|---|---|---|
| Display is blank or dim. | Batteries are dead or incorrectly installed. | Replace batteries with new AAA batteries, ensuring correct polarity. |
| Alarm does not sound. | Alarm is not activated (clock is in "OFF" position) or alarm time is not set. | Flip the clock to the "ON" position. Verify the alarm time is set correctly (Section 6.2). Ensure batteries are not low. |
| Time is incorrect. | Time was not set correctly or batteries were removed/replaced. | Reset the current time (Section 6.1). |
| Backlight does not work. | Low batteries. | Replace batteries. |
9. Specifications
| Model Number | LR98R1 |
| Brand | Lexon |
| Display Type | LCD with Blue Electroluminescent Backlight |
| Power Source | 2 x AAA Batteries (not included) |
| Material | ABS / Injected Polycarbonate |
| Dimensions (L x W x H) | 13.5 x 3.5 x 8 cm (approximately 5.3 x 1.4 x 3.1 inches) |
| Movement Type | Quartz |
| Special Features | Onoff flip alarm activation/deactivation, Snooze function |
10. Warranty and Support
The Lexon LR98R1 Onoff LCD Alarm Clock comes with a 2-year manufacturer's warranty from the date of purchase. This warranty covers defects in materials and workmanship under normal use.
The warranty does not cover:
- Damage caused by accident, abuse, misuse, flood, fire, earthquake, or other external causes.
- Damage caused by operating the product outside the permitted or intended uses described in this manual.
- Damage caused by service performed by anyone who is not an authorized representative of Lexon.
- Products or parts that have been modified to alter functionality or capability without the written permission of Lexon.
For warranty claims or technical support, please contact Lexon customer service through their official website or your retailer. Please have your proof of purchase and model number (LR98R1) ready.