CONAIRPRO DOG & CAT PGRDNG
ConairPRO Dog & Cat Professional Nail Grinder Instruction Manual
1. Introduction
This manual provides comprehensive instructions for the safe and effective use of your ConairPRO Dog & Cat Professional Nail Grinder, model PGRDNG. This device is designed to safely and efficiently groom the nails of dogs and cats of all sizes, offering an alternative to traditional nail clippers.

Image 1: The ConairPRO Dog & Cat Professional Nail Grinder, a yellow handheld device with a clear protective cover over the grinding stone.
2. Important Safety Information
- Always read all instructions before using the appliance.
- Keep the appliance away from water. Do not use near or place in water or other liquids.
- Do not reach for an appliance that has fallen into water. Unplug immediately.
- Unplug the appliance from the outlet when not in use, before putting on or taking off parts, and before cleaning.
- Do not operate any appliance with a damaged cord or plug, or after the appliance malfunctions or has been dropped or damaged in any manner.
- Keep the cord away from heated surfaces.
- Never drop or insert any object into any opening.
- Do not use outdoors or operate where aerosol (spray) products are being used or where oxygen is being administered.
- Always ensure the protective cover is properly installed during operation to prevent hair entanglement and to contain nail dust.
- Introduce the grinder to your pet gradually to ensure comfort and minimize stress.
- Avoid grinding too much nail at once to prevent discomfort or injury to the quick.
3. Package Contents
Your ConairPRO Dog & Cat Professional Nail Grinder package includes:
- 1 x ConairPRO Dog & Cat Professional Nail Grinder (Model PGRDNG)
- 2 x Interchangeable Finishing Stones
- 4 x Grinding Bands
- 1 x Protective Adjustable Cover
- 1 x Wrench for attachment changes
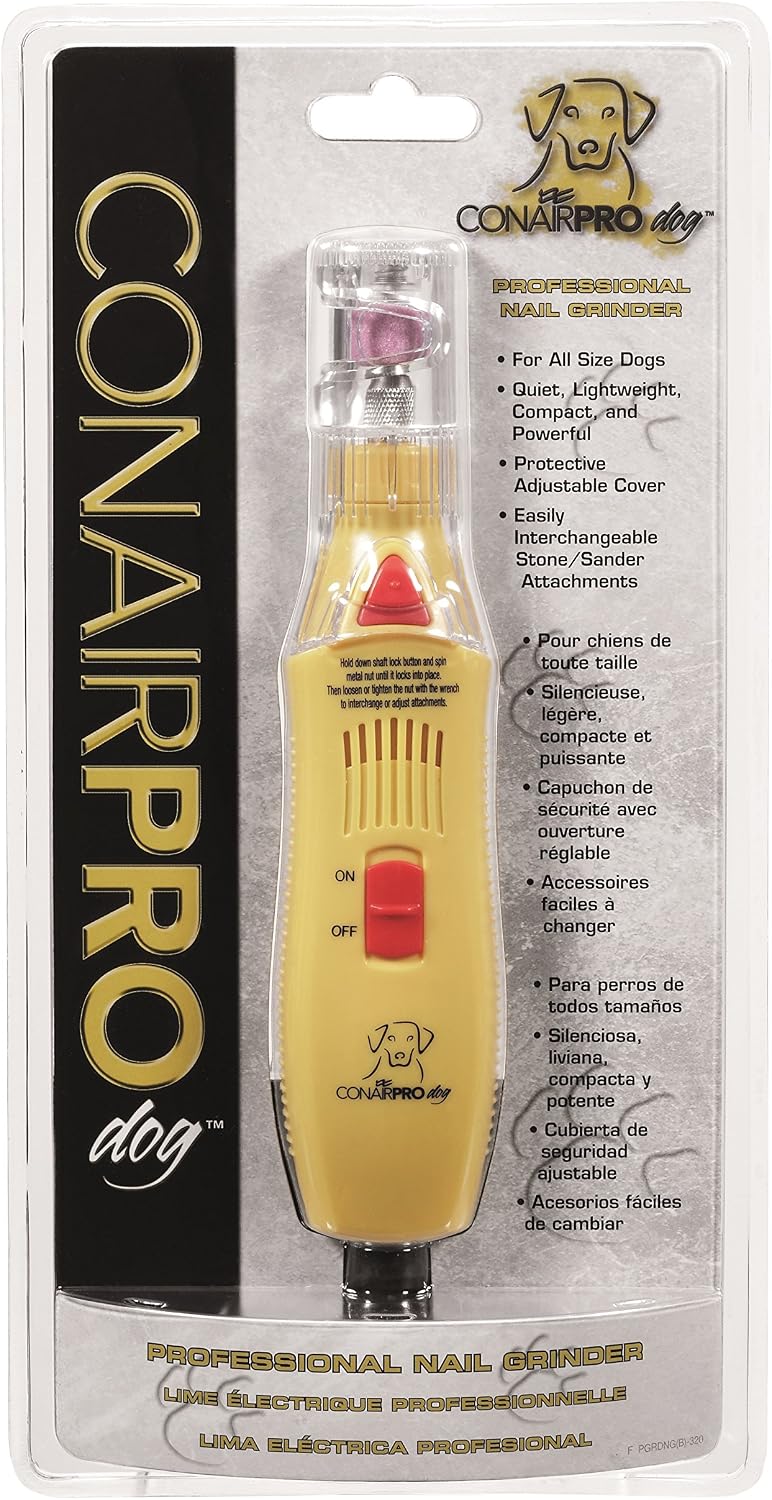
Image 2: The ConairPRO Dog & Cat Professional Nail Grinder shown in its retail packaging, highlighting the included components.
4. Setup and Attachment Installation
Before first use, or when changing attachments, follow these steps:
- Select Attachment: Choose between a finishing stone or a grinding band based on your pet's nail condition and desired finish.
- Remove Protective Cover: Gently press the red shaft lock button located on the side of the grinder and slide the clear protective cover upwards and off.
- Install/Change Attachment:
- For a grinding stone: Align the stone with the shaft and screw it clockwise until secure. Use the provided wrench to tighten if necessary.
- For a grinding band: Slide a grinding band onto the rubber drum attachment. Ensure it fits snugly. Then, attach the drum to the shaft as described for the grinding stone.
- Secure Attachment: While holding the red shaft lock button, spin the metal nut until it locks into place. Then, use the wrench to loosen or tighten the nut as needed for secure attachment.
- Reattach Protective Cover: Slide the clear protective cover back onto the grinder, ensuring it clicks securely into place. The cover helps prevent hair entanglement and collects nail dust.

Image 3: A close-up view of the grinding stone attachment on the grinder shaft.

Image 4: A close-up view of the sanding band attachment on the grinder shaft.

Image 5: Illustration of using a screwdriver to assist in removing a sanding band from the rubber drum.

Image 6: A sanding band being slid off the rubber drum attachment.
5. Operating Instructions
Follow these steps for safe and effective nail grinding:
- Pet Acclimation: Before grinding, allow your pet to become familiar with the grinder. Let them sniff it, turn it on briefly near them (without touching their nails) so they get used to the sound and vibration. Reward calm behavior with treats.
- Positioning: Hold your pet securely and comfortably. Gently take one paw and isolate a nail.
- Power On: Plug the grinder into an appropriate electrical outlet. Slide the red ON/OFF switch to the "ON" position.
- Grinding the Nail:
- Place the tip of your pet's nail gently against the rotating grinding stone/band through one of the openings in the protective cover.
- Apply light pressure and grind for only a few seconds at a time. This prevents the nail from overheating and causing discomfort.
- Move the grinder around the tip of the nail to shape it smoothly.
- Regularly check the nail to avoid grinding too far back and hitting the quick (the sensitive part of the nail containing blood vessels and nerves).
- Repeat: Continue this process for each nail, taking breaks as needed to keep your pet calm and comfortable.
- Power Off: Once finished, slide the ON/OFF switch to the "OFF" position and unplug the grinder.

Image 7: A close-up of the red ON/OFF switch on the side of the yellow grinder body.
6. Maintenance and Care
Proper maintenance ensures the longevity and performance of your nail grinder.
- Cleaning: After each use, unplug the grinder. Remove the protective cover and the grinding attachment. Use a small brush or cloth to remove any accumulated nail dust from the grinding stone/band and the interior of the cover.
- Attachment Replacement: Grinding stones and bands will wear down over time. Replace them when they become less effective. Refer to the "Setup and Attachment Installation" section for instructions on changing attachments.
- Storage: Store the grinder in a dry, safe place, out of reach of children and pets.
7. Troubleshooting
| Problem | Possible Cause | Solution |
|---|---|---|
| Grinder does not turn on. | Not plugged in; power switch is off; power outlet malfunction. | Ensure the grinder is securely plugged into a working outlet. Slide the ON/OFF switch to "ON". Test the outlet with another appliance. |
| Grinder is not effective or grinds slowly. | Worn-out grinding attachment; excessive pressure applied. | Replace the grinding stone or band. Apply lighter pressure and allow the grinder to do the work. |
| Pet is resistant or fearful. | Lack of acclimation; negative past experience. | Re-introduce the grinder gradually, focusing on positive reinforcement (treats, praise). Start with short sessions. Consult a professional groomer or vet for severe anxiety. |
| Nail dust accumulation. | Normal operation. | Clean the protective cover and grinding attachment after each use as described in the Maintenance section. |
8. Specifications
- Model: PGRDNG
- Brand: CONAIRPRO DOG & CAT
- Material: Metal (Blade Material: Stainless Steel, Handle Material: Stainless Steel)
- Style: Corded Nail Grinder
- Item Weight: 15.2 ounces
- Product Dimensions: 3 x 11.5 x 6 inches
- Power Source: Corded Electric
- Included Components: ConairPRO Dog & Cat Professional Nail Grinder, 2 Finishing Stones, 4 Grinding Bands
- Target Audience: Dogs, Cats (All Life Stages, All Breed Sizes)
- Country of Origin: China
9. Warranty and Support
For warranty information or product support, please refer to the documentation included with your purchase or visit the official CONAIRPRO DOG & CAT website. Keep your purchase receipt as proof of purchase for warranty claims.
For additional assistance, you may contact customer service through the CONAIRPRO DOG & CAT Store on Amazon.
Related Documents - PGRDNG
 |
CONAIRPRO PET 2020/2021 Grooming Tools Catalog Comprehensive catalog of CONAIRPRO PET grooming tools, featuring clippers, trimmers, brushes, combs, and nail care essentials for dogs and cats. |
Ask a question about this manual
Ask about setup, troubleshooting, compatibility, parts, safety, or missing instructions. Manuals+ will review the question and use this page’s manual context to help answer it.