1. Introduction
This manual provides essential information for the safe and effective operation, maintenance, and troubleshooting of your RYOBI 2300W Metal Chop Saw, model ECO2335HG. Please read these instructions carefully before using the tool and keep them for future reference. This powerful tool is designed for precise and rapid cutting of various metal materials, including tubes, profiles, and flat metals, making it suitable for both construction sites and workshops.
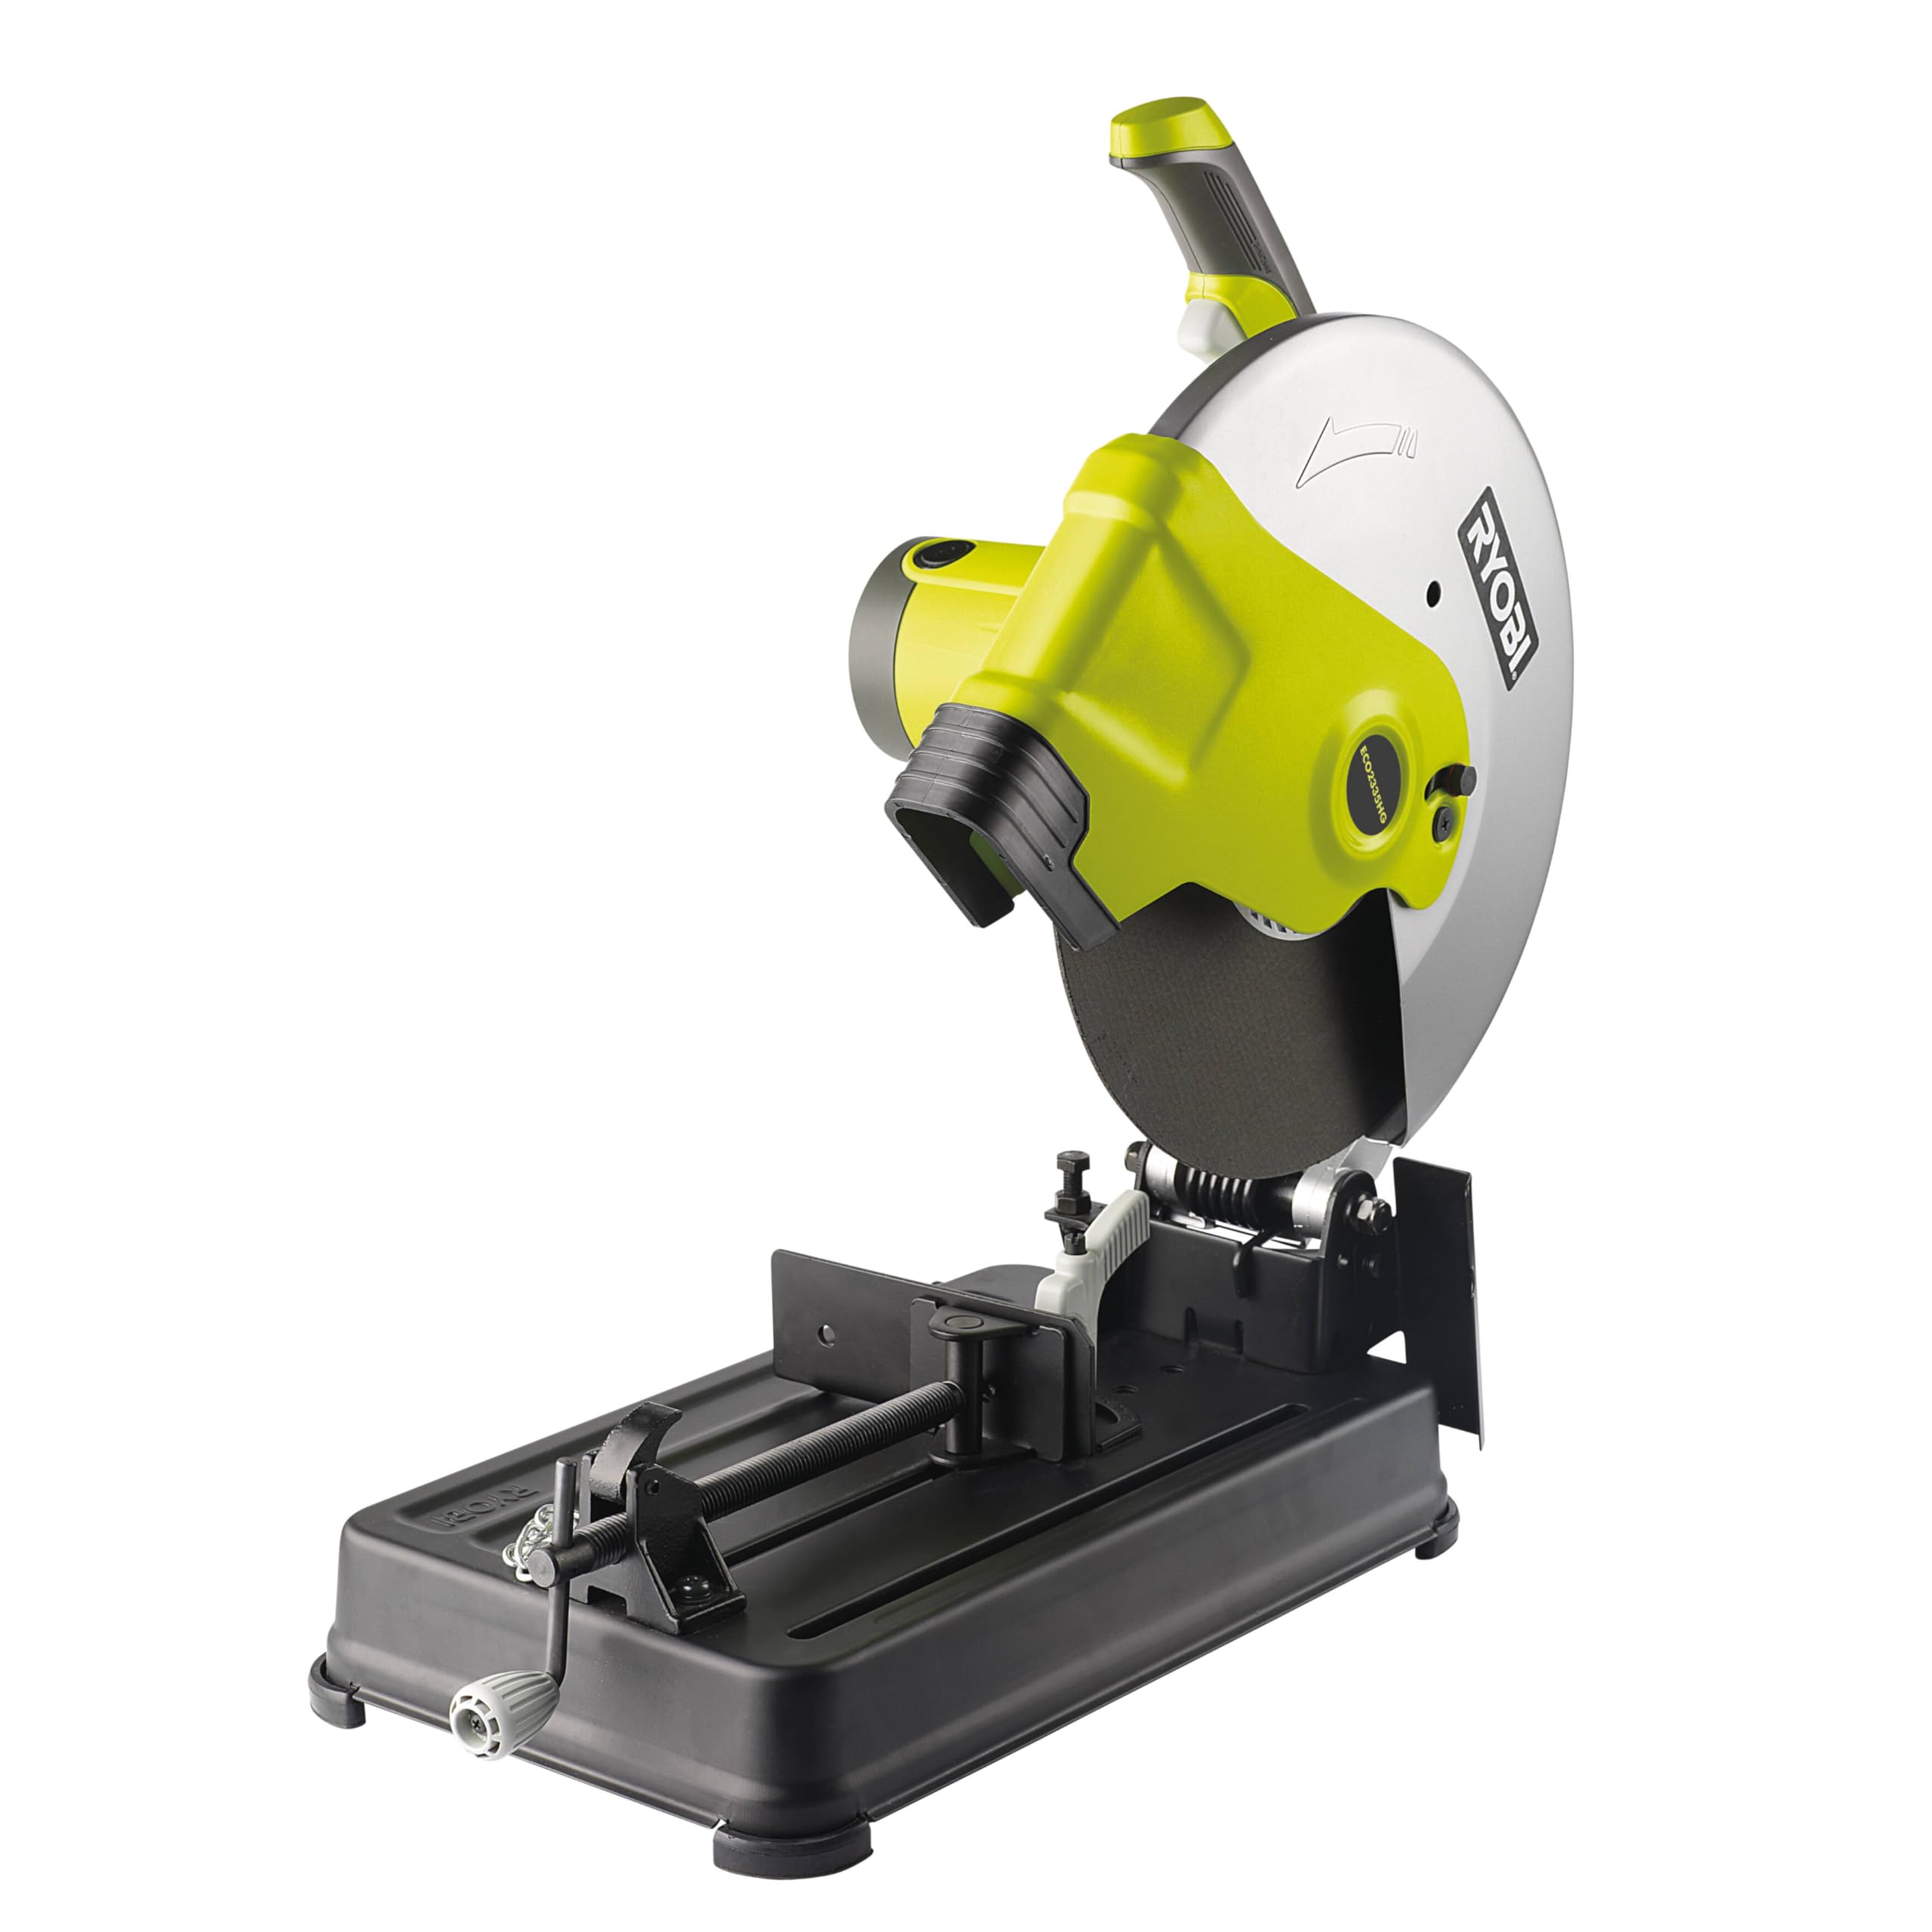
Figure 1: RYOBI ECO2335HG Metal Chop Saw. This image shows the overall view of the chop saw, highlighting its robust construction and design.
2. General Safety Information
Always follow basic safety precautions to reduce the risk of fire, electric shock, and personal injury. Keep this manual handy for quick reference.
2.1. Work Area Safety
- Keep the work area clean and well-lit. Cluttered or dark areas invite accidents.
- Do not operate power tools in explosive atmospheres, such as in the presence of flammable liquids, gases, or dust. Power tools create sparks which may ignite the dust or fumes.
- Keep children and bystanders away while operating a power tool. Distractions can cause you to lose control.
2.2. Electrical Safety
- Power tool plugs must match the outlet. Never modify the plug in any way.
- Avoid body contact with earthed or grounded surfaces, such as pipes, radiators, ranges, and refrigerators. There is an increased risk of electric shock if your body is earthed or grounded.
- Do not expose power tools to rain or wet conditions. Water entering a power tool will increase the risk of electric shock.
- Do not abuse the cord. Never use the cord for carrying, pulling, or unplugging the power tool. Keep cord away from heat, oil, sharp edges, or moving parts.
- The Livetool Indicator™ light will illuminate when the tool is connected to power, indicating it is live. This helps prevent accidental startup.
2.3. Personal Safety
- Always wear eye protection. Use safety glasses with side shields or goggles.
- Wear hearing protection when operating the tool for extended periods.
- Dress properly. Do not wear loose clothing or jewelry. Keep your hair, clothing, and gloves away from moving parts.
- Stay alert, watch what you are doing, and use common sense when operating a power tool.
- Use safety equipment such as dust masks, non-skid safety shoes, hard hats, or hearing protection for appropriate conditions.
- Ensure the large blade guard is always in place and functioning correctly to protect against debris.
3. Product Overview and Components
Familiarize yourself with the main parts of your RYOBI ECO2335HG Metal Chop Saw before operation.
- Cutting Wheel (Blade): 355 mm abrasive wheel for metal cutting.
- Blade Guard: Large protective cover for user safety.
- Motor Housing: Contains the powerful 2300W motor.
- GripZone™ Handle: Bi-material handle for ergonomic and comfortable grip.
- Quick-Release Vise: Secures workpieces for cutting.
- Adjustable Miter Fence: Allows for straight and angle cuts up to 45°.
- Non-Slip Work Table: Provides stability for workpieces.
- Spindle Lock System: For quick and secure blade changes.
- Livetool Indicator™: Power-on indicator light.
- Power Cord Locking Clip: Secures the power cord.
- Accessible Safety Brushes: For easy maintenance.
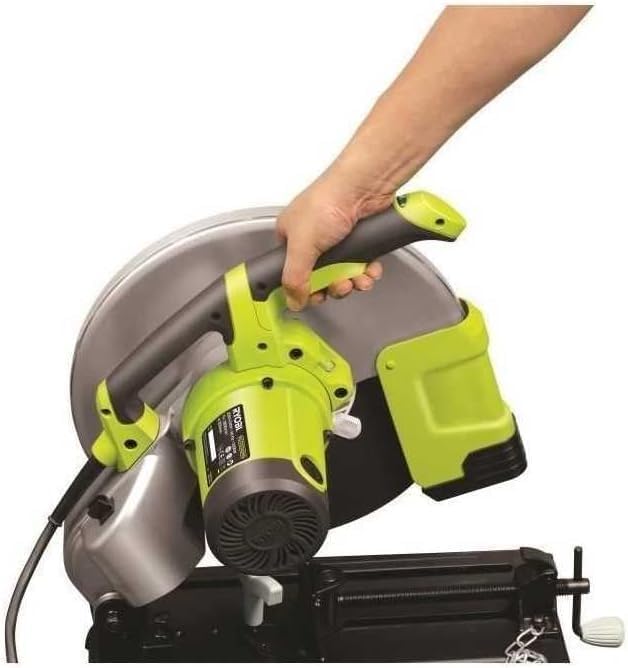
Figure 2: Side view of the chop saw, showing the GripZone™ handle for comfortable operation.

Figure 3: Close-up of the quick-release vise and non-slip work table, essential for securing materials during cutting.
4. Setup and Assembly
Before initial use, ensure the chop saw is properly assembled and secured.
4.1. Unpacking
- Carefully remove all components from the packaging.
- Verify that all included items are present: chop saw unit, 355 mm cutting wheel, and service wrench.
- Inspect the tool for any damage that may have occurred during shipping. Do not operate if damaged.
4.2. Mounting the Chop Saw
For optimal stability and safety, it is recommended to mount the chop saw to a sturdy workbench using appropriate fasteners (not included).
4.3. Installing/Changing the Cutting Wheel
- Disconnect Power: Always unplug the tool from the power source before performing any adjustments or maintenance.
- Access the Spindle: Loosen the screws and open the blade guard to access the cutting wheel.
- Engage Spindle Lock: Press and hold the spindle lock button to prevent the spindle from rotating.
- Remove Old Wheel: Use the provided service wrench to loosen the arbor nut. Remove the outer flange and the old cutting wheel.
- Install New Wheel: Place the new 355 mm cutting wheel onto the spindle, ensuring it is correctly seated. The arrow on the wheel should match the rotation direction indicated on the tool.
- Secure Wheel: Replace the outer flange and tighten the arbor nut firmly with the service wrench while holding the spindle lock. Do not overtighten.
- Close Guard: Close and secure the blade guard.

Figure 4: Rear view of the chop saw, showing the motor housing and power cord connection point.

Figure 5: Close-up showing the accessible safety brushes, which are important for motor maintenance.
5. Operating Instructions
Follow these steps for safe and effective operation of your metal chop saw.
5.1. Preparing the Workpiece
- Ensure the workpiece is clean and free of obstructions.
- Mark the cutting line clearly on the material.
- Place the workpiece firmly against the miter fence and secure it with the quick-release vise. Ensure the material is stable and will not shift during cutting.
5.2. Adjusting for Angle Cuts
The miter fence can be adjusted up to 45° for angle cuts.
- Loosen the locking mechanism for the miter fence.
- Pivot the fence to the desired angle (up to 45°).
- Tighten the locking mechanism securely to fix the fence in position.
- Always perform a test cut on scrap material to verify the angle before cutting your final workpiece.
5.3. Making a Cut
- Connect Power: Plug the tool into a suitable power outlet. The Livetool Indicator™ will light up.
- Position Yourself: Stand to the side of the cutting line, away from the path of the blade and any potential sparks or debris.
- Start the Tool: Press the trigger switch to start the motor. Allow the cutting wheel to reach full speed before beginning the cut.
- Lower the Blade: Slowly and steadily lower the cutting wheel into the workpiece. Apply even pressure. Do not force the cut.
- Complete the Cut: Continue lowering until the cut is complete.
- Release Trigger: Release the trigger switch and allow the blade to stop completely before raising it from the workpiece.
- Remove Workpiece: Once the blade has stopped and is raised, carefully unclamp and remove the cut workpiece.
WARNING: Sparks and hot debris will be generated during cutting. Ensure proper ventilation and keep flammable materials away from the work area.
6. Maintenance
Regular maintenance ensures the longevity and safe operation of your RYOBI ECO2335HG Metal Chop Saw.
6.1. Cleaning
- Disconnect Power: Always unplug the tool before cleaning.
- Clean the tool regularly with a soft, damp cloth. Do not use harsh chemicals or abrasive cleaners.
- Remove any metal dust or debris from the motor vents and around the blade guard using compressed air or a brush.
- Keep the non-slip work table clean to ensure proper workpiece stability.
6.2. Carbon Brush Replacement
The motor's carbon brushes are wear items and will need replacement over time. The ECO2335HG features accessible safety brushes for easy replacement.
- Disconnect Power: Unplug the tool.
- Locate Brush Caps: Identify the brush caps on the motor housing (refer to Figure 5).
- Remove Caps: Use a screwdriver to unscrew the brush caps.
- Replace Brushes: Remove the old carbon brushes and insert new, genuine RYOBI replacement brushes.
- Secure Caps: Replace and tighten the brush caps.
- After replacing brushes, run the tool at no-load for a few minutes to allow the new brushes to seat properly.
6.3. Blade Inspection and Replacement
- Regularly inspect the cutting wheel for wear, cracks, or damage. A worn or damaged wheel can be dangerous and reduce cutting efficiency.
- Replace the cutting wheel as described in Section 4.3 when it becomes dull or damaged.
- Only use 355 mm abrasive cutting wheels designed for metal.
7. Troubleshooting
This section addresses common issues you might encounter with your chop saw.
| Problem | Possible Cause | Solution |
|---|---|---|
| Tool does not start. | No power supply. Faulty power cord/plug. Worn carbon brushes. Faulty switch. |
Check power connection and outlet. Inspect cord/plug for damage. Replace if necessary. Replace carbon brushes (Section 6.2). Contact qualified service personnel. |
| Excessive sparking from motor. | Worn carbon brushes. Motor overload. |
Replace carbon brushes (Section 6.2). Reduce cutting pressure. Allow motor to cool. |
| Poor cutting performance / Slow cutting. | Dull or worn cutting wheel. Incorrect cutting technique. Motor overload. |
Replace cutting wheel (Section 4.3). Apply steady, even pressure. Do not force. Reduce cutting pressure. Ensure proper material clamping. |
| Inaccurate angle cuts. | Miter fence not securely locked. Workpiece not properly clamped. |
Ensure miter fence is tightly secured after adjustment. Verify workpiece is firmly held by the vise. |
If you encounter problems not listed here or if solutions do not resolve the issue, contact RYOBI customer service or a qualified service center.
8. Technical Specifications
| Feature | Specification |
|---|---|
| Model Number | ECO2335HG (5133000704) |
| Power Input | 2300W (Note: Some specifications may list 1800W, but the product is marketed as 2300W) |
| No-Load Speed | 3800 RPM |
| Cutting Wheel Diameter | 355 mm |
| Arbor Diameter | 25.4 mm |
| Max. Cutting Capacity (Tube 90°) | 115 mm |
| Max. Cutting Capacity (Tube 45°) | 115 mm |
| Max. Cutting Capacity (L-Profile 90°) | 137 mm |
| Max. Cutting Capacity (L-Profile 45°) | 100 mm |
| Adjustable Cutting Angle | Up to 45 Degrees |
| Item Weight | 16 Kilograms |
| Product Dimensions (L x W x H) | 200 x 120 x 91.4 cm |
| Power Source | Corded Electric |
| Blade Material | Metal (Abrasive) |
| Handle Material | Plastic, Rubber (GripZone™) |
9. Warranty and Support
9.1. Limited Warranty
This RYOBI product is covered by a limited warranty. Please refer to the warranty card included with your product or visit the official RYOBI website for full terms and conditions. Keep your proof of purchase for warranty claims.
9.2. Spare Parts Availability
Spare parts for the ECO2335HG model are generally available for up to 5 years from the date of purchase. Contact your local RYOBI service center for spare parts inquiries.
9.3. Customer Support
For technical assistance, service, or questions regarding your RYOBI Metal Chop Saw, please contact RYOBI customer support through their official website or the contact information provided in your product documentation.