Introduction
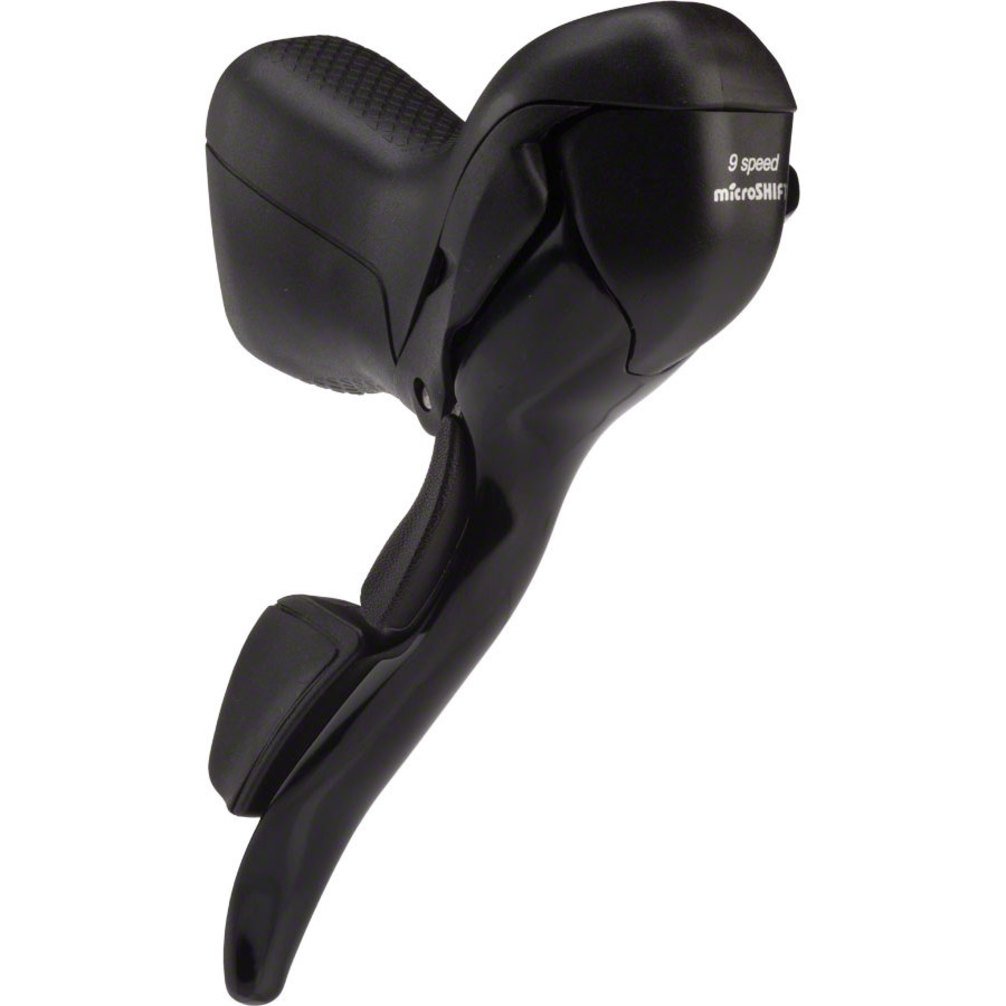
This manual provides comprehensive instructions for the installation, operation, and maintenance of your MicroShift R9 Double 9-Speed Dual Control Levers. Please read this manual thoroughly before installation and use to ensure proper function and safety. These levers are designed for road bicycles equipped with a 2x9 speed drivetrain system.
Safety Information
Always prioritize safety when working with bicycle components. Improper installation or adjustment can lead to serious injury or damage to your bicycle.
- Ensure all components are compatible with your bicycle's existing drivetrain and braking system.
- Use appropriate tools for installation and adjustment.
- Tighten all bolts and fasteners to the manufacturer's specified torque settings. Over-tightening or under-tightening can cause component failure.
- After installation, test the shifting and braking functions thoroughly in a safe environment before riding.
- Regularly inspect your levers, cables, and housing for wear or damage. Replace worn components immediately.
- If you are unsure about any part of the installation or adjustment process, consult a professional bicycle mechanic.
Package Contents
Verify that all items are present in the package before beginning installation.
- MicroShift R9 Double 9-Speed Dual Control Levers (Left and Right)
- Shift Cables
- Brake Cables
- Cable Housing
Setup
Follow these steps for proper installation of your dual control levers.
- Handlebar Mounting:
- Position the levers on your handlebars at a comfortable angle. Ensure the brake levers are easily accessible from both the hoods and the drops.
- Secure the levers to the handlebars using the integrated clamp. Tighten the clamp bolt gradually and evenly to the recommended torque specification (typically 6-8 Nm), ensuring the levers are firmly in place but can still be adjusted with firm pressure if needed for fine-tuning.
- Brake Cable Installation:
- Insert the brake cable head into the designated slot on the brake lever.
- Route the brake cable through the lever body and then through the brake housing.
- Connect the brake cable to your caliper or cantilever brake system, ensuring proper tension and alignment. Trim excess cable and install a cable end cap.
- Shift Cable Installation:
- Shift the lever to its highest gear position (smallest cog for rear, largest chainring for front).
- Insert the shift cable head into the designated slot on the shift mechanism within the lever.
- Route the shift cable through the lever body and then through the shift housing.
- Connect the shift cable to your front or rear derailleur. Adjust cable tension using the barrel adjuster on the lever or derailleur for precise shifting. Trim excess cable and install a cable end cap.
- Handlebar Taping:
- Once all cables are routed and adjusted, secure them to the handlebars with electrical tape.
- Wrap your handlebars with bar tape, ensuring a smooth and comfortable grip over the levers and cables.
Operating
The MicroShift R9 Dual Control Levers integrate both braking and shifting functions into a single unit. Familiarize yourself with the lever's operation before riding.
Shifting Gears
- Upshifting (to a larger cog/chainring): Push the main brake lever inwards towards the center of the handlebar. This action will move the chain to a larger cog on the rear cassette or a larger chainring on the front.
- Downshifting (to a smaller cog/chainring): Push the smaller, inner lever inwards towards the center of the handlebar. This action will move the chain to a smaller cog on the rear cassette or a smaller chainring on the front.
- Ensure you are pedaling lightly when shifting to allow the chain to move smoothly between gears.
Braking
- To apply the brakes, pull the main brake lever towards the handlebar. The amount of braking force is proportional to how firmly you pull the lever.
- Always apply both front and rear brakes simultaneously for controlled stopping. Avoid sudden, hard braking with only the front brake, especially at high speeds, as this can cause loss of control.
Maintenance
Regular maintenance ensures optimal performance and extends the lifespan of your MicroShift R9 levers.
- Cleaning: Keep the levers clean from dirt and grime. Use a mild soap and water solution and a soft cloth. Avoid high-pressure washing directly on the levers.
- Cable Inspection: Periodically check shift and brake cables for fraying, rust, or kinks. Replace cables and housing if any damage is observed or if shifting/braking performance degrades.
- Lubrication: Apply a small amount of bicycle-specific lubricant to the pivot points of the levers and where cables enter the housing. Avoid over-lubrication, which can attract dirt.
- Adjustment: Regularly check and adjust brake and shift cable tension to maintain precise operation. Barrel adjusters on the levers or derailleurs can be used for minor adjustments.
- Fastener Check: Ensure all mounting bolts for the levers are securely tightened to the recommended torque specifications.
Troubleshooting
Here are some common issues and their potential solutions.
- Poor Shifting Performance:
- Symptom: Gears skip or do not shift smoothly.
Solution: Check cable tension. Adjust the barrel adjuster on the lever or derailleur. Turn clockwise to loosen tension (for slow upshifts) or counter-clockwise to increase tension (for slow downshifts). Inspect cables and housing for friction or damage. Ensure derailleurs are properly aligned.
- Symptom: Gears skip or do not shift smoothly.
- Spongy Brake Lever Feel:
- Symptom: Brake lever feels soft or requires excessive pull to engage.
Solution: Check brake cable tension. Ensure brake calipers are properly adjusted and pads are not excessively worn. Inspect brake cables and housing for damage or compression.
- Symptom: Brake lever feels soft or requires excessive pull to engage.
- Lever Not Returning to Original Position:
- Symptom: Shift or brake lever sticks or does not spring back fully.
Solution: Clean and lubricate the lever's pivot points. Check for any obstructions or debris. Inspect cables and housing for excessive friction or damage.
- Symptom: Shift or brake lever sticks or does not spring back fully.
Specifications
| Feature | Specification |
|---|---|
| Brand | microSHIFT |
| Model | R9 Double 9-Speed Dual Control Levers |
| Number of Speeds | 9 |
| Brake Lever Actuation | Short Pull |
| Material | Aluminum |
| Color | Black |
| Item Weight | 1.9 Pounds (approximately 862 grams for the pair) |
| Included Components | Cable, Housing |
| Specific Uses For Product | Bicycle |
Warranty and Support
For warranty information and technical support, please refer to the official microSHIFT website or contact your authorized microSHIFT dealer. Keep your proof of purchase for any warranty claims.