Manual Cover
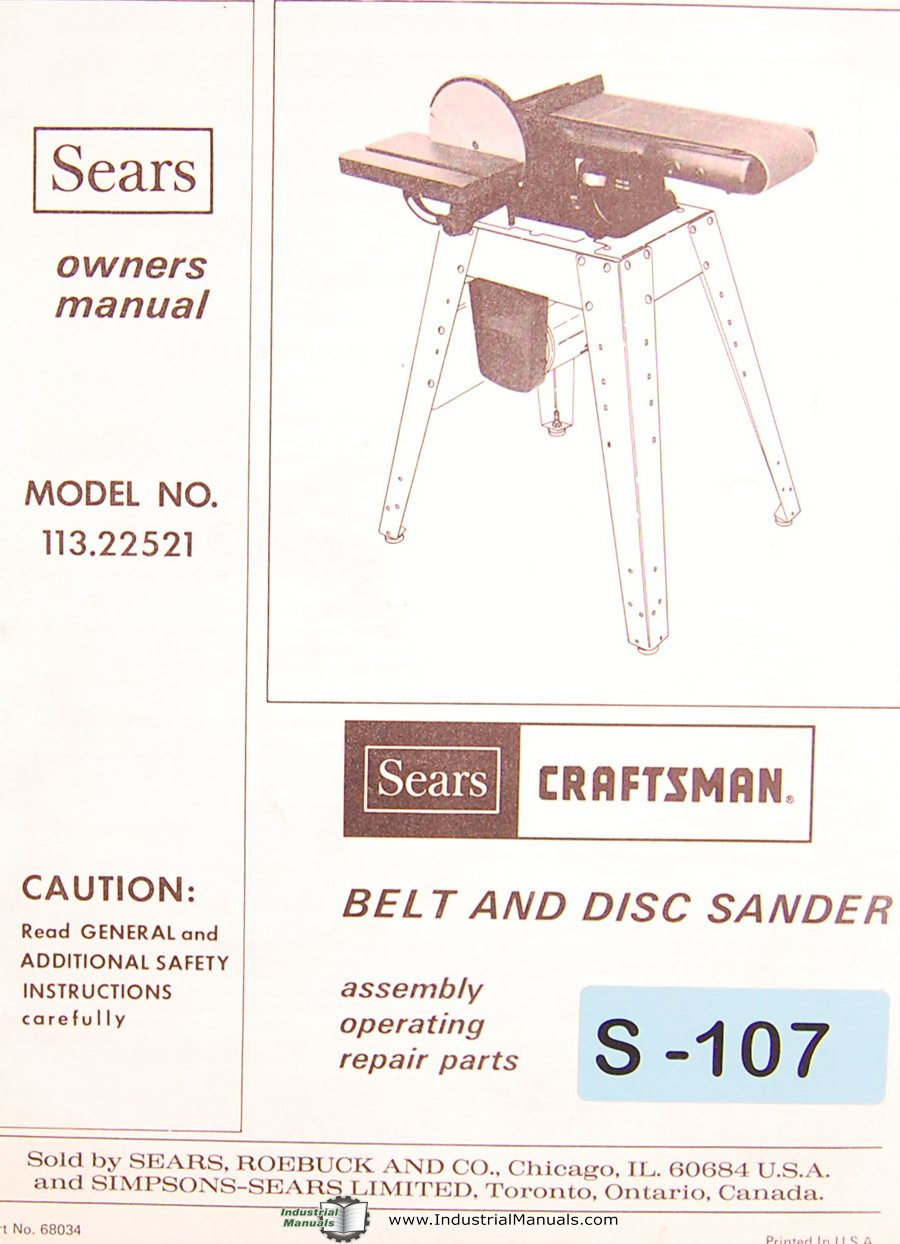
This image displays the front cover of the Craftsman Model 113.22521 Belt and Disc Sander owner's manual. It features the 'Sears' and 'Craftsman' logos, the model number '113.22521', and an illustration of the belt and disc sander on its stand. The cover indicates that the manual includes information on assembly, operating, and repair parts.
1. General Safety Instructions
Before operating the Craftsman Model 113.22521 Belt and Disc Sander, it is imperative to read and understand all general and additional safety instructions provided in this manual. Failure to follow these instructions may result in serious personal injury or damage to the equipment.
- Always wear appropriate personal protective equipment, including safety glasses, hearing protection, and a dust mask.
- Ensure the work area is clean, well-lit, and free from obstructions.
- Keep children and bystanders away from the operating machine.
- Never operate the sander while under the influence of drugs, alcohol, or medication.
- Disconnect power before making adjustments, changing accessories, or performing maintenance.
- Securely fasten all workpieces before sanding.
2. Unpacking and Initial Setup
2.1 Unpacking and Checking Contents
Carefully remove all components from the packaging. Inspect all parts for any signs of shipping damage. If any parts are damaged or missing, do not assemble or operate the sander. Contact your retailer or Craftsman customer service immediately.
2.2 Assembly
Follow these steps for proper assembly of your belt and disc sander:
- Attach the stand legs to the main sander unit using the provided hardware. Ensure all bolts are tightened securely.
- Mount the work tables for both the belt and disc sanding areas. Adjust them to the desired angles and secure them.
- Install the sanding belt and disc according to the instructions in the 'Getting to Know Your Sander' section.
- Verify all connections are tight and the sander is stable on a level surface.
3. Product Overview and Components
Familiarize yourself with the various parts of your Craftsman Model 113.22521 Belt and Disc Sander to ensure safe and efficient operation.
- Sanding Belt: Used for sanding larger surfaces and edges.
- Disc Sander: Ideal for shaping and finishing smaller workpieces.
- Work Tables: Adjustable tables for supporting workpieces during sanding.
- Tracking Adjustment Knob: Used to center the sanding belt.
- Belt Tension Lever: Releases tension for belt changes.
- Power Switch: Controls the ON/OFF function of the motor.
- Dust Collection Port: Connects to a dust collection system for a cleaner work environment.
4. Motor Specifications and Electrical Requirements
The Craftsman Model 113.22521 Belt and Disc Sander is designed for specific electrical requirements. Ensure your power supply matches these specifications to prevent damage to the tool and ensure safe operation.
- Voltage: Refer to the motor's nameplate for specific voltage requirements (typically 110-120V AC).
- Amperage: Consult the motor's nameplate for the rated amperage.
- Frequency: 60 Hz.
- Circuit: Connect the sander to a dedicated circuit with appropriate overcurrent protection.
- Extension Cords: If an extension cord is necessary, use only a heavy-duty, grounded cord of adequate gauge for the distance and amperage.
5. Basic Operations
This section outlines the fundamental procedures for operating your belt and disc sander.
5.1 Changing Sanding Belts and Discs
- Disconnect the sander from the power source.
- For belt changes, release the belt tension lever and slide the old belt off. Install the new belt, ensuring the directional arrow on the belt matches the rotation direction of the sander. Re-engage the tension lever.
- For disc changes, carefully peel off the old adhesive-backed disc. Clean the disc plate thoroughly before applying a new disc, ensuring it is centered.
5.2 Adjusting Work Tables
The work tables can be tilted to various angles. Loosen the locking knobs, adjust the table to the desired angle using the angle scale, and then securely tighten the knobs.
5.3 Sanding Techniques
- Always feed the workpiece against the direction of the belt or disc rotation.
- Apply light, even pressure. Excessive force can overload the motor and damage the workpiece.
- Move the workpiece steadily across the sanding surface to prevent uneven sanding and burning.
- For disc sanding, use the portion of the disc that is moving downwards towards the table.
6. Maintenance
Regular maintenance ensures the longevity and optimal performance of your sander.
- Cleaning: After each use, disconnect power and clean dust and debris from the sander using a brush or compressed air. Pay special attention to the motor vents.
- Belt Tracking: Periodically check and adjust the belt tracking to ensure the belt runs centered on the rollers.
- Inspection: Regularly inspect the power cord, switch, and all moving parts for wear or damage. Replace worn parts immediately.
7. Lubrication
Proper lubrication is essential for smooth operation and to prevent premature wear of moving parts.
- Refer to the detailed lubrication points illustrated in the repair parts section of this manual.
- Apply a small amount of light machine oil to pivot points and bearings as recommended.
- Avoid over-lubrication, which can attract dust and debris.
8. Troubleshooting
This section provides solutions to common operational issues you may encounter.
- Sander does not start: Check power connection, circuit breaker, and power switch.
- Belt runs off track: Adjust the belt tracking knob until the belt runs centered.
- Excessive vibration: Ensure the sander is on a stable, level surface. Check for loose components or damaged sanding accessories.
- Poor sanding performance: Replace worn sanding belts or discs. Ensure proper pressure is applied.
9. Repair Parts
This manual includes functional illustrated drawings to assist in identifying and ordering replacement parts for your Craftsman Model 113.22521 Belt and Disc Sander. When ordering parts, always provide the model number and the specific part number from the diagrams.
For detailed diagrams and part lists, refer to the dedicated 'Repair Parts' section within the original manual.
10. Specifications
Key specifications for the Craftsman Model 113.22521 Belt and Disc Sander:
- Model Number: 113.22521
- Type: Belt and Disc Sander
- Power Source: Electric (refer to motor nameplate for specific voltage/amperage)
- Publication Year of Manual: 1976
- Manual Print Length: 28 pages
11. Warranty and Support
For information regarding product warranty, service, or additional support, please refer to the original purchase documentation or contact Craftsman customer service. Specific warranty terms and conditions may vary based on the date and location of purchase.


