1. Introduction
This manual provides comprehensive instructions for the proper installation, operation, and maintenance of your new buttonhole foot. This accessory is designed to create consistent and professional-looking buttonholes on your sewing projects. It is a generic part compatible with specific Elna sewing machine models, including the Elna 2002, BL16, and BL22.
2. Safety Instructions
- Always turn off and unplug your sewing machine before installing or removing any accessories, including the buttonhole foot.
- Keep fingers clear of the needle and moving parts while the machine is in operation.
- Use only the correct needle size and type for your fabric to prevent damage to the foot or machine.
- Ensure the buttonhole foot is securely attached before beginning to sew.
- Do not force the fabric through the machine; allow the feed dogs to move the fabric naturally.
3. Package Contents
Verify that your package contains the following item:
- 1 x Buttonhole Foot (Generic, compatible with Elna 2002, BL16, BL22)
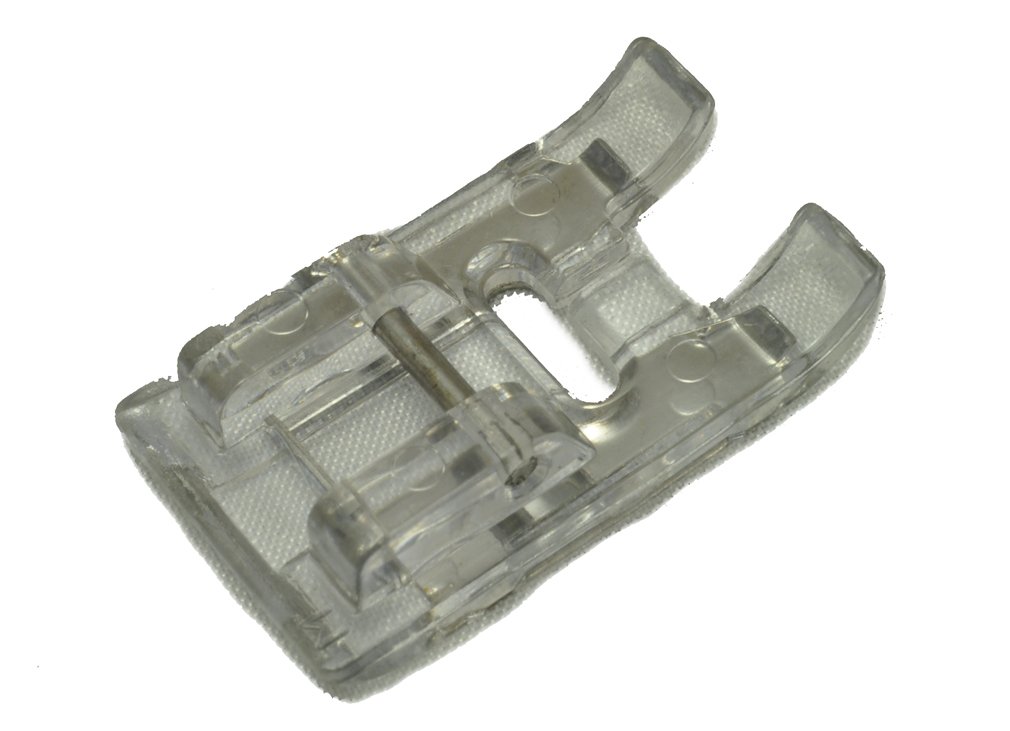
Image: The buttonhole foot accessory. This image illustrates the general appearance of the buttonhole foot, which is designed to attach to your sewing machine for creating buttonholes.
4. Setup
- Prepare the Machine: Turn off your sewing machine and unplug it from the power outlet. Raise the presser foot lever.
- Remove Existing Foot: Locate the presser foot holder screw or lever. Loosen it to release the currently attached presser foot. Carefully remove the standard presser foot.
- Attach Buttonhole Foot: Position the buttonhole foot under the presser foot holder, aligning the pin on the foot with the slot on the holder. Tighten the screw or secure the lever to firmly attach the buttonhole foot.
- Connect Buttonhole Lever (if applicable): Some buttonhole feet require you to pull down a buttonhole lever located behind the needle clamp. Ensure this lever rests in the slot of the buttonhole foot. Refer to your sewing machine's manual for specific instructions on engaging the buttonhole lever.
- Plug In and Power On: Once the foot is securely attached, plug in your sewing machine and turn it on.
5. Operating Instructions
Before sewing on your project, always test the buttonhole on a scrap piece of fabric that is identical to your project fabric.
- Select Buttonhole Stitch: On your sewing machine, select the appropriate buttonhole stitch program. This is usually indicated by a buttonhole icon or a specific stitch number.
- Measure Button: Place the button you intend to use into the button holder at the back of the buttonhole foot. The foot will automatically adjust to the correct buttonhole length.
- Mark Fabric: Mark the starting point and center line for your buttonhole on your fabric using a fabric marker or tailor's chalk.
- Position Fabric: Place your fabric under the buttonhole foot, aligning your marked center line with the center of the foot. Lower the presser foot.
- Begin Sewing: Start sewing slowly. The machine will automatically sew the buttonhole in four steps (or one step, depending on your machine model), creating the sides and bar tacks. Guide the fabric gently, but do not pull or push it.
- Complete Buttonhole: Once the buttonhole is complete, the machine may stop automatically or require you to stop it manually. Raise the needle and presser foot, then remove the fabric.
- Open Buttonhole: Carefully cut open the buttonhole using a seam ripper or buttonhole chisel. Place a pin at each end of the buttonhole before cutting to prevent cutting too far.
6. Maintenance
- Cleaning: After each use, gently brush away any lint or thread accumulation from the buttonhole foot using a small brush.
- Storage: Store the buttonhole foot in a clean, dry place, preferably in its original packaging or a dedicated accessory box, to protect it from dust and damage.
- Inspection: Periodically inspect the foot for any signs of wear or damage. If the foot is bent or damaged, it may affect stitch quality and should be replaced.
7. Troubleshooting
- Uneven Stitches: Ensure the fabric is properly stabilized (e.g., with interfacing) and that you are not pulling or pushing the fabric. Check that the buttonhole lever is correctly engaged.
- Fabric Not Feeding: Verify that the presser foot is lowered and that the feed dogs are engaged. Ensure there is no lint buildup under the foot or around the feed dogs.
- Skipped Stitches: This can be caused by an incorrect needle type or size for your fabric, a bent needle, or improper threading. Re-thread the machine and replace the needle if necessary.
- Buttonhole Too Long/Short: Ensure the button is correctly placed in the button holder of the foot. If your machine has manual adjustments for buttonhole length, check those settings.
8. Specifications
| Product Type: | Buttonhole Foot (Generic Accessory) |
| Compatibility: | Elna 2002, Elna BL16, Elna BL22 Sewing Machines |
| Compatible Part Numbers: | 395710-15 |
| Material: | Metal and Plastic |
9. Warranty and Support
Please note that this buttonhole foot is a generic accessory and is not an original Elna part. Installation and use of generic parts on your Elna sewing machine may void any existing manufacturer's warranty or distributor's warranty provided by Elna or its authorized resellers.
For support regarding this generic accessory, please contact the seller directly. The seller typically offers a 7-day money-back guarantee. For issues related to your Elna sewing machine itself, please refer to your machine's original manufacturer's manual and warranty information.