1. Introduction
Thank you for choosing the Mac Audio Ice Cube 12-300mm Subwoofer. This manual provides essential information for the proper installation, operation, and maintenance of your new car audio subwoofer. Please read these instructions carefully before attempting to install or use the product to ensure optimal performance and safety.
2. Safety Instructions
Always observe the following safety precautions to prevent injury or damage to the product and vehicle:
- Professional Installation Recommended: Installation of car audio components can be complex. If you are unsure about any part of the installation process, consult a qualified professional installer.
- Disconnect Battery: Before starting any electrical work, disconnect the vehicle's negative battery terminal to prevent short circuits and electrical hazards.
- Proper Wiring: Ensure all wiring is correctly connected, insulated, and secured to prevent shorts, overheating, and interference. Use appropriate gauge wires for power and speaker connections.
- Mounting Security: Securely mount the subwoofer to prevent it from becoming a projectile in the event of sudden stops or collisions.
- Ventilation: Ensure adequate ventilation around the subwoofer and amplifier to prevent overheating.
- Volume Levels: Prolonged exposure to high volume levels can cause hearing damage. Adjust volume to a safe and comfortable level.
3. Product Overview
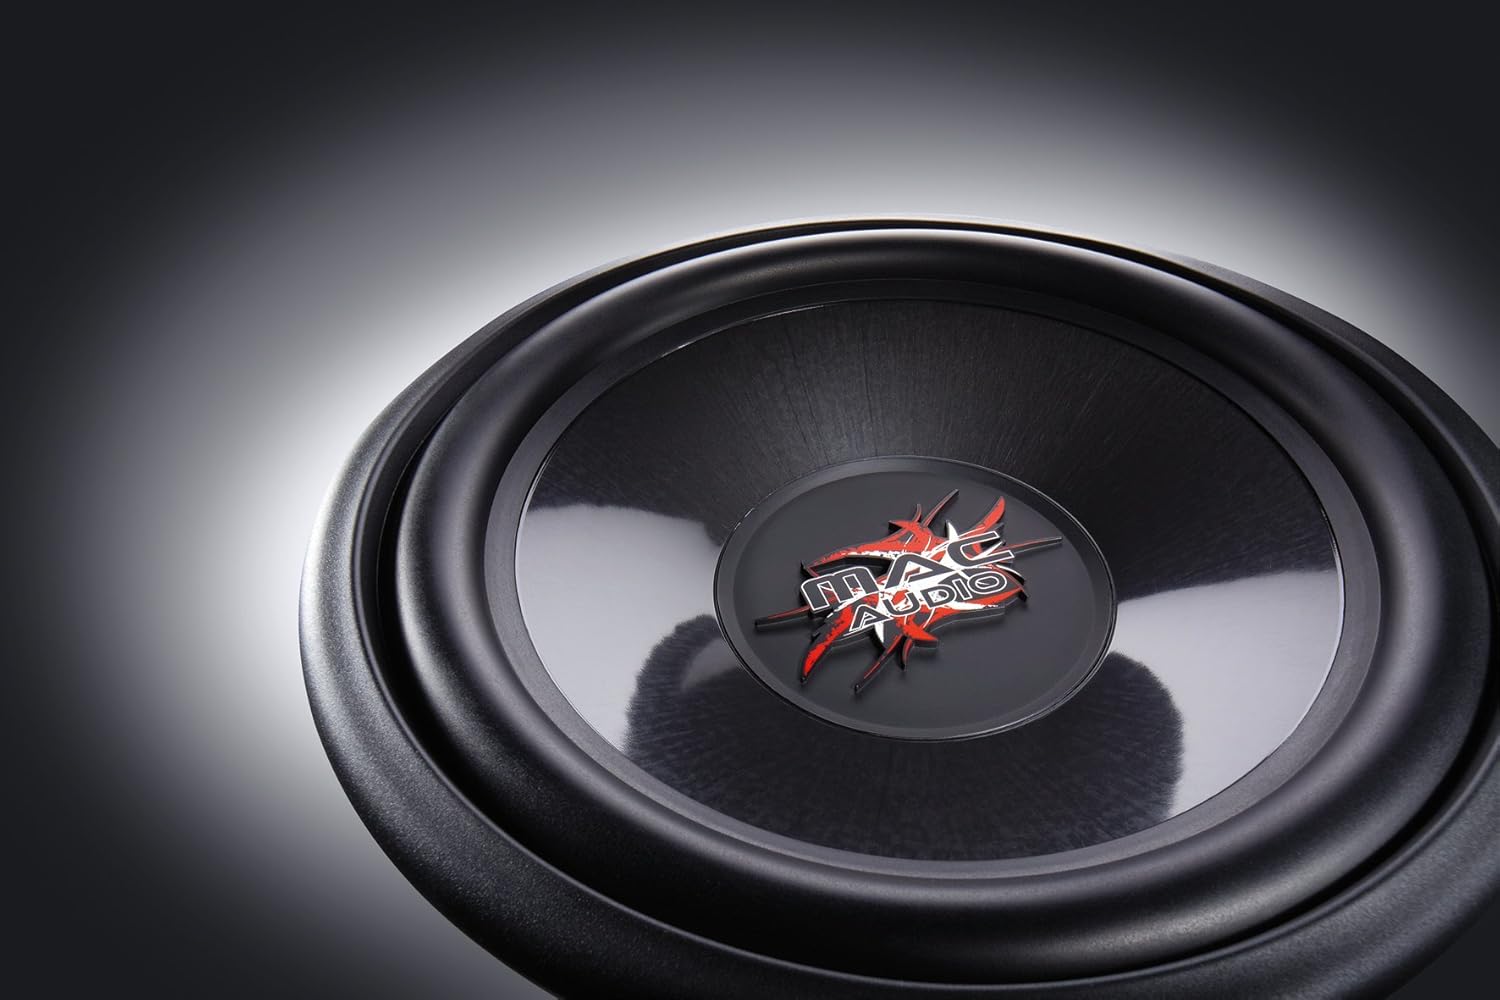
The Mac Audio Ice Cube 12-300mm Subwoofer is designed to deliver powerful bass performance for your car audio system. It features a robust construction suitable for both enclosed and bass-reflex mounting applications.
Key Features:
- 300 mm subwoofer for enclosed/bass-reflex mounting.
- High-performance 5 cm voice coil with Japanese Totoku wire and additional ventilation.
- Steel basket with multi-layer coating for reduced resonance.
- High-power 40 oz magnet with protective cap.
Components:
The subwoofer consists of the speaker driver, a robust steel basket, a voice coil, and a powerful magnet assembly. The terminals for connecting speaker wires are located on the side of the basket.

4. Setup and Installation
Proper installation is crucial for the performance and longevity of your subwoofer. This subwoofer is designed for integration into a custom enclosure, either sealed (enclosed) or ported (bass-reflex).
4.1 Enclosure Design
- Sealed Enclosure: Provides tight, accurate bass response. The internal volume of the enclosure should be calculated based on the subwoofer's Thiele-Small parameters for optimal performance.
- Ported (Bass-Reflex) Enclosure: Offers louder bass output at specific frequencies. Requires careful design of port dimensions (length and diameter) to tune the enclosure to the desired frequency.
- Consult a car audio specialist or use specialized software for precise enclosure design.
4.2 Mounting the Subwoofer
- Ensure the enclosure has a cutout of the correct diameter for the subwoofer.
- Place the subwoofer into the cutout, aligning the mounting holes.
- Secure the subwoofer using appropriate screws, ensuring an airtight seal between the subwoofer frame and the enclosure. Do not overtighten.
4.3 Wiring Connections
Connect the subwoofer to a suitable amplifier. Ensure the amplifier can provide sufficient power within the subwoofer's rated specifications. Pay close attention to polarity.
- Speaker Terminals: The subwoofer has clearly marked positive (+) and negative (-) terminals.
- Amplifier Connection: Connect the positive (+) terminal of the subwoofer to the positive (+) speaker output of your amplifier. Connect the negative (-) terminal of the subwoofer to the negative (-) speaker output of your amplifier.
- Wire Gauge: Use appropriate gauge speaker wire (e.g., 12-16 gauge) for the distance and power levels.
- Secure Connections: Ensure all connections are tight and free from frayed wires that could cause short circuits.
5. Operating Instructions
Once installed, follow these steps for initial operation and optimal sound adjustment:
- Initial Power-Up: After all connections are made and checked, reconnect the vehicle's battery. Turn on your car audio system.
- Amplifier Settings:
- Gain Control: Start with the amplifier's gain control at its minimum setting. Gradually increase the gain until the subwoofer output matches the rest of your system without distortion. Avoid setting the gain too high, as this can lead to clipping and damage.
- Low-Pass Filter (LPF): Set the amplifier's low-pass filter to a suitable frequency, typically between 60 Hz and 100 Hz. This ensures the subwoofer only reproduces low frequencies.
- Bass Boost: Use bass boost sparingly, if at all. Excessive bass boost can cause distortion and damage the subwoofer.
- Break-in Period: Allow a break-in period of approximately 10-20 hours of normal listening before operating the subwoofer at maximum volume. This allows the suspension components to loosen up and perform optimally.
6. Maintenance
The Mac Audio Ice Cube subwoofer requires minimal maintenance to ensure long-term performance.
- Cleaning: Use a soft, dry cloth to wipe down the subwoofer cone and frame. Avoid using harsh chemicals or abrasive cleaners.
- Inspection: Periodically check all wiring connections for tightness and signs of corrosion. Ensure the subwoofer is still securely mounted in its enclosure.
- Environmental Factors: Protect the subwoofer from extreme temperatures, direct sunlight, and moisture.
7. Troubleshooting
If you experience issues with your subwoofer, refer to the following common problems and solutions:
| Problem | Possible Cause | Solution |
|---|---|---|
| No sound from subwoofer |
|
|
| Distorted or weak bass |
|
|
| Subwoofer cuts out |
|
|
If the problem persists after attempting these solutions, contact your dealer or a qualified service technician.
8. Specifications
The following are the technical specifications for the Mac Audio Ice Cube 12-300mm Subwoofer (Model 1328320):
| Specification | Value |
|---|---|
| Brand | MAC AUDIO |
| Speaker Type | Subwoofer |
| Power | 1200 Watts (Peak) |
| Product Dimensions (L x W x H) | 31.7 x 31.7 x 13 cm |
| Item Weight | 3.3 Kilograms |
| Item Model Number | 1328320 |
| Mounting Type | Table Mount (Refers to general mounting, typically in an enclosure) |
| Software updates guaranteed until | Information not available |
9. Warranty and Support
For warranty information, please refer to the documentation provided at the time of purchase or contact your authorized Mac Audio dealer. Keep your proof of purchase for any warranty claims.
For technical support or further assistance, please contact the retailer where you purchased the product or visit the official Mac Audio website for contact details.