1. Introduction
This manual provides comprehensive instructions for the setup, operation, and maintenance of your Seiko Instruments Smart Label Printer SLP-650. The SLP-650 is a versatile desktop label printer designed for efficiency and ease of use, compatible with both PC and Mac operating systems.
Utilizing direct thermal printing technology, the SLP-650 eliminates the need for ink, toner, or ribbons, offering a cost-effective and reliable labeling solution. It supports a wide range of label formats, including address, shipping, file folder, and name badge labels, making it suitable for various office and personal organizational needs.
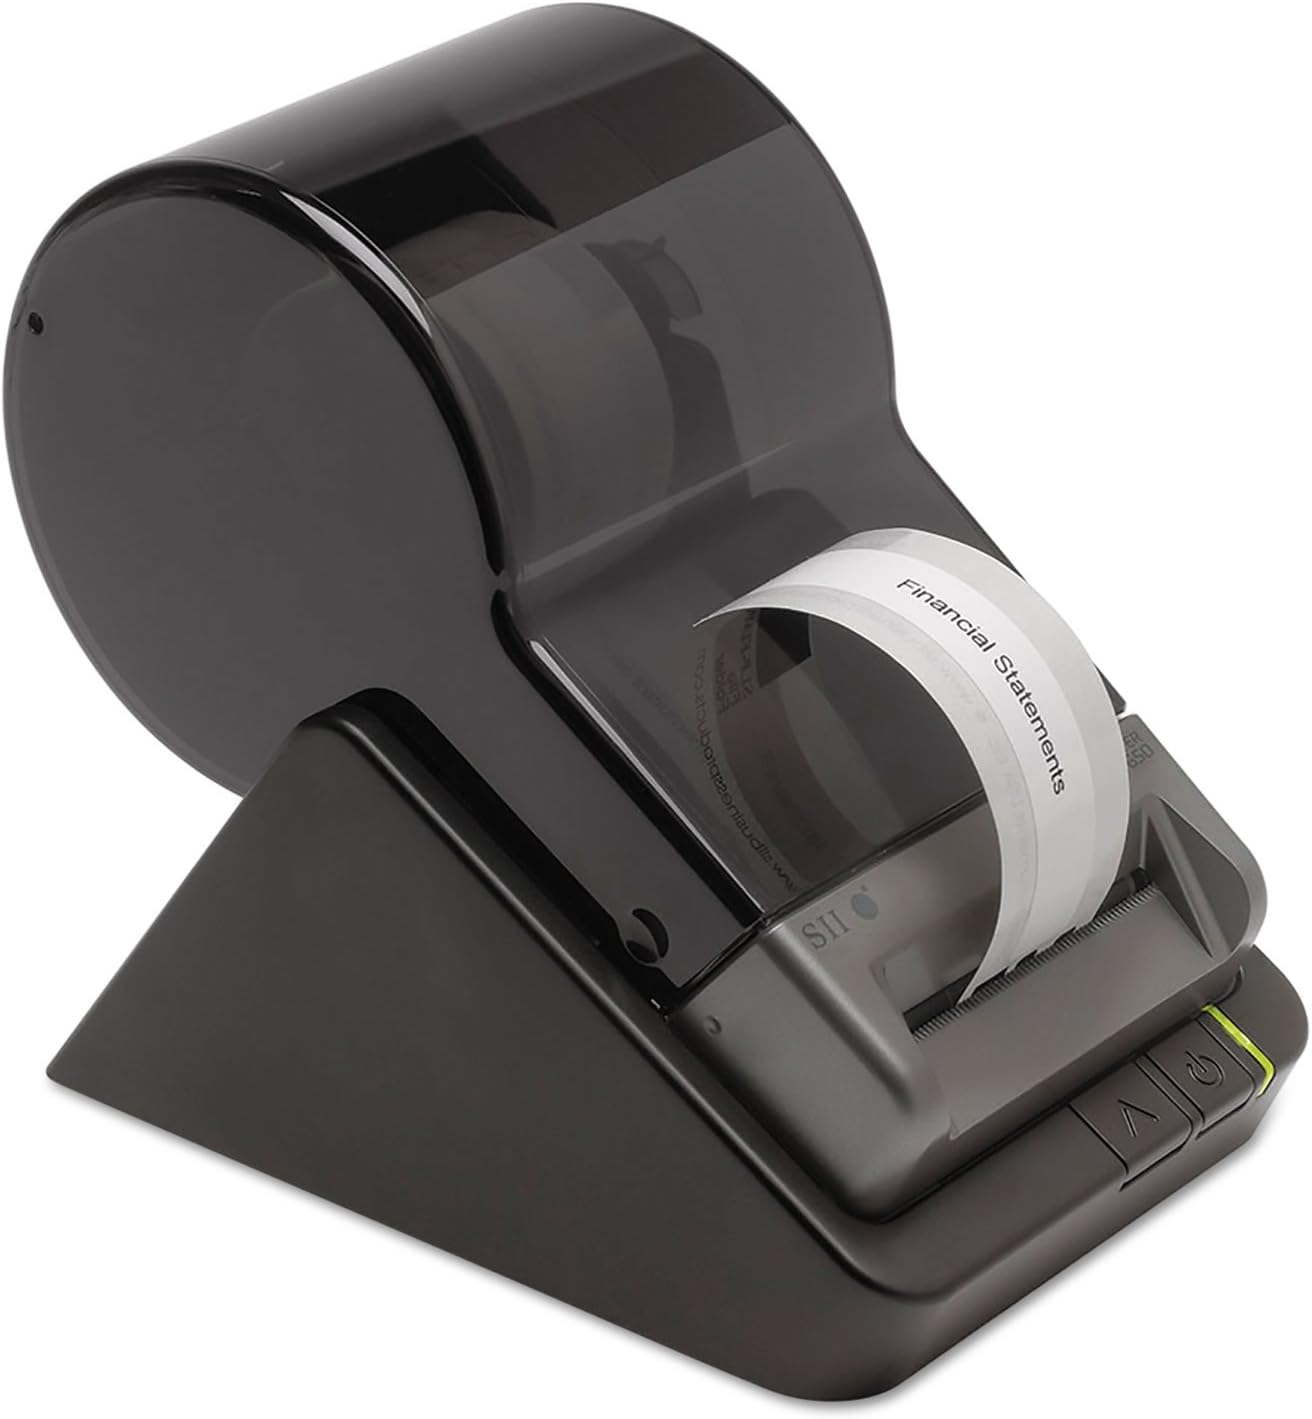
Figure 1.1: Seiko Instruments Smart Label Printer SLP-650 in operation, printing a label. This image shows the compact design and the label output.
2. Package Contents
Verify that all items listed below are included in your product package:
- Seiko Instruments Smart Label Printer SLP-650
- USB Cable
- Power Adapter
- Starter Roll of Labels (may vary by region)
- Quick Start Guide (this document serves as the full manual)
3. Setup
3.1 Connecting the Printer
- Connect the Power Adapter: Insert the power adapter cable into the "DC IN" port on the back of the printer. Plug the other end of the power adapter into a standard electrical outlet. The power indicator light on the printer should illuminate.
- Connect the USB Cable: Connect one end of the supplied USB cable to the "USB" port on the back of the printer. Connect the other end of the USB cable to an available USB port on your computer (PC or Mac).

Figure 3.1: Rear view of the SLP-650 showing connection ports. The DC IN port is for power, and the USB port connects to your computer.
3.2 Software Installation
The Seiko Instruments Smart Label Printer requires driver and software installation for full functionality. The software is compatible with Windows, Mac OS, and Linux operating systems.
- Download Software: Visit the official Seiko Instruments support website to download the latest Smart Label Software and drivers for your operating system.
- Install Software: Follow the on-screen instructions to install the software. It is recommended to restart your computer after installation if prompted.
3.3 Loading Labels
The SLP-650 uses direct thermal labels. Ensure you are using compatible Seiko Instruments Smart Labels for optimal performance.
- Open the Cover: Gently lift the clear top cover of the printer.
- Insert Label Roll: Place the label roll onto the spindle, ensuring the labels feed from the bottom and the leading edge of the labels points towards the label output slot.
- Feed Labels: Insert the leading edge of the label roll into the label feed slot until the printer automatically grips and positions the first label.
- Close Cover: Close the clear top cover securely.

Figure 3.2: Top view of the SLP-650 with the label roll inserted and ready for printing.
4. Operating Instructions
4.1 Creating and Printing Labels
- Launch Smart Label Software: Open the Seiko Smart Label Software on your computer.
- Select Label Type: Choose the appropriate label size and type from the software's template options.
- Design Your Label: Use the software's tools to add text, graphics, barcodes, or import data from word processing, spreadsheet, or database applications. The software allows for customization and integration with existing files.
- Print: Once your label design is complete, click the "Print" button within the software. You can specify the number of copies to print.
The SLP-650 offers fast printing at 3.94 inches per second, providing efficient label production for individual labels or bulk printing tasks.
4.2 Using Control Buttons
The printer features a few control buttons for basic functions:
- Feed Button: Press to advance a blank label.
- Power Button: Press to turn the printer on or off.
- Status Indicator Light: Provides visual feedback on the printer's status (e.g., ready, error, out of labels). Refer to the software for detailed error messages.
5. Maintenance
5.1 Changing Label Rolls
When a label roll is depleted or you need to switch label types, follow the label loading instructions in Section 3.3. Ensure the printer is powered on when changing labels, as it will automatically detect and calibrate the new roll.
5.2 Cleaning the Print Head
Over time, dust or adhesive residue may accumulate on the print head, affecting print quality. To clean the print head:
- Power Off: Turn off the printer and disconnect the power adapter.
- Open Cover: Open the top cover of the printer.
- Clean Print Head: Gently wipe the thermal print head (the dark strip located inside the printer where labels pass) with a lint-free cloth lightly dampened with isopropyl alcohol. Allow it to dry completely before closing the cover and reconnecting power.
Caution: Do not touch the print head with bare hands, as oils can damage it. Do not use abrasive materials or harsh chemicals.
6. Troubleshooting
This section addresses common issues you might encounter with your SLP-650 printer.
- Printer Not Responding:
- Ensure the power adapter is securely connected and the printer is powered on.
- Verify the USB cable is firmly connected to both the printer and the computer.
- Check if the printer drivers are correctly installed. Reinstall if necessary.
- Try connecting to a different USB port on your computer.
- Labels Not Printing or Feeding:
- Confirm that labels are loaded correctly and the leading edge is inserted into the feed slot (refer to Section 3.3).
- Check if the label roll is empty.
- Ensure the correct label type is selected in the Smart Label Software.
- Restart the printer and your computer.
- Poor Print Quality:
- Clean the print head as described in Section 5.2.
- Ensure you are using genuine Seiko Instruments Smart Labels.
- Check the print density settings in the Smart Label Software.
- Replace the label roll if labels appear old or damaged.
- Software Issues (Mac Specific):
- Some users have reported issues with barcode functionality or saving labels on Mac OS. Ensure you have the latest software version from the official website. If problems persist, consult Seiko Instruments technical support.
7. Specifications
Key technical specifications for the Seiko Instruments Smart Label Printer SLP-650:
| Feature | Specification |
|---|---|
| Model Name | Smart Label Printer 650 |
| Model Number | SLP-650 |
| Printing Technology | Direct Thermal |
| Print Resolution | 300 dpi |
| Print Speed (Monochrome) | 3.94 inches/second (100 mm/second) |
| Connectivity | USB |
| Compatible Operating Systems | Windows, Mac OS, Linux |
| Maximum Media Size | Paper Roll (up to 1000 labels) |
| Product Dimensions (D x W x H) | 6.8" x 4.5" x 5.8" (17.3 cm x 11.4 cm x 14.7 cm) |
| Item Weight | 1.08 pounds (0.49 kg) |
| Included Components | Label printer, USB cable, Power adapter |
8. Warranty and Support
8.1 Product Warranty
The Seiko Instruments Smart Label Printer SLP-650 is backed by a 3-year limited warranty from the date of purchase. This warranty covers defects in materials and workmanship under normal use. For full warranty terms and conditions, please refer to the documentation included with your product or visit the official Seiko Instruments website.
8.2 Technical Support
For technical assistance, driver downloads, or further information, please visit the official Seiko Instruments support website or contact their customer service department. Contact details can typically be found on the manufacturer's website or in your product packaging.


