
1. Introduction
This manual provides essential information for the proper installation, use, and maintenance of your Wittner Violin Tailpiece Ultra Classic Multi-System 4/4. This tailpiece is engineered from a durable composite material and features a light alloy construction, designed for 4/4 size violins. It includes a Wittner nylon tail gut for secure attachment. Please read these instructions carefully before installation to ensure optimal performance and longevity of the product.
2. Product Components
The Wittner Violin Tailpiece Ultra Classic Multi-System 4/4 package typically includes the following:
- Wittner Violin Tailpiece: The main body of the tailpiece, made from composite material.
- Wittner Nylon Tail Gut: A durable nylon cord used to attach the tailpiece to the endpin of the violin.

Figure 2.1: The Wittner Violin Tailpiece shown with its accompanying nylon tail gut. The tailpiece is black, with a curved, ergonomic shape, and features four string holes at one end. The tail gut is a black cord with brass-colored adjusters at each end.
3. Installation Instructions
Proper installation of the tailpiece is crucial for the violin's sound and playability. If you are unsure about any step, it is recommended to seek assistance from a qualified luthier.
- Remove Old Tailpiece (if applicable): Carefully loosen all strings until they are slack. Remove the old tailpiece and tail gut from the violin. Be cautious not to lose the bridge or soundpost.
- Attach Nylon Tail Gut: Thread the Wittner nylon tail gut through the designated holes on the tailpiece. Ensure it is securely fastened according to the tail gut's design. The tail gut typically has adjustable ends to set the length.
- Position Tailpiece: Place the tailpiece onto the violin. The loop of the nylon tail gut should fit around the endpin at the bottom of the violin.
- Adjust Tail Gut Length: Adjust the length of the tail gut so that the tailpiece is positioned correctly. The ideal position is typically where the tailpiece is approximately 1/5 to 1/6 of the string length from the bridge, or where the distance between the bridge and the tailpiece is about 55-58mm. This distance can influence the instrument's tone.
- Install Strings: Insert the violin strings into the string holes on the tailpiece. Ensure each string is seated properly.
- Tune Violin: Gradually tighten and tune the strings to pitch. As you tune, ensure the tailpiece remains centered and the bridge is upright.

Figure 3.1: Underside view of the Wittner tailpiece, illustrating the mechanism for attaching and adjusting the nylon tail gut. The text "WITTNER GERMANY VIOLINE 4/4 Pat.pend." is visible, indicating its origin and size.

Figure 3.2: Top view of the Wittner Violin Tailpiece, showcasing its sleek design and the four string attachment points. This view highlights the smooth composite material finish.
4. Usage and Function
The Wittner Ultra Classic Multi-System Tailpiece is designed to provide a stable and lightweight anchor for your violin strings. Its composite material contributes to a balanced instrument, and the integrated design ensures reliable string tension. Once installed and the strings are tuned, the tailpiece functions passively, maintaining string alignment and contributing to the overall resonance of the instrument.
- String Stability: The design helps maintain consistent string spacing and tension.
- Weight Distribution: The lightweight composite material can subtly affect the instrument's balance and vibrational characteristics.
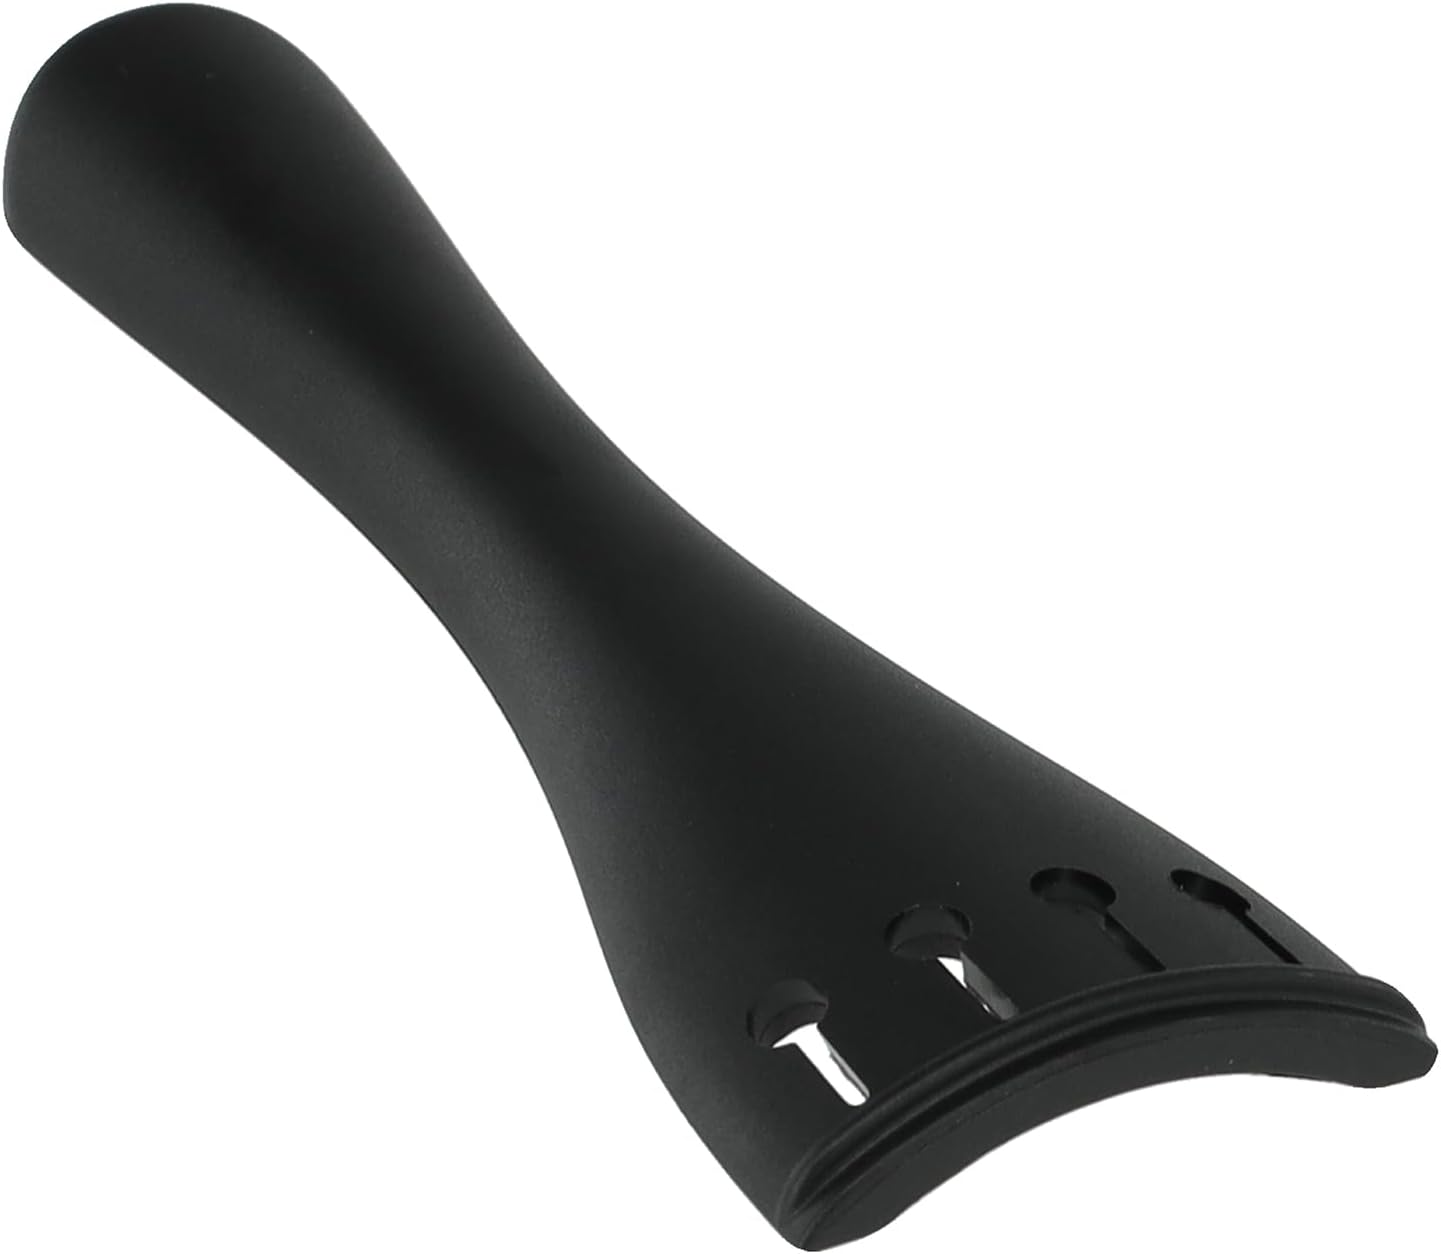
Figure 4.1: An angled top view of the Wittner Violin Tailpiece, emphasizing its contoured shape and the precision of the string holes.
5. Maintenance
The Wittner Violin Tailpiece requires minimal maintenance. Follow these guidelines to ensure its longevity:
- Cleaning: Wipe the tailpiece occasionally with a soft, dry cloth to remove dust and rosin residue. Avoid harsh chemicals or abrasive cleaners.
- Inspect Tail Gut: Periodically check the nylon tail gut for any signs of wear, fraying, or damage. A worn tail gut can lead to sudden string tension loss or damage to the instrument. Replace it if any wear is observed.
- String Holes: Ensure string ends are properly seated in the holes and not causing undue stress on the tailpiece material.

Figure 5.1: An angled bottom view of the Wittner Violin Tailpiece, showing the smooth finish and structural integrity of the composite material.
6. Troubleshooting
Most issues related to a tailpiece are minor and can be resolved with simple adjustments.
- Buzzing Sound:
- Check if the tailpiece is touching the top of the violin. Adjust the tail gut length if necessary to ensure adequate clearance.
- Ensure strings are properly seated in the tailpiece holes and bridge grooves.
- Tailpiece Shifting:
- Verify that the tail gut is securely attached to the endpin and properly adjusted.
- Ensure the endpin itself is firmly seated in the violin.
- Difficulty Tuning:
- While not directly caused by the tailpiece, ensure the tailpiece is not interfering with string movement or bridge stability.
7. Specifications
| Feature | Detail |
|---|---|
| Brand | Wittner |
| Model Number | 418590 |
| Product Dimensions (L x W x H) | 1.7 x 0.59 x 5.7 inches (4.3 x 1.5 x 14.5 cm) |
| Item Weight | 0.48 ounces (13.61 g) |
| Material | Space-age composite material (tailpiece), Nylon (tail gut) |
| Instrument Compatibility | Violin (4/4 size) |
| Color | Black |
| Number of Strings | 4 |
| Manufactured In | Germany |
8. Warranty and Support
For specific warranty information and customer support regarding your Wittner Violin Tailpiece, please refer to the documentation provided with your purchase or visit the official Wittner website. Keep your proof of purchase for any warranty claims.
For technical assistance or inquiries, please contact Wittner customer service through their official channels.