Introduction
This manual provides detailed instructions for the safe installation, operation, and maintenance of your Quorum International 3260-2-64 Reyes Collection Two Light Flush Mount fixture. Please read all instructions carefully before beginning installation and retain this manual for future reference.
The Quorum International 3260-2-64 is a transitional two-light ceiling mount fixture featuring a classic nickel finish. It is designed for indoor use and is suitable for damp locations.
Safety Information
- WARNING: To avoid electric shock, ensure power is turned off at the circuit breaker or fuse box before installation, servicing, or changing bulbs.
- All electrical connections must be in accordance with local codes, ordinances, or the National Electric Code (NEC). Consult a qualified electrician if you are unfamiliar with electrical wiring.
- Use only the specified bulb type and wattage. Exceeding the maximum wattage may cause overheating and damage to the fixture.
- Do not install this fixture in extremely wet locations or where it may be directly exposed to water. This fixture is rated for damp locations only.
- Handle glass components with care to prevent breakage.
- Ensure the fixture is securely mounted to a structural element of the ceiling.
Package Contents
Verify that all components are present before beginning installation. If any parts are missing or damaged, contact Quorum International customer service.
- Fixture Body (1)
- Glass Shades (2)
- Mounting Hardware Kit (includes mounting bracket, screws, wire nuts) (1)
- Instruction Manual (1)
Figure 1: Important notice regarding light bulbs. Please note that light bulbs are not included with this fixture and must be purchased separately.
Setup and Installation
Tools Required (Not Included):
- Phillips Head Screwdriver
- Flathead Screwdriver
- Wire Strippers
- Electrical Tape
- Safety Glasses
Installation Steps:
- Turn Off Power: Locate the circuit breaker or fuse box controlling the power to the installation location. Turn off the power completely to prevent electrical shock.
- Prepare Mounting Surface: If replacing an existing fixture, carefully remove it. Ensure the junction box is securely mounted and capable of supporting the fixture's weight.
- Attach Mounting Bracket: Secure the mounting bracket (included in hardware kit) to the junction box using the provided screws. Ensure the bracket is firm and stable.
- Make Electrical Connections:
- Connect the bare copper ground wire from the fixture to the ground wire from the junction box (usually bare copper or green) using a wire nut.
- Connect the white wire from the fixture to the white (neutral) wire from the junction box using a wire nut.
- Connect the black wire from the fixture to the black (hot) wire from the junction box using a wire nut.
- Ensure all connections are secure and wrap them with electrical tape for added safety.
- Mount the Fixture: Carefully align the fixture body with the mounting bracket and secure it using the decorative nuts or screws provided. Ensure the fixture is flush against the ceiling.
- Install Light Bulbs: Insert two (2) E26 Medium base light bulbs (not included) into the sockets. Do not exceed the maximum wattage of 60 watts per bulb. LED compatible bulbs can be used.
- Attach Glass Shades: Carefully place the glass shades over the bulb sockets and secure them according to the fixture's design (e.g., with threaded rings or screws).
- Restore Power: Once installation is complete and all components are secure, turn the power back on at the circuit breaker. Test the fixture.
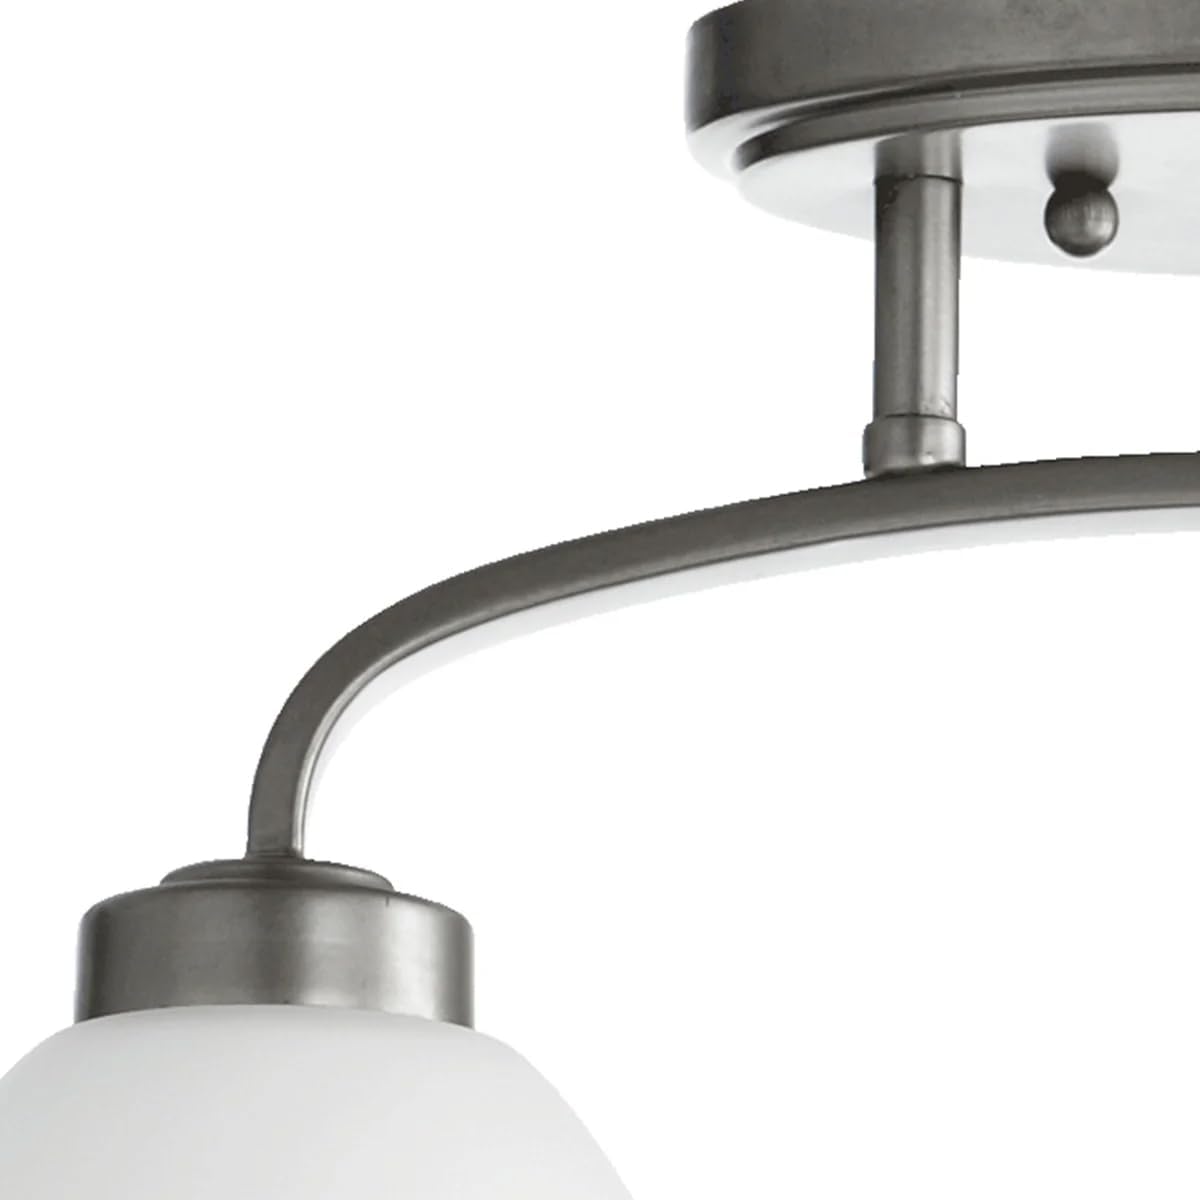
Figure 2: Detail of the fixture's base and arm, illustrating how it connects to the mounting surface.

Figure 3: Close-up of a single light shade and the classic nickel finish arm, showing the aesthetic design.
Operating Instructions
This fixture operates like a standard ceiling light. Once properly installed and powered, it can be controlled by a wall switch or a compatible remote control system if integrated into your home's electrical setup. The fixture is designed for use with two E26 Medium base incandescent or LED compatible bulbs, up to 60 watts each.
Maintenance
- Cleaning: To clean the fixture, ensure power is off. Wipe the metal finish with a soft, dry cloth. For glass shades, use a mild glass cleaner and a soft cloth. Avoid abrasive cleaners or solvents that may damage the finish.
- Bulb Replacement: Always turn off power at the circuit breaker before replacing bulbs. Allow bulbs to cool before touching. Unscrew old bulbs and replace with new E26 Medium base bulbs, not exceeding 60 watts per bulb.
- Inspection: Periodically inspect the fixture for any signs of wear, loose connections, or damage. If any issues are found, turn off power and consult a qualified electrician.
Troubleshooting
| Problem | Possible Cause | Solution |
|---|---|---|
| Light does not turn on. |
|
|
| Light flickers. |
|
|
| Fixture hums. |
|
|
Specifications
| Model Number | 3260-2-64 |
| Brand | Quorum International |
| Collection | Reyes Collection |
| Finish | Classic Nickel |
| Style | Transitional |
| Light Type | Ceiling Mount, Flush Mount |
| Number of Lights | 2 |
| Bulb Base | E26 Medium |
| Max Wattage per Bulb | 60 Watts |
| Voltage | 120 Volts |
| Dimensions (L x W x H) | 16.25 inches x 5.25 inches x 10.50 inches (Approx. 16"L x 5"W x 11"H) |
| Safety Rating | Damp Location Listed, UL Listed |
| Material | Plastic (Fixture body), Nickel (Shade Material) |
| Power Source | Corded Electric |
| Indoor/Outdoor Usage | Indoor |
Warranty
This Quorum International product is covered by a manufacturer's warranty. For specific details regarding warranty coverage, duration, and terms, please refer to the documentation included with your purchase or contact Quorum International directly. The manufacturer warranty description is "N/a." in some product listings, indicating that specific details should be obtained from the manufacturer.
Customer Support
If you have any questions, require assistance with installation, or need to report missing/damaged parts, please contact Quorum International customer service. Refer to the contact information provided on the product packaging or visit the official Quorum International website for support details.
Manufacturer: Quorum
Brand: Quorum International


