MTX Audio 5515-44
MTX Audio 5500 Series Subwoofer Instruction Manual
Model: 5515-44
Introduction
Thank you for choosing the MTX Audio 5500 Series Subwoofer. This manual provides essential information for the proper installation, operation, and maintenance of your 5515-44 subwoofer. Please read this manual thoroughly before installation and use to ensure optimal performance and longevity of your product.
The MTX 5500 Series subwoofers are engineered to deliver powerful, clear bass with high reliability. Featuring high-temperature voice coils, a robust basket design, and a double-stitched cone, these subwoofers are built for demanding audio environments.
Safety Information
Always observe the following safety precautions:
- Power Handling: Do not exceed the recommended RMS power handling of 400 Watts or peak power of 800 Watts. Overpowering can lead to damage and void the warranty.
- Impedance Matching: Ensure your amplifier's output impedance matches the subwoofer's 4 Ohm impedance. Incorrect impedance can damage both the amplifier and the subwoofer.
- Wiring: Always use appropriate gauge wiring for power and speaker connections. Consult a professional if unsure about wiring diagrams.
- Enclosure: Install the subwoofer in a properly designed and constructed enclosure to prevent damage and ensure optimal sound quality.
- Ventilation: Ensure adequate ventilation around the subwoofer and amplifier to prevent overheating.
- Moisture: This product is NOT waterproof. Avoid exposure to water or excessive moisture.
- Hearing Protection: Prolonged exposure to high sound pressure levels can cause permanent hearing damage. Use caution when adjusting volume levels.
What's in the Box
Upon opening the package, you should find the following:
- MTX Audio 5515-44 Subwoofer (1 unit)
Please inspect the contents for any signs of damage during shipping. Contact your dealer immediately if any items are missing or damaged.
Setup and Installation
Proper installation is crucial for the performance and longevity of your subwoofer. It is recommended that installation be performed by a qualified professional.
1. Enclosure Selection and Mounting
The 5515-44 subwoofer is designed for flush mounting in a suitable enclosure. The enclosure type (sealed, ported, bandpass) will significantly affect the subwoofer's performance. Consult MTX Audio's official resources or a car audio specialist for recommended enclosure specifications for optimal sound.
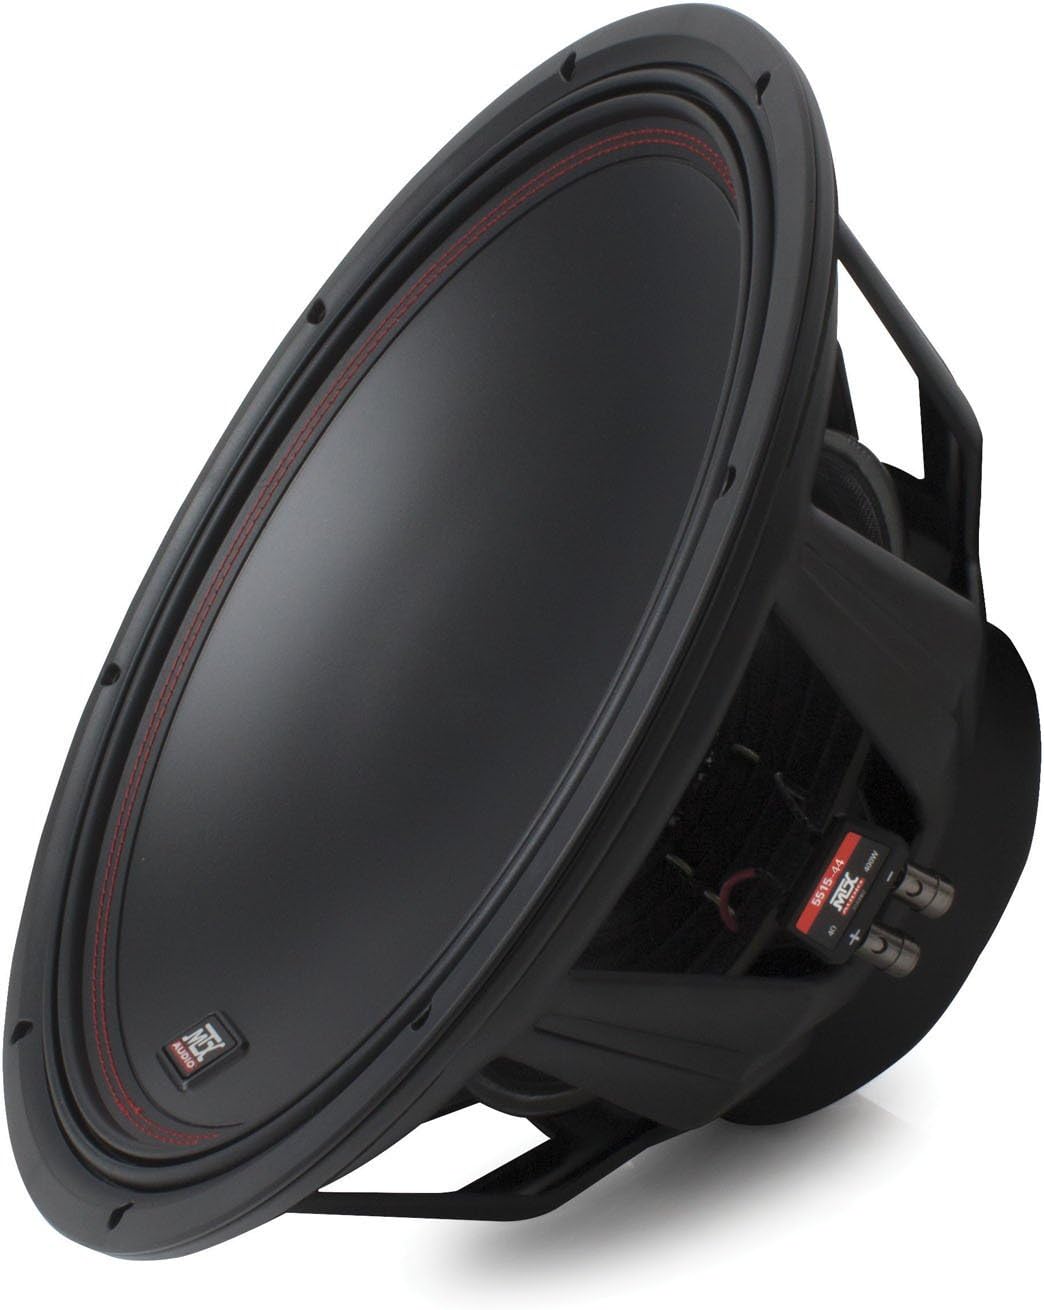
Figure 1: Angled view of the MTX Audio 5515-44 Subwoofer, showcasing its robust construction and red stitching detail.

Figure 2: Side profile of the subwoofer, highlighting the sturdy basket design and mounting depth.
2. Wiring Connections
The 5515-44 features dual 4 Ohm voice coils, allowing for flexible wiring configurations to achieve different impedances (e.g., 2 Ohm or 8 Ohm) depending on your amplifier's capabilities. Always ensure correct polarity (+ to + and - to -) to avoid phase issues and damage.
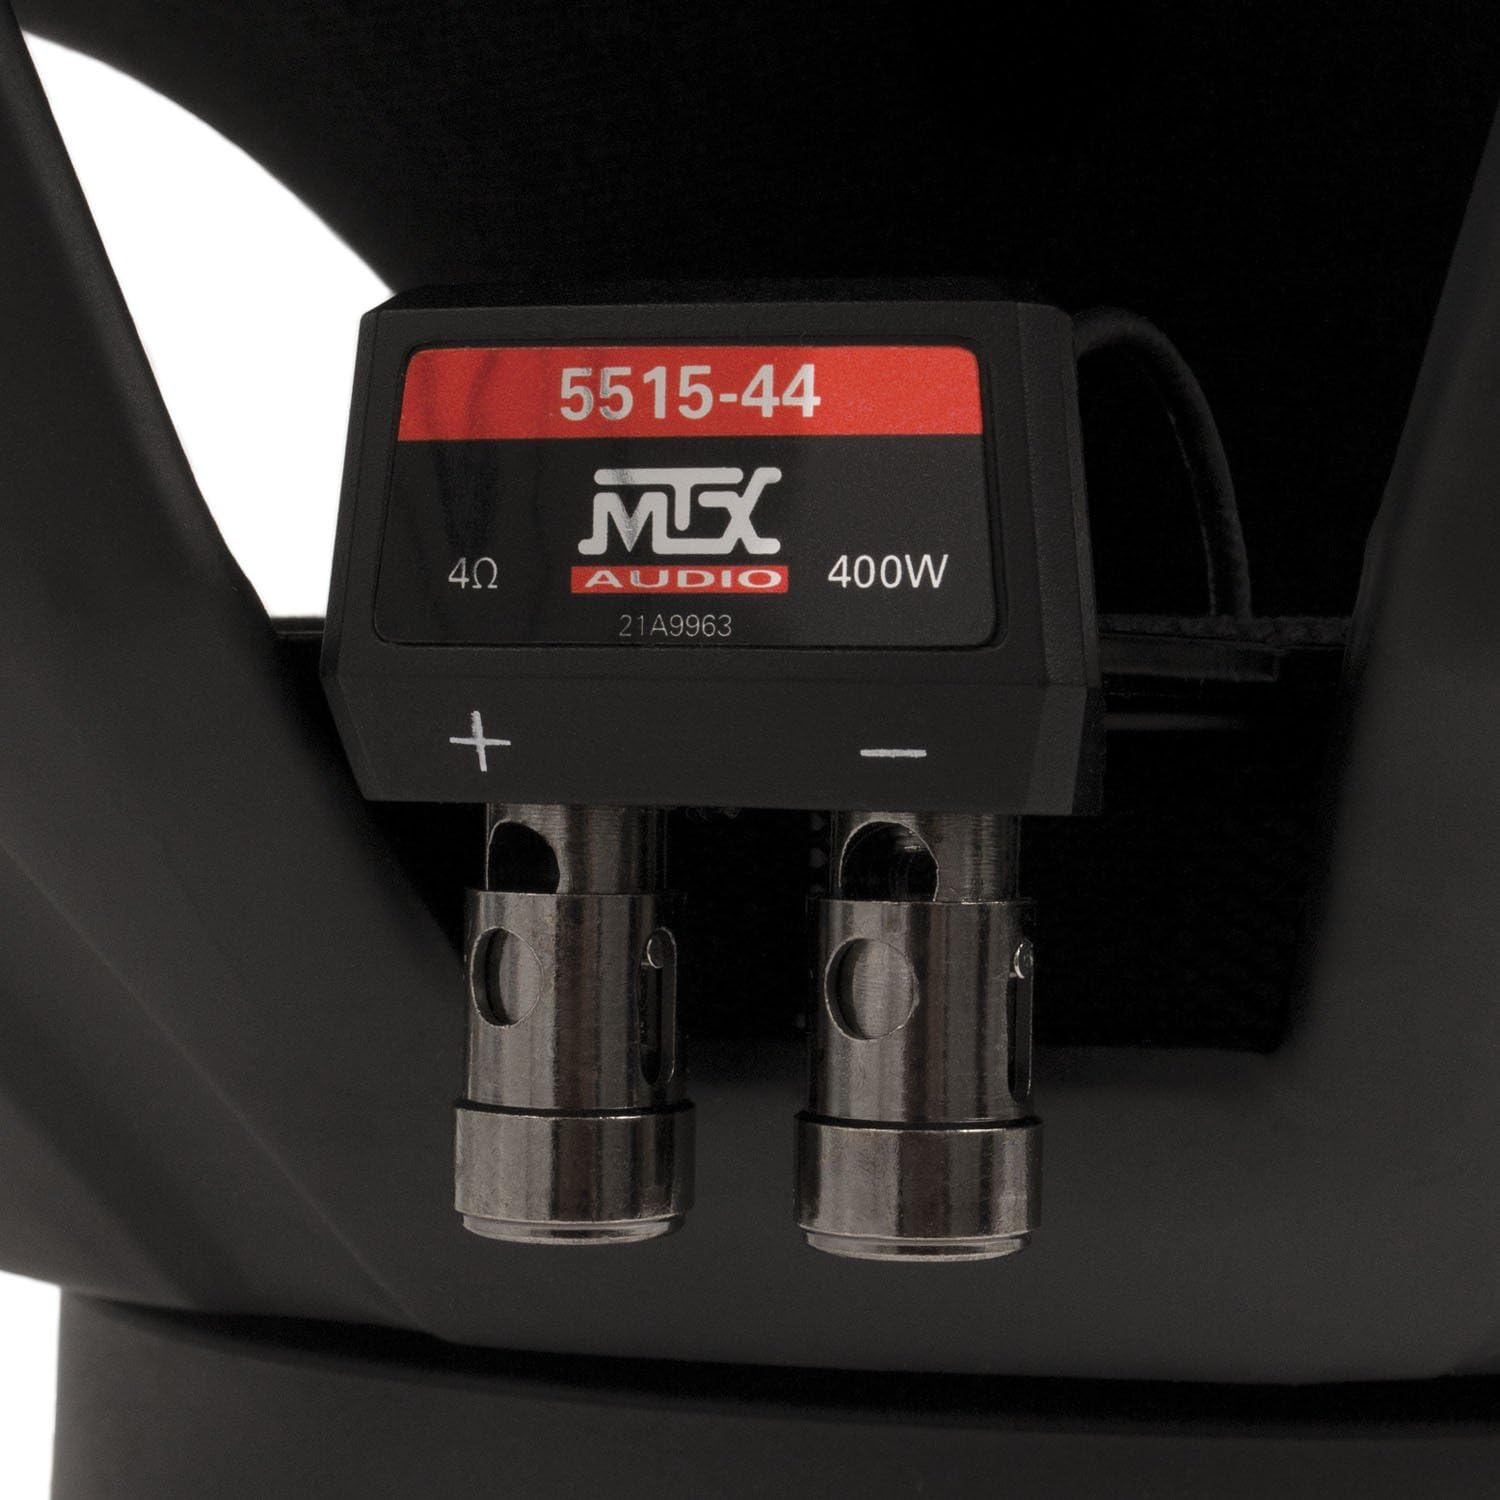
Figure 3: Detailed view of the dual 4 Ohm wiring terminals on the subwoofer, showing positive (+) and negative (-) connections.
- Parallel Wiring (2 Ohm Load): Connect both positive terminals together and both negative terminals together. This configuration presents a 2 Ohm load to the amplifier.
- Series Wiring (8 Ohm Load): Connect the positive terminal of one voice coil to the negative terminal of the other voice coil. Then connect the remaining positive and negative terminals to the amplifier. This configuration presents an 8 Ohm load.
Refer to your amplifier's manual for compatible impedance loads and wiring recommendations. Use high-quality RCA cables for signal connection from your head unit to the amplifier.
Operating Your Subwoofer
Once installed, proper operation involves setting up your amplifier and head unit for optimal sound. The 5515-44 is designed to reproduce low frequencies down to 21 Hz.
- Amplifier Gain Setting: Set the amplifier gain correctly to match the output voltage of your head unit. Incorrect gain settings can lead to distortion and damage. Start with the gain at minimum and slowly increase it until you hear distortion, then back off slightly.
- Crossover Settings: Use the low-pass filter (LPF) on your amplifier or head unit to send only low frequencies to the subwoofer. A common starting point is 80-100 Hz, but this can be adjusted based on your vehicle's acoustics and personal preference.
- Subsonic Filter: If your amplifier has a subsonic filter, set it slightly below the tuning frequency of your ported enclosure (if applicable) to protect the subwoofer from over-excursion at very low frequencies.
- Break-in Period: Allow a break-in period of several hours of moderate listening before pushing the subwoofer to its limits. This allows the suspension components to loosen up and perform optimally.
Maintenance
The MTX 5515-44 subwoofer requires minimal maintenance to ensure long-term performance.
- Cleaning: Use a soft, dry cloth to wipe down the cone and surround. Avoid using harsh chemicals or abrasive cleaners.
- Inspection: Periodically check all wiring connections for tightness and corrosion. Ensure the subwoofer is securely mounted in its enclosure.
- Environmental Protection: As the subwoofer is not waterproof, protect it from direct exposure to water, extreme temperatures, and direct sunlight, which can degrade materials over time.
Troubleshooting
If you experience issues with your subwoofer, refer to the following common problems and solutions:
| Problem | Possible Cause | Solution |
|---|---|---|
| No Sound from Subwoofer |
|
|
| Distorted Sound |
|
|
| Weak Bass Output |
|
|
| Subwoofer Overheating |
|
|
If problems persist after attempting these solutions, contact MTX Audio customer support or a certified car audio technician.
Specifications
Below are the key specifications for the MTX Audio 5515-44 Subwoofer:
| Feature | Specification |
|---|---|
| Model Name | 5515-44 |
| Speaker Type | Subwoofer |
| Speaker Size | 15 Inches |
| Subwoofer Diameter | 14.38 Inches |
| Woofer Diameter | 13.88 Inches |
| Impedance | Dual 4 Ohm |
| RMS Power Handling | 400 Watts |
| Speaker Maximum Output Power | 800 Watts |
| Frequency Response | 21 Hz |
| Product Dimensions (D x W x H) | 15.5"D x 15.5"W x 8.31"H |
| Item Weight | 15.5 Pounds |
| Mounting Type | Flush Mount |
| Connectivity Technology | RCA (for amplifier input) |
| Is Waterproof | FALSE |
| Included Components | Subwoofer |
Warranty Information
The MTX Audio 5515-44 Subwoofer comes with a Limited Warranty. Please refer to the warranty card included with your product or visit the official MTX Audio website for detailed terms and conditions regarding coverage, duration, and claim procedures. Keep your proof of purchase for warranty claims.
Customer Support
For further assistance, technical support, or warranty inquiries, please visit the official MTX Audio website or contact their customer service department. You can also visit the MTX Audio Store on Amazon for more product information and resources.
Ask a question about this manual
Ask about setup, troubleshooting, compatibility, parts, safety, or missing instructions. Manuals+ will review the question and use this page’s manual context to help answer it.