1. Product Overview
This manual provides instructions for the safe installation, operation, and maintenance of your Hinkley 3174CM Restoration One Light Wall Sconce. This fixture is designed to provide ambient lighting with a traditional style, featuring a chrome finish and clear glass shade.
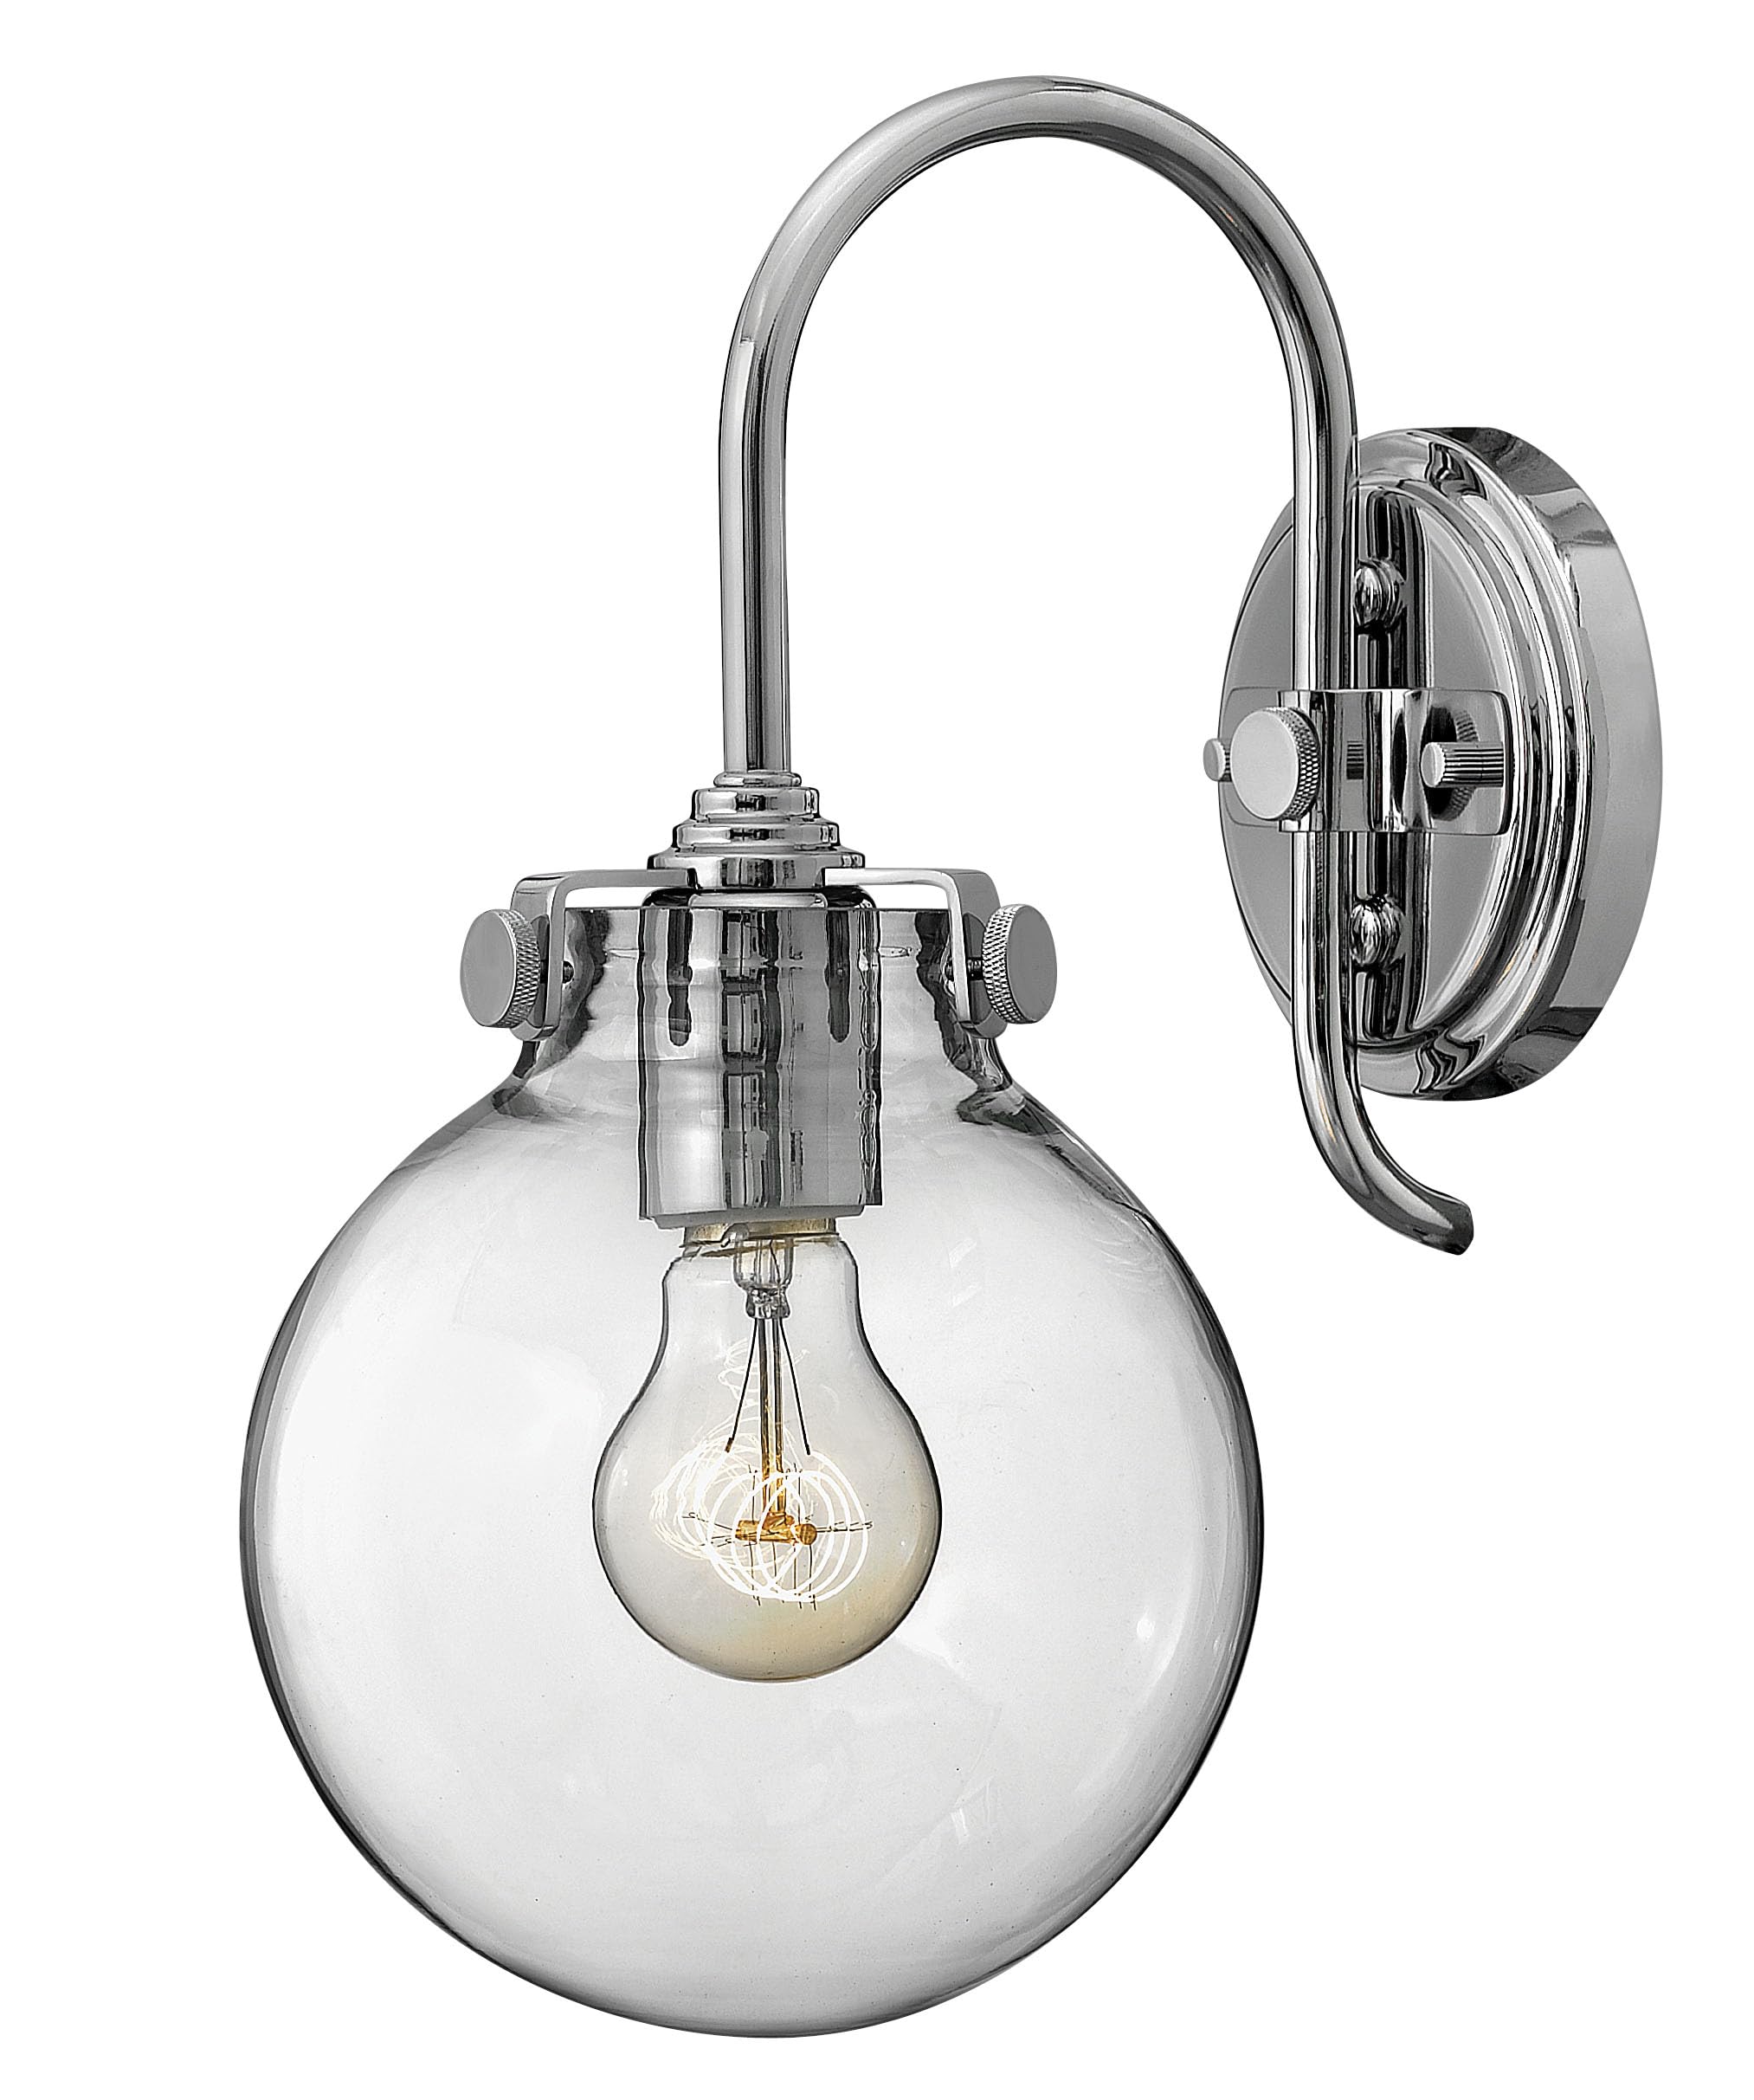
Image: The Hinkley 3174CM Restoration One Light Wall Sconce, showcasing its chrome finish and clear glass shade.
Video: An overview of Hinkley Lighting's commitment to quality, style, and design in their lighting products.
2. Important Safety Instructions
To reduce the risk of fire, electric shock, or personal injury, always follow these basic safety precautions:
- Read all instructions carefully before beginning installation.
- Turn off power at the main circuit breaker or fuse box before installing or servicing the fixture.
- Consult a qualified electrician if you are unsure about the installation process.
- Use only the specified bulb type and wattage. Do not exceed the maximum wattage indicated on the fixture.
- Ensure all electrical connections are secure and correct according to local electrical codes.
- Do not install this fixture in wet or damp locations unless specifically rated for such environments.
- Keep combustible materials away from the light fixture.
3. Package Contents
Verify that all components are present before beginning installation:
- Wall Sconce Fixture (Model 3174CM)
- Glass Shade
- Mounting Hardware Kit (includes mounting plate, screws, wire nuts)
- Instruction Manual
4. Specifications
| Brand | Hinkley |
| Model Number | 3174CM |
| Color | Chrome |
| Material | Alloy Steel, Glass |
| Style | Traditional |
| Light Fixture Form | Sconce |
| Power Source | Hardwired |
| Voltage | 120 Volts |
| Number of Light Sources | 1 |
| Max Wattage | 12 watts (per bulb) |
| Product Dimensions | 6 x 7 x 13.5 inches |
| Item Weight | 4 Pounds |
| Light Source Type | LED, Socket (Bulb(s) Not Included) |
5. Installation Instructions
This fixture is designed for easy installation, but it is recommended to consult a qualified electrician for proper wiring and safety.
- Turn Off Power: Before starting, ensure the electrical power to the area where you are installing the fixture is turned off at the circuit breaker or fuse box.
- Prepare Mounting Surface: Remove the old fixture (if applicable) and ensure the junction box is clean and accessible.
- Attach Mounting Bracket: Secure the mounting bracket to the junction box using the screws provided in the hardware kit. Ensure the bracket is firmly attached.
- Make Electrical Connections: Connect the fixture's wires to the corresponding house wires. Typically, black to black (live), white to white (neutral), and green or bare copper to green or bare copper (ground). Use the provided wire nuts to secure connections.
- Secure Fixture: Carefully tuck the wires into the junction box. Align the fixture base with the mounting bracket and secure it with the provided screws.
- Install Glass Shade: Attach the glass shade to the fixture according to the specific design. Ensure it is securely fastened.
- Install Bulb: Insert the appropriate bulb (not included) into the socket. Refer to the specifications for maximum wattage.
- Restore Power: Once installation is complete and all components are secure, turn the power back on at the circuit breaker.
6. Operating Your Wall Sconce
The Hinkley 3174CM Wall Sconce operates via a standard wall switch. Simply toggle the wall switch to turn the light fixture on or off.
7. Care and Maintenance
Proper care ensures the longevity and appearance of your fixture:
- Cleaning: Clean the fixture with a soft, dry cloth. Do not use abrasive cleaners, solvents, or polishes as they may damage the finish.
- Bulb Replacement: Always turn off the power at the circuit breaker before replacing a bulb. Allow the bulb to cool completely before touching it. Use only bulbs that meet the fixture's specifications.
- Inspection: Periodically inspect the wiring and connections for any signs of wear or damage. If any issues are found, consult a qualified electrician.
8. Troubleshooting Guide
If your wall sconce is not functioning correctly, refer to the following common issues and solutions:
| Problem | Possible Cause | Solution |
|---|---|---|
| Light does not turn on. | No power to the fixture. | Check the circuit breaker or fuse. Ensure the wall switch is in the 'ON' position. |
| Loose wire connections. | Turn off power at the circuit breaker. Check all wire connections and tighten them securely. | |
| Faulty bulb. | Replace the bulb with a new one of the correct type and wattage. | |
| Light flickers. | Loose bulb or wiring. | Turn off power. Tighten the bulb. Check wire connections. |
| Incompatible dimmer switch. | Ensure your dimmer switch is compatible with the type of bulb used (e.g., LED compatible dimmer for LED bulbs). |
If these steps do not resolve the issue, contact customer support or a qualified electrician.
9. Warranty and Customer Support
This Hinkley lighting fixture is covered by a manufacturer's warranty. For specific details regarding the warranty period and coverage, please refer to the documentation included with your purchase or visit the official Hinkley website.
For technical assistance, replacement parts, or any questions not covered in this manual, please contact Hinkley Customer Support:
- Website: www.hinkley.com
- Phone: Refer to the Hinkley website for current contact numbers.


