GRUNDIG GKL0220
Grundig Sonoclock 220 Alarm Clock Radio with Wake-up Light
Model: GKL0220
Introduction
The Grundig Sonoclock 220 is an elegantly designed alarm clock radio featuring a backlit display and a powerful RDS-UKW-PLL tuner with four station presets. It offers flexible wake-up options, allowing users to wake up to music or an alarm signal. The dynamic alarm tone ensures a gentle awakening, complemented by a dedicated Wake-up Light function designed to facilitate a more pleasant start to the day.
Safety Instructions
- Ensure the product is placed on a stable, flat surface to prevent accidental falls.
- Do not expose the device to water, moisture, or extreme temperatures.
- Avoid blocking ventilation openings to prevent overheating.
- Use only the provided power adapter. Disconnect from power during thunderstorms or when unused for extended periods.
- Do not attempt to open or repair the device yourself. Refer all servicing to qualified personnel.
- Keep out of reach of children.
Package Contents
Please check that all items are present and in good condition:
- Grundig Sonoclock 220 Alarm Clock Radio
- Power Adapter
- Instruction Manual
Product Overview
Familiarize yourself with the various parts and controls of your Sonoclock 220.

Figure 1: Front View. This image displays the front of the Sonoclock 220, highlighting its large digital time display and the 'SNOOZE' button located on the top surface. The display shows the current time and the set alarm time.

Figure 2: Side Controls. This view shows the side panel of the device, featuring the ON/OFF button, the alarm setting button, and a vertical slider for selecting one of the four radio presets.
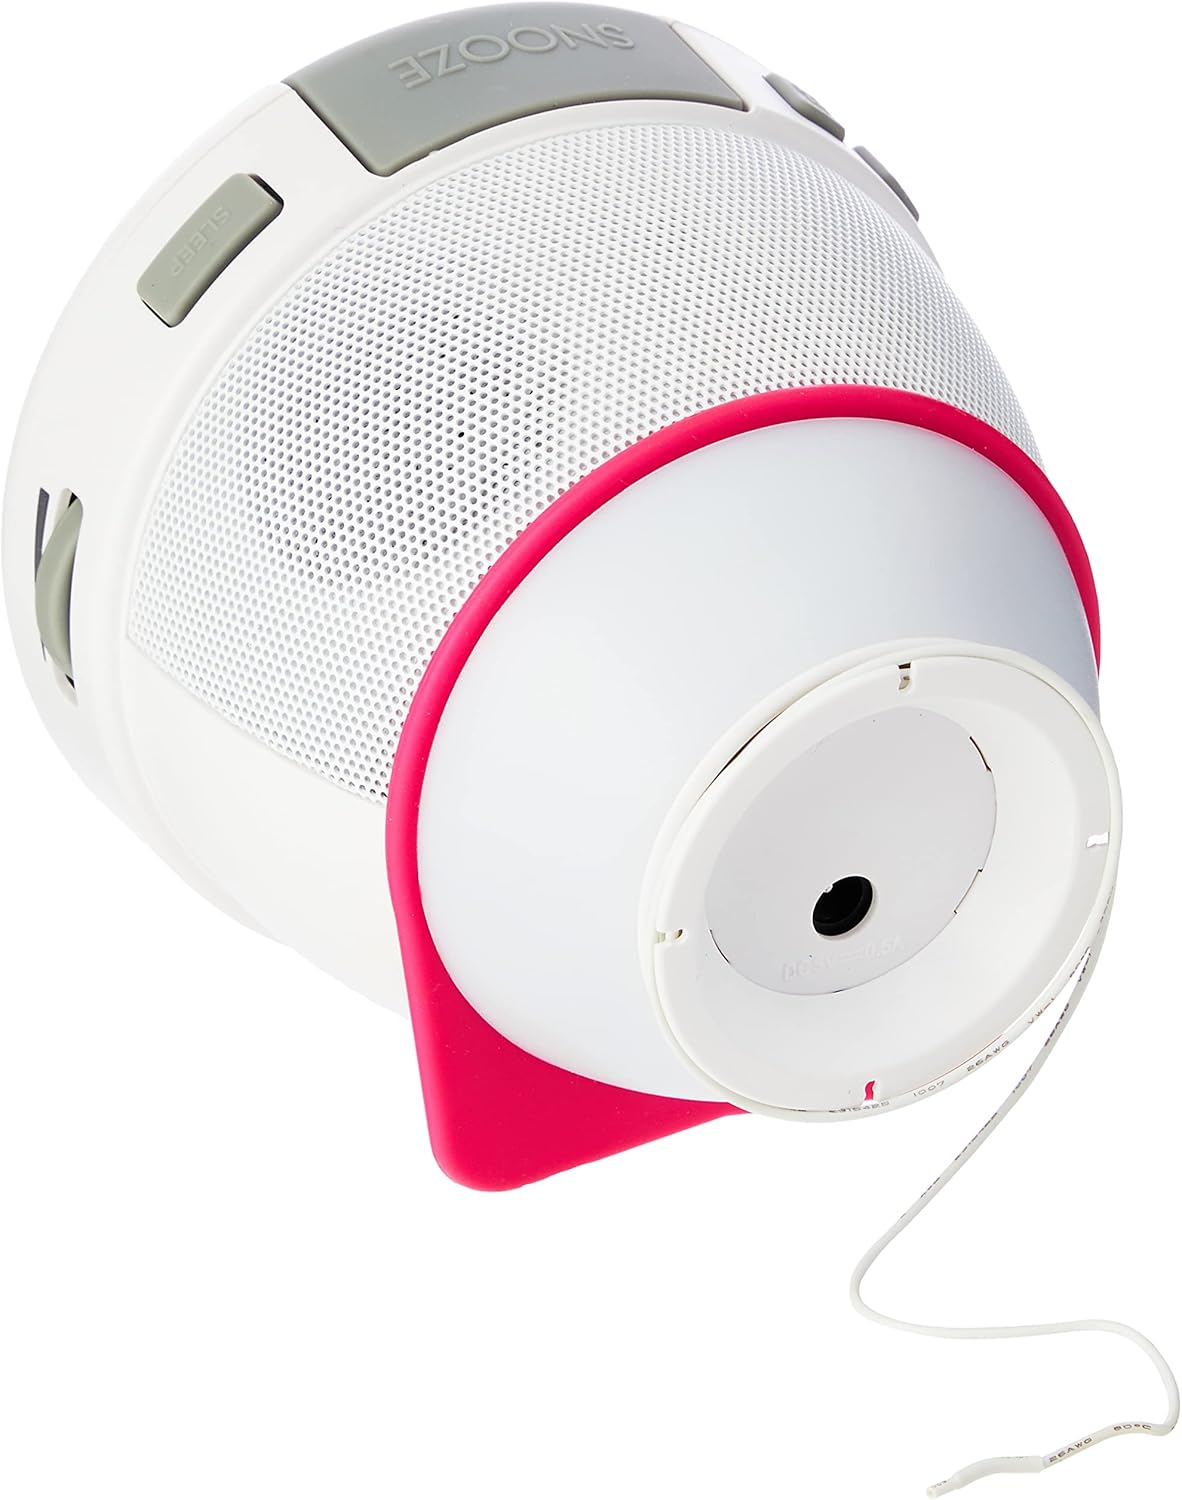
Figure 3: Wake-up Light and Base. This image illustrates the bottom of the Sonoclock 220, revealing the circular base which houses the wake-up light. The power cable is also visible, extending from this section.

Figure 4: Power Connection. This image shows the side of the alarm clock radio with the power adapter securely plugged into its input port, demonstrating how the device receives power.
Setup
1. Power Connection
- Connect the provided power adapter to the DC input jack on the back of the Sonoclock 220.
- Plug the power adapter into a standard wall outlet.
- For battery backup (to retain time settings during power outages), insert 1 AA battery into the battery compartment located on the bottom of the unit.
2. Initial Time Setting
Upon first power-up or after a complete power loss without battery backup, the display will flash. Refer to the "Setting the Time" section under Operating Instructions for detailed steps.
3. Antenna Setup
Extend the integrated FM wire antenna fully for optimal radio reception. Adjust its position for clearer sound.
Operating Instructions
Setting the Time
- Press and hold the "TIME SET" button (location may vary, typically on the back or side) until the hour digits begin to flash.
- Use the "HOUR" or "TUNING" buttons to adjust the hour.
- Press "TIME SET" again to confirm the hour and move to minute setting. The minute digits will flash.
- Use the "MINUTE" or "TUNING" buttons to adjust the minutes.
- Press "TIME SET" one more time to save the time and exit the setting mode.
Setting the Alarm
The Sonoclock 220 allows you to set an alarm with either radio or buzzer sound, featuring a dynamically increasing volume for a gentle wake-up.
- Press and hold the "ALARM SET" button (refer to Figure 2 for typical location) until the alarm hour digits flash.
- Adjust the alarm hour using the appropriate buttons (e.g., "HOUR" or "TUNING").
- Press "ALARM SET" again to move to alarm minute setting.
- Adjust the alarm minutes.
- Press "ALARM SET" once more to select the alarm source (Radio or Buzzer). Use the adjustment buttons to toggle between options.
- Press "ALARM SET" to confirm and exit. The alarm icon will appear on the display, indicating the alarm is active.
To deactivate the alarm, press the "ALARM ON/OFF" button. The alarm icon will disappear from the display.
To use the Snooze function, press the large "SNOOZE" button on top of the unit when the alarm sounds. The alarm will pause for approximately 9 minutes and then sound again.
Radio Operation
- Press the "ON/OFF" button to turn on the radio.
- Use the "TUNING" buttons to manually tune to your desired FM station.
- To save a preset station: Tune to the desired station. Use the preset slider (1-4, refer to Figure 2) to select an empty preset slot. Press and hold the corresponding preset button until the display confirms the station is saved.
- To recall a preset station: Use the preset slider to select the desired preset number.
Wake-up Light Function
The Sonoclock 220 features a Wake-up Light to assist with a gentle awakening. This light illuminates from the base of the unit (refer to Figure 3).
- The Wake-up Light activates automatically when the alarm sounds.
- It provides a soft illumination to complement the audio alarm, creating a more natural wake-up experience.
- The light cannot be set to gradually brighten before the alarm time. It turns on simultaneously with the alarm.
Display Brightness Adjustment
The display brightness can be adjusted to suit your preference, typically through a dedicated button or a combination of buttons. Consult the specific buttons on your device, often labeled "DIMMER" or integrated with the "SNOOZE" button for multiple presses to cycle through brightness levels.
Maintenance
Cleaning
- Before cleaning, ensure the device is unplugged from the power outlet.
- Wipe the exterior surfaces with a soft, dry, or slightly damp cloth.
- Do not use abrasive cleaners, waxes, or solvents as they may damage the finish.
Battery Replacement
- If the time display is incorrect after a power outage, the backup battery may need replacement.
- Open the battery compartment on the bottom of the unit.
- Replace the old AA battery with a new one, observing correct polarity (+/-).
- Close the battery compartment securely.
Troubleshooting
| Problem | Possible Cause | Solution |
|---|---|---|
| No power/Display off | Power adapter not connected or faulty outlet. | Ensure power adapter is securely plugged into the unit and a working wall outlet. Try a different outlet. |
| No sound from radio/alarm | Volume too low; Radio not tuned; Alarm source incorrect. | Increase volume. Tune to a strong radio station. Check alarm settings to ensure radio or buzzer is selected. |
| Poor radio reception | Antenna not extended or positioned correctly; Interference. | Fully extend and reposition the FM wire antenna. Move the unit away from other electronic devices that may cause interference. |
| Alarm does not sound | Alarm not activated; Alarm time incorrect. | Ensure the alarm icon is visible on the display. Verify the alarm time is set correctly. |
| Display too bright at night | Brightness setting too high. | Adjust the display brightness to a lower setting using the dedicated dimmer function. |
Specifications
| Model Number | GKL0220 |
| Dimensions (W x H x D) | 10.8 x 10.5 x 10.8 cm (approx. 4.25 x 4.13 x 4.25 inches) |
| Weight | 480 grams (approx. 1.06 lbs) |
| Power Source | Mains power via adapter; 1 x AA battery for backup (not included) |
| Tuner Type | RDS-UKW-PLL Tuner |
| Radio Frequencies | FM |
| Presets | 4 station presets |
| Connectivity | USB (for power/charging, not data transfer) |
| Special Features | Wake-up Light, Backlit Display, Dynamic Alarm Tone |
Warranty and Support
This product comes with a manufacturer's warranty. For detailed information regarding warranty terms, conditions, and duration, please refer to the warranty card included in your package or visit the official Grundig website.
For technical support, troubleshooting assistance beyond this manual, or spare parts, please contact Grundig customer service. Contact information can typically be found on the Grundig website or on the product packaging.
Online Resources: www.grundig.com
Ask a question about this manual
Ask about setup, troubleshooting, compatibility, parts, safety, or missing instructions. Manuals+ will review the question and use this page’s manual context to help answer it.