Introduction
This manual provides detailed instructions for the safe installation, operation, and maintenance of your Maxim 21564TWPN Allure 5-Light Pendant. The fixture features hand-formed panels of polished nickel wire, lined with twilight fabric for a sparkling effect, and accented with jewelry-grade lures and clear glass beads. Please read all instructions carefully before beginning installation.
Safety Information
WARNING: Risk of electric shock. Disconnect power at the fuse box or circuit breaker before installation or servicing.
- All electrical connections must be in accordance with local codes, ordinances, or the National Electric Code (NEC). Contact a qualified electrician if you are unfamiliar with proper electrical wiring connections.
- This fixture is rated for 120 Volts. Ensure your power supply matches this requirement.
- Use only G9 Xenon bulbs with a maximum wattage of 40 watts per bulb. Do not exceed the recommended wattage.
- The fixture is UL Listed, indicating compliance with safety standards.
- This product is suitable for damp locations, as indicated by its Wet Safety Rating.
- Always wear safety glasses and gloves during installation.
- Keep combustible materials away from the light fixture.
Package Contents
Verify that all components are present before beginning installation:
- Maxim Allure 5-Light Pendant Fixture
- Mounting hardware kit
- G9 Xenon Bulbs (5 included)
- Installation instructions (this manual)
Setup and Installation
Tools Required: Screwdriver, wire strippers, electrical tape, safety glasses, ladder.
Step 1: Prepare for Installation
- Turn off the electrical power at the main fuse box or circuit breaker.
- Unpack the fixture and its components carefully. Retain the packaging for future reference or if returns are necessary.
- Review the parts list to ensure all components are present.
Step 2: Mount the Fixture
The Maxim Allure pendant light is designed for protruding mounting. Follow these general steps:
- Attach the mounting bracket to the junction box in the ceiling using the provided screws. Ensure it is securely fastened.
- Adjust the length of the pendant chain or rod as desired.
- Carefully lift the fixture and connect the electrical wires: connect the black wire from the fixture to the black (live) wire from the ceiling, the white wire from the fixture to the white (neutral) wire from the ceiling, and the ground wire to the bare copper or green ground wire. Secure connections with wire nuts and electrical tape.
- Tuck the wires neatly into the junction box.
- Secure the canopy of the fixture to the mounting bracket using the provided screws or nuts, ensuring it sits flush against the ceiling.
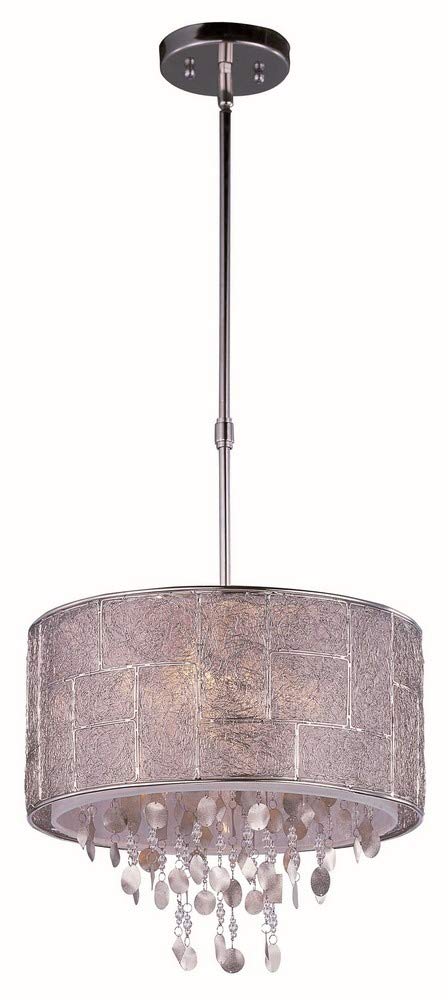
Image: The Maxim 21564TWPN Allure 5-Light Pendant, showcasing its polished nickel finish and glass accents. This image illustrates the overall design of the fixture.
Step 3: Install Bulbs and Shades
- Carefully insert the five G9 Xenon bulbs into their respective sockets. Do not overtighten.
- Attach the glass shades and any decorative elements as per the specific design of the Allure pendant. Ensure they are securely fastened.
Step 4: Restore Power
- Restore power at the main fuse box or circuit breaker.
- Test the light fixture to ensure proper operation.
Operating Instructions
The Maxim Allure 5-Light Pendant operates like a standard ceiling light fixture. It is controlled by a wall switch connected to its electrical circuit.
- Turning On/Off: Use the wall switch to turn the light fixture on or off.
- Dimming: This fixture is standard dimmable. If connected to a compatible dimmer switch (sold separately), you can adjust the light intensity by operating the dimmer control. Ensure the dimmer switch is rated for halogen or incandescent loads.
Maintenance
Cleaning
- Always disconnect power before cleaning.
- To clean the polished nickel finish, use a soft, dry cloth. Do not use abrasive cleaners, polishes, or solvents, as these can damage the finish.
- For glass components, use a mild glass cleaner applied to a soft cloth, then wipe the glass. Avoid spraying cleaner directly onto the fixture.
- Regular dusting will help maintain the fixture's appearance.
Bulb Replacement
- Ensure the fixture is turned off and has cooled completely before attempting to replace bulbs.
- Gently remove the old G9 Xenon bulb.
- Insert a new G9 Xenon bulb (maximum 40 watts) into the socket. Avoid touching the new bulb directly with bare hands, as oils can reduce bulb life. Use a clean cloth or glove.
- Restore power and test the new bulb.
Troubleshooting
If you experience issues with your pendant light, refer to the table below for common problems and solutions:
| Problem | Possible Cause | Solution |
|---|---|---|
| Light does not turn on. | No power to the fixture. Loose wire connections. Faulty bulb. | Check circuit breaker/fuse. Ensure all wire connections are secure (with power off). Replace bulb. |
| Light flickers. | Loose bulb. Loose wire connection. Incompatible dimmer switch. | Tighten bulb. Check wire connections (with power off). Ensure dimmer is compatible with halogen/incandescent bulbs. |
| Bulbs burn out quickly. | Incorrect bulb wattage. Voltage fluctuations. Touching bulbs with bare hands. | Use only 40-watt G9 Xenon bulbs. Consult an electrician for voltage issues. Handle bulbs with a clean cloth or gloves. |
Specifications
| Brand: | Maxim |
| Model Number: | 21564TWPN |
| Product Dimensions: | 16"L x 16"W x 16"H |
| Item Weight: | 13.2 Pounds |
| Number of Lights: | 5 |
| Light Source: | Halogen (G9 Xenon Bulb) |
| Max Wattage (per bulb): | 40 watts |
| Voltage: | 120 Volts |
| Finish: | Polished Nickel |
| Shade Material: | Glass |
| Safety Rating: | UL Listed, Wet Safety Rating |
| Dimmable: | Standard Dimmable |
| UPC: | 783209008588 |
| Manufacturer: | Maxim Lighting |
Warranty Information
All Maxim products purchased come with a 30-day replacement parts policy to ensure a fully working item. Additionally, all products are covered under a 1-year warranty when purchased on Amazon. The warranty period commences on the day the product is originally shipped. This warranty covers all items and conditions identified in the original manufacturer's warranty. Please note that the warranty specifically does not cover loss and theft, water damage, customer abuse, or finish deterioration due to UV or coastal exposure.
Support
For further assistance, technical support, or warranty claims, please contact Maxim Lighting customer service or the retailer from whom the product was purchased. You can also visit the official Maxim store for more information: