1. Introduction
The Fiskars QuikFit Anvil Pruner 1001410 is a versatile tool head designed for efficient pruning of dry and hard branches. It is part of the Fiskars QuikFit system, allowing it to be easily attached to various telescopic shafts for extended reach, enabling pruning of high trees and bushes without the need for a ladder. This pruner is specifically engineered for cutting branches up to 3.2 cm (1.25 inches) in diameter.
Important Note: This anvil pruner is designed for dry and hard wood only. It is not suitable for cutting fresh or green branches.
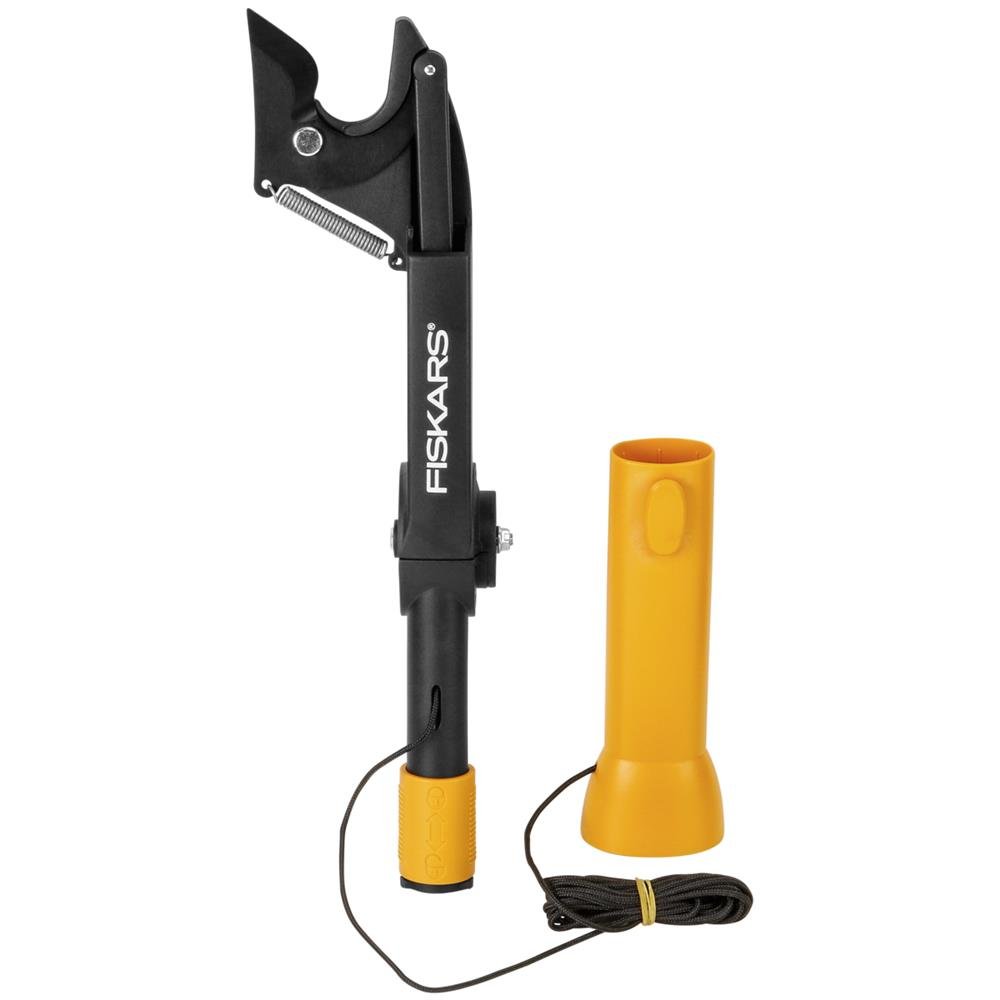
Image 1.1: The Fiskars QuikFit Anvil Pruner 1001410 tool head.
2. Safety Information
Always prioritize safety when using garden tools. Read and understand all instructions before operation.
- Wear appropriate personal protective equipment (PPE), including safety glasses and gloves, to protect against falling debris and sharp edges.
- Ensure the tool head is securely attached to the shaft before use.
- Maintain a stable footing, especially when using a telescopic shaft for high pruning. Avoid overreaching.
- Keep bystanders, children, and pets away from the work area.
- Do not use the pruner near electrical lines or other utilities.
- Inspect the tool for any damage before each use. Do not use if damaged.
- This pruner is designed for dry and hard wood. Attempting to cut fresh wood may damage the blade or mechanism.
- Be aware of falling branches after cutting. Clear the area below the branch before cutting.
3. Setup and Assembly
The Fiskars QuikFit Anvil Pruner is a tool head that requires a compatible Fiskars QuikFit shaft (sold separately) for operation. Follow these steps to assemble:
- Select a suitable Fiskars QuikFit shaft (e.g., telescopic shaft models 1000666 or 1000665) based on the required reach.
- Align the orange connector of the pruner tool head with the end of the QuikFit shaft.
- Push the tool head firmly onto the shaft until you hear a distinct 'click' sound, indicating it is securely locked in place.
- Gently pull on the tool head to ensure it is firmly attached and does not wobble.
- To detach, press the orange release button on the shaft and pull the tool head off.

Image 3.1: Diagram illustrating the QuikFit connection mechanism.

Image 3.2: Close-up of the QuikFit tool head attaching to a shaft.
4. Operating Instructions
Once assembled, the Fiskars QuikFit Anvil Pruner is ready for use. Remember it is for dry and hard wood only.
4.1. Adjusting the Cutting Head
The cutting head can be adjusted by 26 degrees in two positions. This feature allows for optimal cutting angles, especially when dealing with branches growing in awkward directions. Refer to the product diagram for the adjustment mechanism.

Image 4.1: The pruner head showing its adjustable angle feature.
4.2. Cutting Technique
- Position the pruner head around the dry branch you intend to cut. Ensure the branch fits within the maximum cutting capacity of 3.2 cm.
- Adjust the cutting head angle if necessary to achieve the best cutting position.
- Hold the shaft firmly with one hand. With the other hand, grasp the pull handle (which has a protruding grip for secure handling) and pull the cord downwards.
- Apply steady and firm pressure by pulling the cord to activate the cutting mechanism. The anvil blade will cut through the branch.
- Release the cord slowly after the cut is complete.
- Repeat the process for additional branches.

Image 4.2: A user operating the Fiskars QuikFit Pruner with a telescopic shaft.
5. Maintenance
Proper maintenance ensures the longevity and optimal performance of your Fiskars QuikFit Anvil Pruner.
- Cleaning: After each use, clean the blade and anvil with a damp cloth to remove sap, dirt, and debris. Dry thoroughly to prevent rust.
- Lubrication: Periodically apply a light coat of machine oil to the blade and pivot points to ensure smooth operation and prevent corrosion.
- Sharpening: The high-quality steel blade will retain its sharpness for a long time. If the blade becomes dull, it can be sharpened using a suitable sharpening tool designed for pruner blades. Follow the sharpening tool's instructions carefully.
- Storage: Store the pruner in a dry, safe place, out of reach of children. Detach the tool head from the shaft for compact storage if desired.
6. Troubleshooting
If you encounter issues with your Fiskars QuikFit Anvil Pruner, consider the following:
| Problem | Possible Cause | Solution |
|---|---|---|
| Pruner does not cut effectively. | Blade is dull; attempting to cut fresh wood; branch diameter exceeds capacity. | Sharpen the blade; ensure you are cutting only dry, hard wood; verify branch diameter is within 3.2 cm limit. |
| Tool head feels loose on the shaft. | Not properly attached. | Ensure the tool head is pushed firmly onto the shaft until it clicks into place. Check the locking mechanism. |
| Cutting mechanism is stiff. | Accumulated sap or dirt; lack of lubrication. | Clean the blade and pivot points thoroughly; apply machine oil to moving parts. |
7. Specifications
| Feature | Detail |
|---|---|
| Brand | Fiskars |
| Model | 1001410 |
| Color | Black / Orange |
| Blade Material | High-carbon steel |
| Handle Material | Plastic |
| Recommended Use | Dry and hard wood |
| Power Source | Manual |
| Special Feature | Adjustable free cutting angle (26 degrees) |
| Maximum Cutting Diameter | Ø 3.2 cm (1.25 inches) |
| Product Dimensions (L x W x H) | 40L x 10B x 7H cm (approx. 15.7 x 3.9 x 2.8 inches) |
| Weight | 480 g (approx. 1.06 lbs) |
| Included Components | 1 x Fiskars 1001410 QuikFit Anvil Pruner tool head, including pull handle |
| Country of Origin | Poland |
8. Warranty and Support
This Fiskars QuikFit Anvil Pruner 1001410 comes with a 2-year manufacturer's warranty. Please retain your proof of purchase for warranty claims.
For further assistance, product inquiries, or warranty support, please contact Fiskars customer service through their official website or the retailer where the product was purchased.