1. Introduction
The Yale Real Living YRL-220-ZW-0BP Digital Door Lock represents the next generation of electronic residential locks, offering versatility and convenient access. This Grade 2 touchscreen lever lock features a sleek capacitive touchscreen and integrates seamlessly into a wide range of Z-Wave home control and security systems, enhancing everyday living with ease and safety. This manual provides detailed instructions for the installation, operation, and maintenance of your Yale Digital Door Lock.
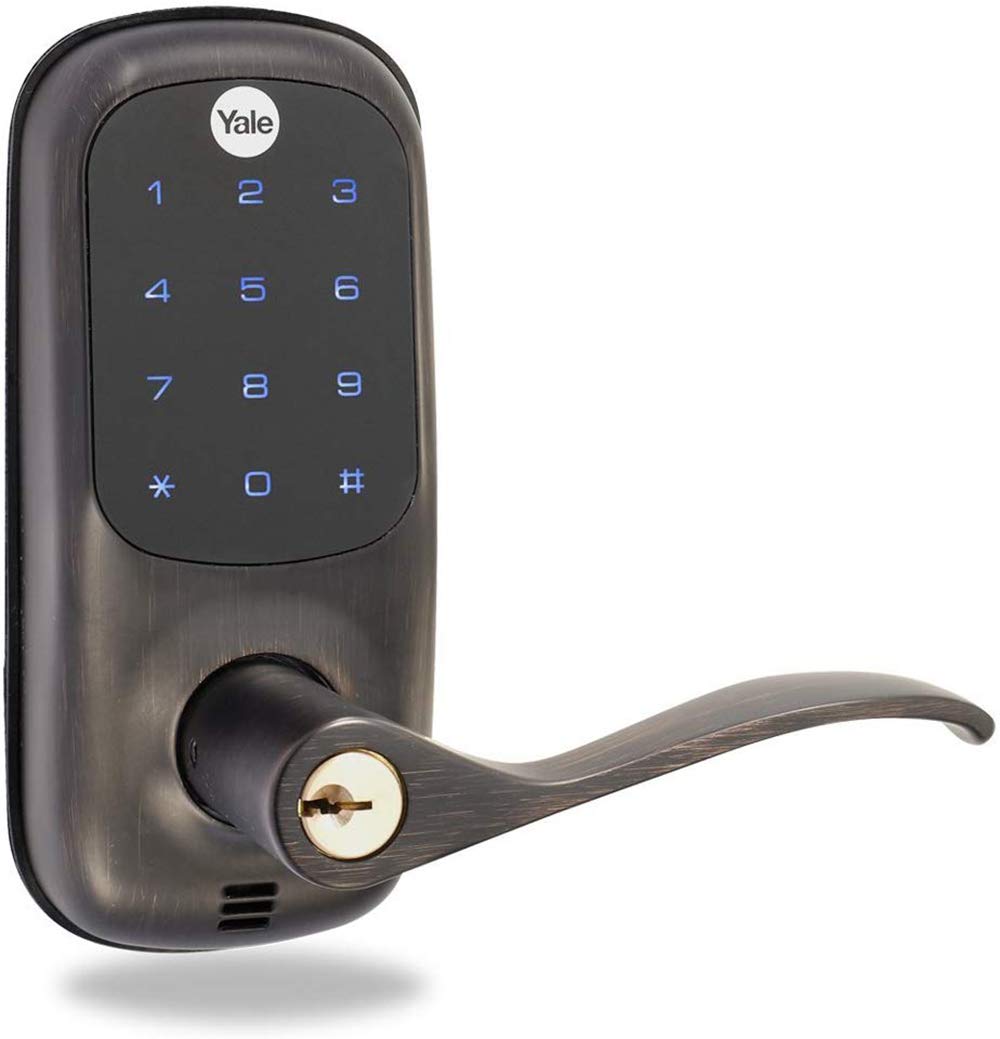
Figure 1: Yale YRL-220-ZW-0BP Digital Door Lock, Oil Rubbed Bronze finish.
2. Product Features
- Easy to Use, Install mounting system & Programming
- Stand-alone illuminated Push Button Keypad Locking Device
- For Use On All Standard Interior and Exterior Doors
- 250 Users with Z-Wave wireless connectivity
- Touchscreen – Tri-lingual in English, Spanish, French

Figure 2: Key features of the Yale Real Living touchscreen, highlighting durability and weather resistance.
3. Package Contents
Before beginning installation, ensure all components are present:
- Exterior Escutcheon
- Interior Escutcheon
- Interior Mounting Plate with Gasket
- Exterior and Interior Lever Handles
- Cylinder
- Hex Key with two Hex Set Screws
- Two Interior Mounting Plate Screws
- Latch with two Mounting Screws
- Strike with two Mounting Screws
- Full Mechanical Installation and Programming Instructions
- Two Keys
- Four AA Alkaline Batteries
- Door Marking Template
- Wireless Network Module (if applicable for home control system integration)
Refer to the video below for a visual overview of the package contents.
Video 1: Overview of Yale Real Living Lever Lock components (0:03 - 0:09).
4. Installation
The Yale Real Living Touchscreen Lever Lock is designed for easy installation on standard interior and exterior doors. Ensure your door meets the following specifications: 2 1/8" Face Bore, 1" Edge Bore, 2 3/8" Backset (adjustable), and Door Thickness: 1 3/8" to 1 3/4".
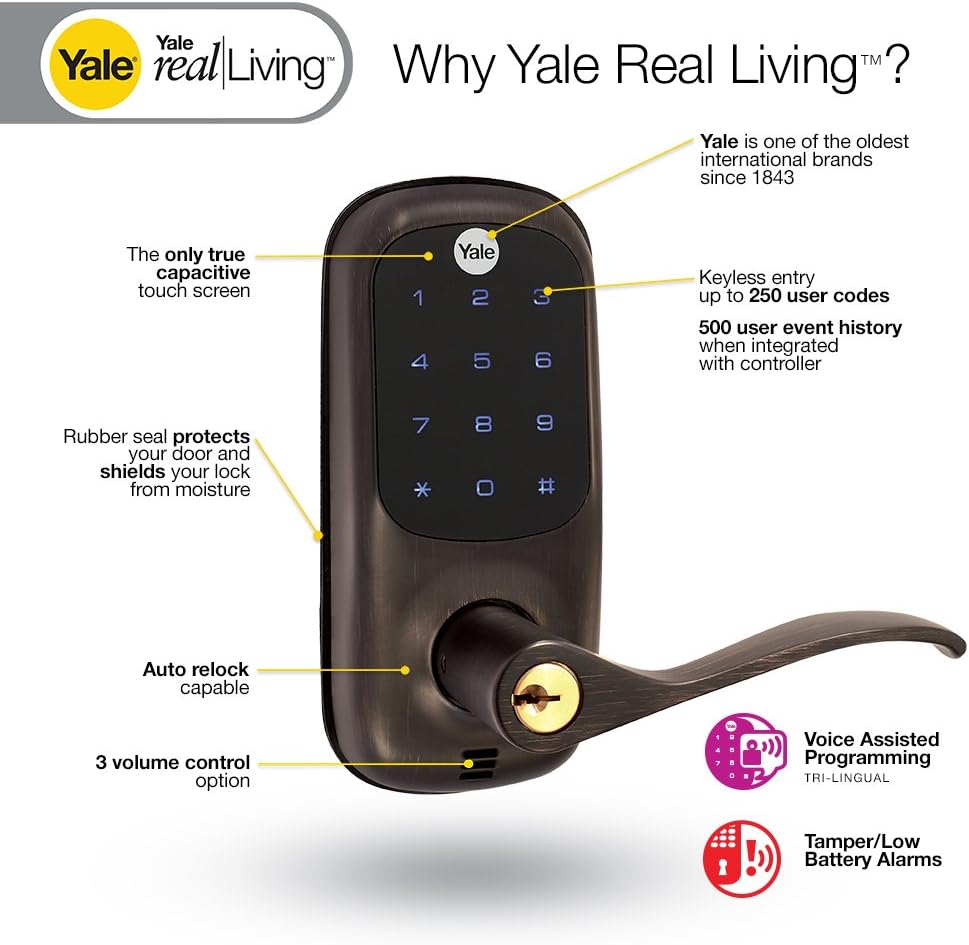
Figure 3: Diagram illustrating door compatibility requirements for Yale Lever Locks, including bore and thickness specifications.
4.1. Installing the Latch
Before installing the latch, ensure the door has been prepped according to the specifications in the included template. The latch is adjustable for backsets of 2 3/8" or 2 3/4". Ensure the latch bevel faces the exterior if the door opens inward, or the interior if the door opens outward. The plunger of the deadlocking latch must stop on the strike when the door is closed.
Video 2: Installing the Latch and Strike Plate (1:06 - 2:28).
4.2. Installing the Exterior Keypad Escutcheon
Install the keypad escutcheon with the weather-resistant seal. The tailpiece should be oriented with the white or black marking on top. Ensure the red marking on the hub is also on top. Guide the control wires under the latch and position the tailpiece to engage the bolt. Do not remove the clip on the top of the shank until the exterior lever is ready for installation.
Video 3: Installing the Exterior Keypad Escutcheon (2:29 - 3:12).
4.3. Installing the Interior Mounting Plate
Remove the interior mounting plate from the interior escutcheon. Guide the wire through the cutout and route the wire harness and connector through the slot on the left. The lip of the escutcheon plate inserts into the exterior housing cutout. Ensure it is flush to the door and straight before proceeding. Insert and tighten the bolts, being careful not to overtighten.
Video 4: Installing the Interior Mounting Plate (3:13 - 3:56).
4.4. Attaching the Cable Assembly and Installing the Interior Escutcheon
Attach the wiring harness to the interior escutcheon assembly, ensuring it is seated properly in the plug. Insert the tailpiece onto the thumb turn shaft assembly. Ensure the wire harness does not obstruct the path of the mounting screws. Once attached, adjust the wire to allow the interior escutcheon to sit flush to the plate assembly. Insert and tighten the two screws inside the battery cover area and the two screws in the bottom of the escutcheon.
Video 5: Attaching the Cable Assembly and Installing the Interior Escutcheon (3:57 - 4:50).
4.5. Installing the Exterior Lever
Remove the clip that held the hub in its correct position by spreading the clip ends to extract it from the shank. Be careful not to rotate the cam from its original position. For a left-handed lever, insert the hex set screw into the right side of the shank with the hex key, turning a few clockwise turns until it clears the surface. For a right-handed lever, insert the hex set screw into the left side of the shank. Insert the cylinder into the exterior lever. While holding the cylinder in place, insert the key and rotate it 90 degrees clockwise to the vertical position. Slide the lever handle over the shank, ensuring it clears the hex set screw. Align the hole in the lever handle with the hex set screw. Pick up the hex key and turn the hex set screw in the opposite counter-clockwise direction to retract it and firmly secure the lever handle. Turn the key 90 degrees and remove it.
Video 6: Installing the Exterior Lever (4:51 - 6:50).
4.6. Installing the Interior Lever
For a right-handed lever, insert the hex set screw into the left side of the shank with the hex key, making a few clockwise turns until it clears the surface. Place the interior lever handle over the shank until the hole on the lever handle aligns with the hex set screw. After the lever is inserted properly, pick up the hex key and turn the hex set screw in the opposite counter-clockwise direction to retract it and firmly secure the lever handle. Do not overtighten. Remove the hex key.
Video 7: Installing the Interior Lever (7:00 - 7:57).
4.7. Testing the Lock's Mechanical Operation
Before installing the batteries, test the lock's mechanical operation. Place the thumb turn in the horizontal position. Lift up and push down on both the interior and exterior levers, one at a time, to verify that the latch is retracted by both levers in the unlocked position. Next, place the thumb turn in the vertical position. Lifting up or pushing down on the exterior lever should not retract the latch. Lifting up and pushing down on the interior lever should still retract the latch in the locked position. Finally, insert the key into the cylinder and rotate it clockwise until the thumb turn moves to the horizontal, unlocked position. If operation is not smooth for any of these procedures, review the previous steps to ensure proper installation while maintaining proper alignment of escutcheons.
Video 8: Testing the Lock's Mechanical Operation (7:58 - 8:59).
4.8. Install the Batteries and Battery Cover
Install the four AA batteries (supplied) into the interior escutcheon. Once the batteries are installed, the lock will announce "Welcome to Yale Real Living." Finally, install the battery cover.
Video 9: Installing the Batteries and Battery Cover (9:00 - 9:26).
5. Operation
The Yale YRL-220-ZW-0BP Digital Door Lock offers keyless entry via its illuminated touchscreen keypad. To activate the keypad, simply swipe your palm or the side of your hand across it. You can program up to 250 user codes for convenient access. The lock also features automatic locking, which can be set for 30 seconds, one minute, or turned off entirely. With Z-Wave wireless connectivity, the lock can be integrated into home control systems like Amazon Alexa, SmartThings, and Vera, allowing for remote locking/unlocking and event history tracking.
6. Programming
The lock features voice-assisted programming, available in English, Spanish, and French, to guide you through setting up master codes and user codes. Refer to the full mechanical installation and programming instructions included in your package for detailed programming steps.
7. Specifications
| Feature | Specification |
|---|---|
| Brand | Yale Security |
| Model Name | FBA_YRL-220-ZW-0BP |
| Item Model Number | YRL-220-ZW-0BP |
| Lock Type | Keypad |
| Special Feature | Z-Wave Certification #ZC08-12060005 |
| Connectivity Protocol | Z-Wave |
| Controller Type | Amazon Alexa, SmartThings, Vera |
| Material | Metal |
| Color | Oil Rubbed Bronze |
| Finish Type | Oil Rubbed |
| Item Dimensions L x W x H | 6.25 x 2.75 x 1.5 inches |
| Item Weight | 5.18 pounds |
| Power Source | Battery-Powered |
| Batteries Required | 4 AA batteries (included) |
| Average Battery Life | 8760 Hours |
| Display Style | Touch screen |
| Recommended Uses | Security |
8. Troubleshooting
If you encounter issues with your Yale Digital Door Lock, consider the following common troubleshooting steps:
- Lock not responding: Check battery levels. Replace batteries if low.
- Keypad not activating: Ensure you are swiping with your palm or multiple fingers, not just one or two.
- Mechanical operation is not smooth: Review the installation steps, particularly the latch and lever installation, to ensure proper alignment and tightening.
- Unable to connect to Z-Wave system: Refer to the specific instructions for enrolling your lock into your home control system. Ensure the wireless network module is correctly inserted.
- Incorrect master code: If you forget your master code, you may need to factory reset the lock. Consult the full programming instructions for this procedure.
9. Maintenance
To ensure optimal performance and longevity of your Yale Digital Door Lock:
- Battery Replacement: Replace batteries promptly when the low battery alert is issued. Use only high-quality alkaline AA batteries.
- Cleaning: Clean the touchscreen and lock exterior with a soft, damp cloth. Avoid abrasive cleaners or solvents that could damage the finish or electronic components.
- Lubrication: Periodically lubricate the latch bolt and deadlocking plunger with a silicone-based lubricant to ensure smooth operation. Do not lubricate the cylinder.
- Weather Protection: The lock is designed to be weather-resistant, but extreme conditions can affect performance. Ensure the rubber seal is intact and properly seated.
10. Warranty & Support
Yale Locks & Hardware provides the following warranty for your YRL-220-ZW-0BP Digital Door Lock:
- Finish: Lifetime Limited Warranty
- Mechanical: Lifetime Limited Warranty
- Electronic: One Year Warranty
For further assistance or warranty claims, please refer to the contact information provided in your product packaging or visit the official Yale Security website.