
PHILIPS CE233BT
Philips Car Stereo Bluetooth Audio Receiver User Manual
Model: CE233BT
Introduction
This manual provides detailed instructions for the installation, operation, and maintenance of your Philips Car Stereo Bluetooth Audio Receiver, Model CE233BT. Please read this manual thoroughly before using the product to ensure proper and safe operation.
Safety Information
Always observe the following safety precautions:
- Do not operate the unit in a way that distracts you from driving.
- Ensure proper wiring to prevent short circuits and damage.
- Consult a qualified technician for installation if you are unsure.
- Keep the unit away from water and excessive heat.
Package Contents
Verify that all items are present in the package:
- Philips Car Stereo Bluetooth Audio Receiver (Model CE233BT)
- Wiring Harness
- Mounting Hardware
- User Manual (this document)
- External Microphone (if included with your model)
Product Overview
Familiarize yourself with the main components and controls of your car stereo.
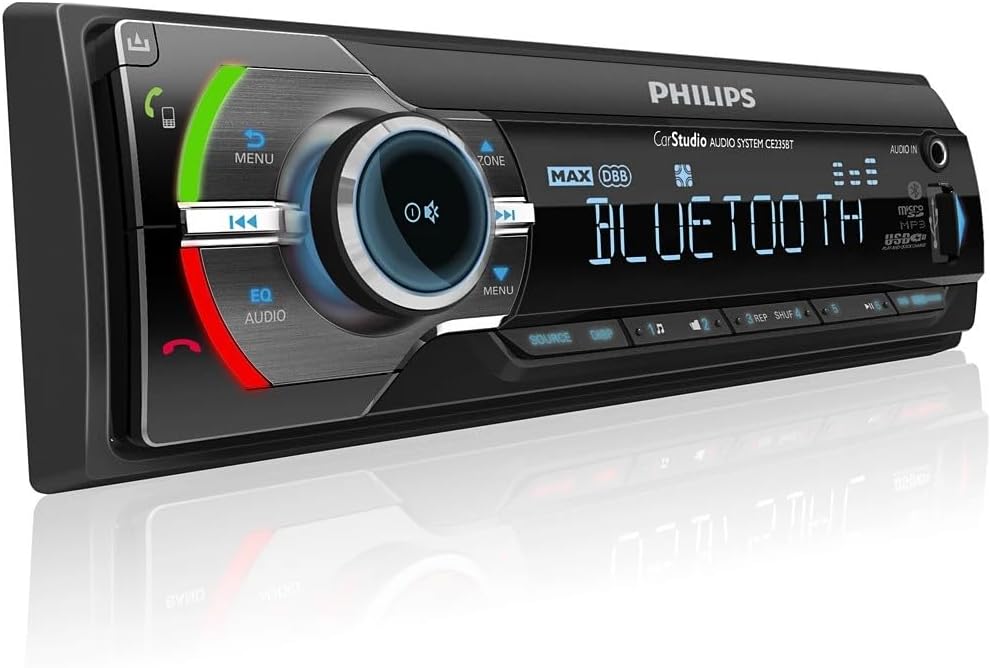
Figure 1: Front Panel Layout. This image displays the Philips Car Stereo Bluetooth Audio Receiver, highlighting its central rotary knob, display screen, and various control buttons for functions like menu, EQ/audio, and track navigation. The Bluetooth logo is prominently displayed on the screen.
Front Panel Controls:
- Power/Volume Knob: Press to turn on/off, rotate to adjust volume.
- MENU Button: Access main menu options.
- EQ/AUDIO Button: Access equalizer and audio settings.
- Source Button: Switch between input sources (FM, AM, Bluetooth, USB, AUX).
- Display Screen: Shows current mode, track information, and settings.
- USB Port: Connect USB devices for media playback.
- AUX-in Jack: Connect external audio devices.
Installation
Proper installation is crucial for optimal performance and safety. It is recommended to have this unit installed by a professional car audio technician.
Wiring Diagram:
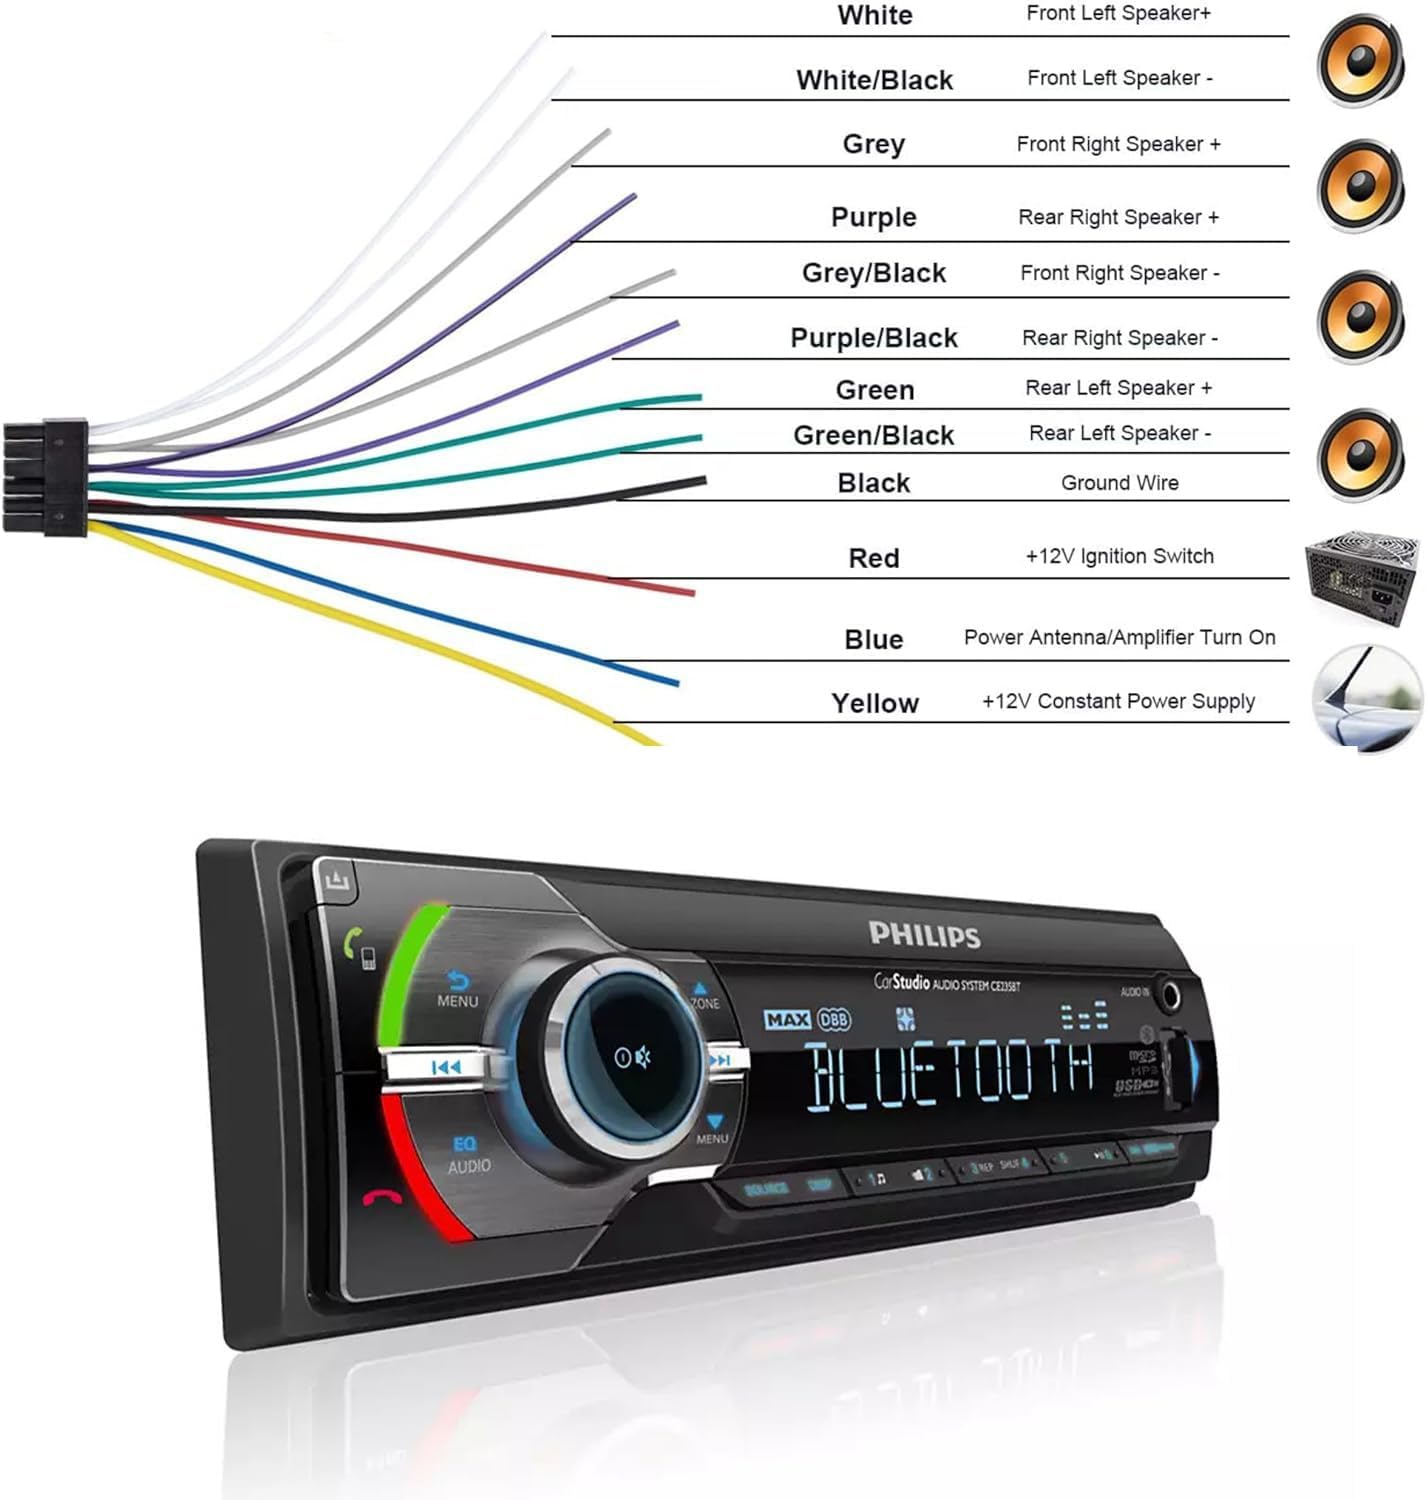
Figure 2: Standard Wiring Harness. This diagram illustrates the color-coded wiring connections for the car stereo, including connections for front and rear left/right speakers (White, Grey, Purple, Green wires), ground (Black), +12V Ignition Switch (Red), Power Antenna/Amplifier Turn On (Blue), and +12V Constant Power Supply (Yellow).
Installation Steps:
- Disconnect Battery: Before starting, disconnect the negative terminal of your vehicle's battery to prevent short circuits.
- Remove Old Unit: Carefully remove your existing car stereo from the dashboard.
- Connect Wiring: Match the wires from the Philips stereo's harness to your vehicle's wiring harness according to the diagram. Ensure all connections are secure and insulated.
- Mount Unit: Slide the new stereo into the single DIN opening until it clicks into place. Secure it using the provided mounting brackets.
- Reconnect Battery: Reconnect the negative terminal of your vehicle's battery.
- Test Functionality: Turn on the stereo and test all functions (radio, Bluetooth, USB, AUX, volume, balance, fader).
Operating Instructions

Figure 3: Versatile Playback and Hands-Free Control. This image highlights the stereo's capability to play audio from USB, MP3, WMA, AM/FM, or wirelessly stream from a phone, emphasizing safe hands-free phone control.
Basic Operation:
- Power On/Off: Press the volume knob to turn the unit on or off.
- Volume Control: Rotate the volume knob clockwise to increase volume, counter-clockwise to decrease.
- Source Selection: Press the SOURCE button repeatedly to cycle through available audio sources: FM, AM, Bluetooth, USB, AUX.
Radio Operation (AM/FM):
- Tuning: In FM/AM mode, press the ◀◀ or ▶▶ buttons to seek for the next/previous strong station.
- Preset Stations: Press and hold a numbered button (1-6) to save the current station to that preset. Briefly press to recall a saved station.
Bluetooth Operation:
The Philips Car Stereo supports hands-free calling and audio streaming via Bluetooth.
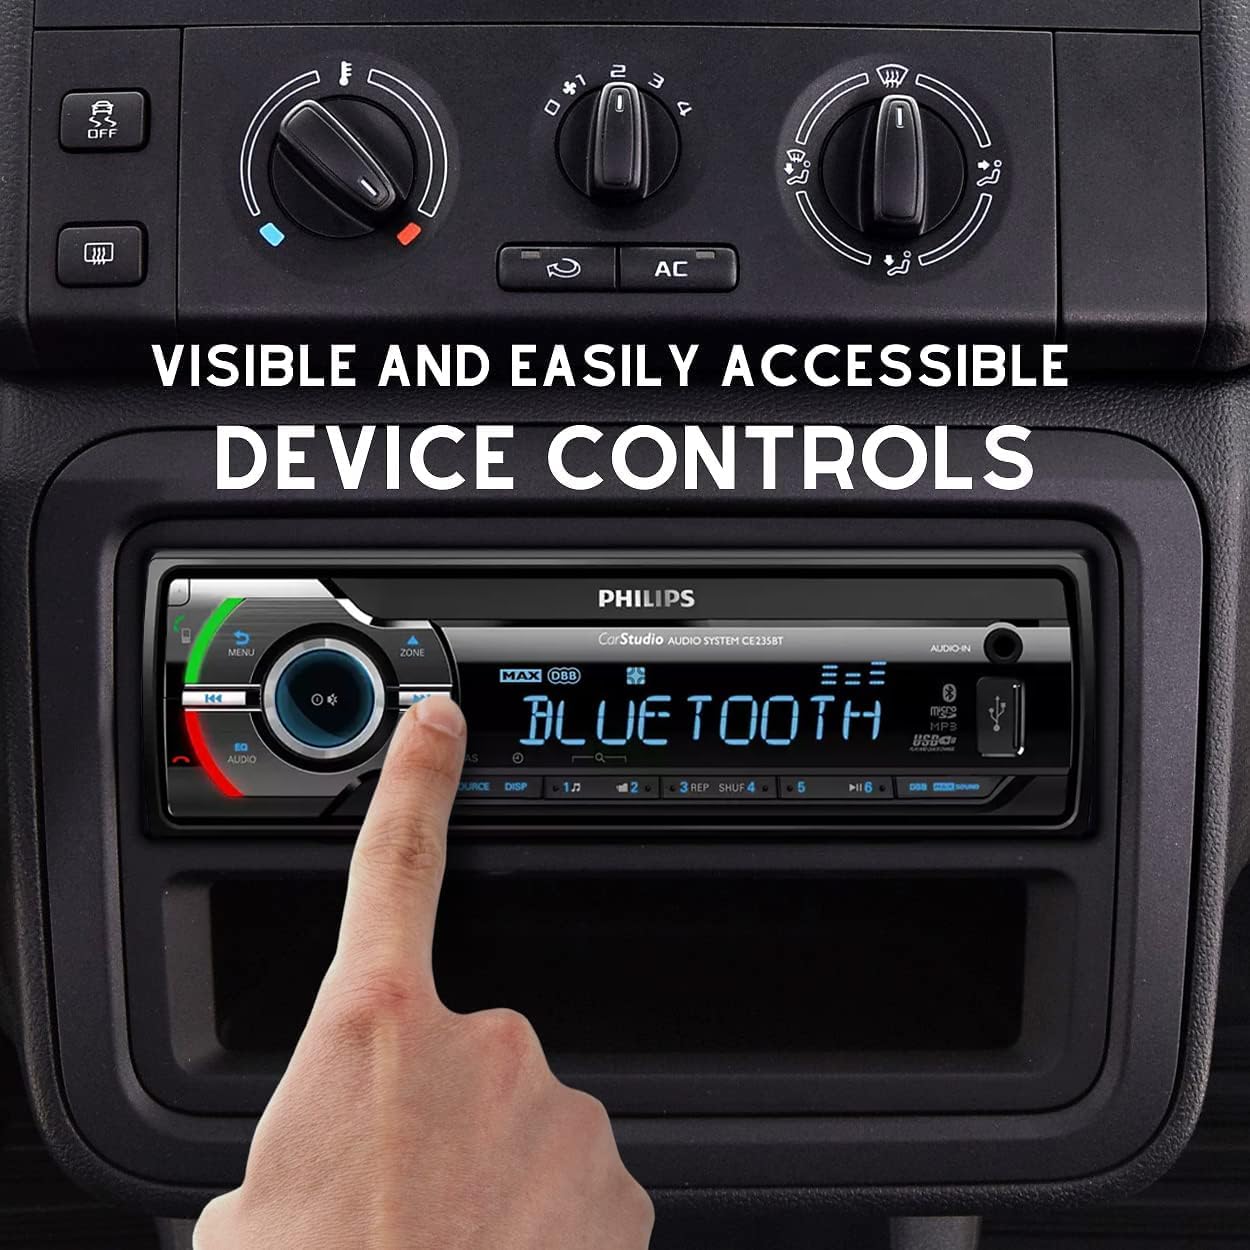
Figure 4: Visible and Easily Accessible Device Controls. This image demonstrates a hand operating the central rotary knob and surrounding buttons on the Philips Car Stereo, emphasizing the user-friendly design for safe and seamless operation while driving.
- Pairing:
- Ensure the stereo is in Bluetooth mode (select via SOURCE button).
- On your mobile device, enable Bluetooth and search for available devices.
- Select "PHILIPS CE233BT" (or similar name) from the list.
- If prompted, enter the PIN "0000" (default).
- Once paired, the Bluetooth icon on the stereo display will illuminate.
- Hands-Free Calling:
- Answering/Ending Calls: Press the ☎ (call) button to answer an incoming call or end an active call.
- Dialing: Use your phone to dial, and the audio will transfer to the stereo.
- Microphone: The unit uses a built-in microphone for calls. An external microphone input is also available for improved voice pickup.
- Audio Streaming:
- Once paired, audio from your device will stream wirelessly to the stereo.
- Use the ◀◀ and ▶▶ buttons to skip tracks.
USB/AUX Operation:
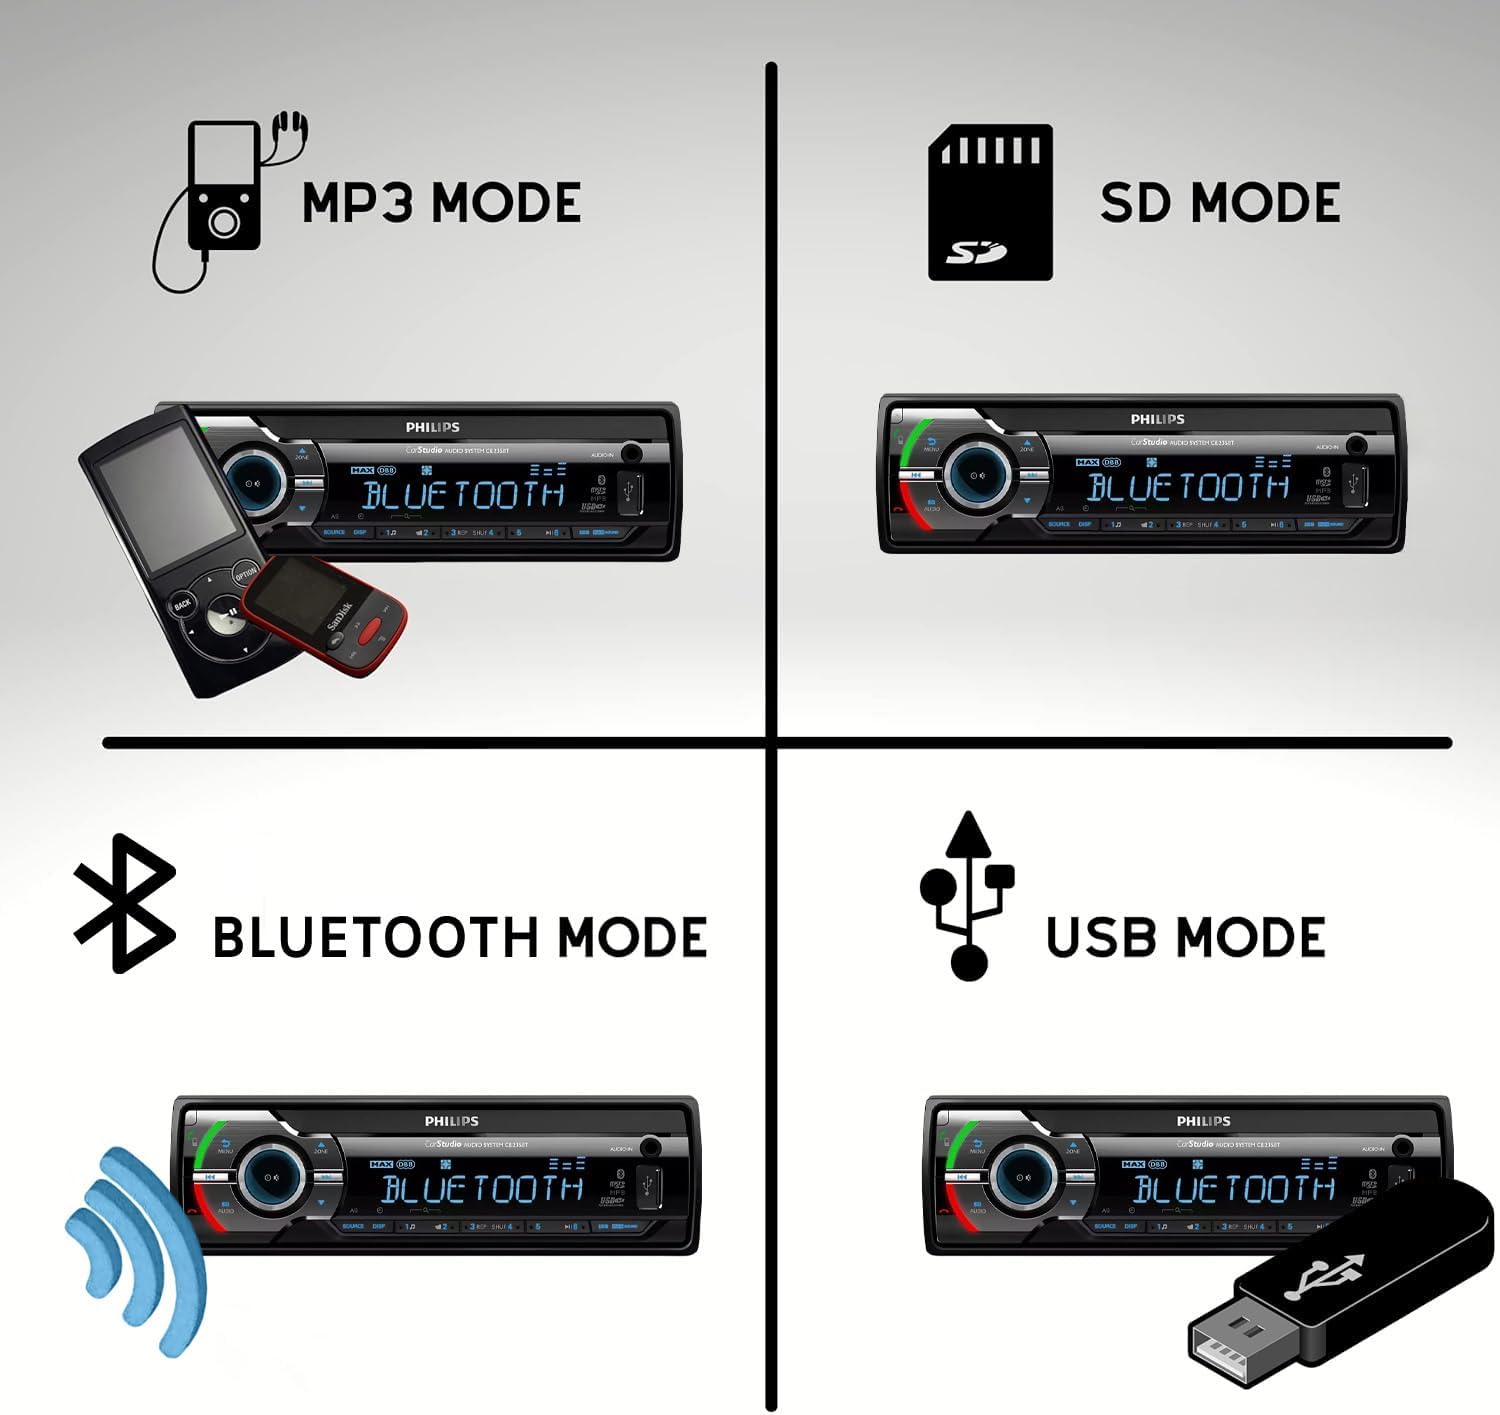
Figure 5: Multiple Playback Modes. This composite image illustrates the versatility of the Philips Car Stereo, showing it capable of playing audio from MP3 players, Bluetooth devices, and USB drives. The stereo supports various audio sources for flexible listening.
- USB Playback: Insert a USB flash drive into the USB port. The unit will automatically switch to USB mode and begin playing compatible audio files (e.g., MP3, WMA). Use the ◀◀ and ▶▶ buttons to navigate tracks.
- AUX-in Playback: Connect an external audio device (e.g., smartphone, MP3 player) to the AUX-in jack using a 3.5mm audio cable. Select AUX mode via the SOURCE button.
Audio Settings:
- Equalizer (EQ): Press the EQ/AUDIO button to access equalizer presets (e.g., Pop, Rock, Classic) or custom settings.
- Bass/Treble: Use the EQ/AUDIO button and volume knob to adjust bass and treble levels.
Maintenance
- Cleaning: Use a soft, dry cloth to clean the unit's surface. Do not use abrasive cleaners or solvents.
- Fuse Replacement: If the unit does not power on, check the fuse located at the rear of the unit. Replace with a fuse of the same rating if blown.
- Firmware Updates: Check the Philips support website periodically for any available firmware updates for your model.
Troubleshooting
| Problem | Possible Cause | Solution |
|---|---|---|
| No power | Blown fuse; Incorrect wiring; Loose power connection. | Check and replace fuse; Verify wiring connections; Ensure power cable is securely connected. |
| No sound | Volume too low; Mute function active; Incorrect speaker wiring. | Increase volume; Deactivate mute; Check speaker connections. |
| Bluetooth not connecting | Device not in pairing mode; Stereo not in Bluetooth mode; Interference. | Ensure both devices are in pairing mode; Select Bluetooth source on stereo; Move closer to stereo; Restart both devices. |
| USB not recognized | Incompatible file format; USB drive corrupted; USB drive too large. | Ensure files are compatible (MP3, WMA); Format USB drive; Try a smaller capacity USB drive. |
| Poor radio reception | Antenna not connected; Weak signal area; Interference. | Check antenna connection; Try tuning manually; Avoid areas with strong electromagnetic interference. |
Specifications
- Model: CE233BT
- Power Output: 50W x 4 channels (Max)
- Connectivity: Bluetooth, USB, AUX-in
- Radio Tuner: AM/FM with Digital Tuning
- Equalizer: 2-band (Bass/Treble)
- Microphone: Built-in and External Mic Support
- Dimensions (approx.): 8.43 x 6.77 x 3.94 inches (Package Dimensions)
- Weight (approx.): 2.23 pounds (Item Weight)
- Power Supply: 12V DC (negative ground)
Warranty and Support
For warranty information and technical support, please visit the official Philips support website or contact their customer service. Keep your purchase receipt as proof of purchase.
Philips Support Website: www.philips.com/support
Customer Service: Refer to your regional Philips contact information provided with the product packaging or on their website.
Ask a question about this manual
Ask about setup, troubleshooting, compatibility, parts, safety, or missing instructions. Manuals+ will review the question and use this page’s manual context to help answer it.