Introduction
Thank you for purchasing the Coby CSMP91 2.1 Slim Soundbar. This soundbar is designed to enhance your audio experience with a powerful 2.1 channel system, including a built-in subwoofer, and convenient Bluetooth connectivity. It is ideal for use with 32-37 inch televisions and offers flexible placement options. Please read this manual carefully before operating the device to ensure proper use and to maximize its performance.
Safety Information
- Do not expose this appliance to rain or moisture.
- Do not block any ventilation openings. Install in accordance with the manufacturer's instructions.
- Do not install near any heat sources such as radiators, heat registers, stoves, or other apparatus (including amplifiers) that produce heat.
- Protect the power cord from being walked on or pinched, particularly at plugs, convenience receptacles, and the point where they exit from the appliance.
- Only use attachments/accessories specified by the manufacturer.
- Unplug this appliance during lightning storms or when unused for long periods of time.
- Refer all servicing to qualified service personnel. Servicing is required when the apparatus has been damaged in any way.
Product Overview
Front View
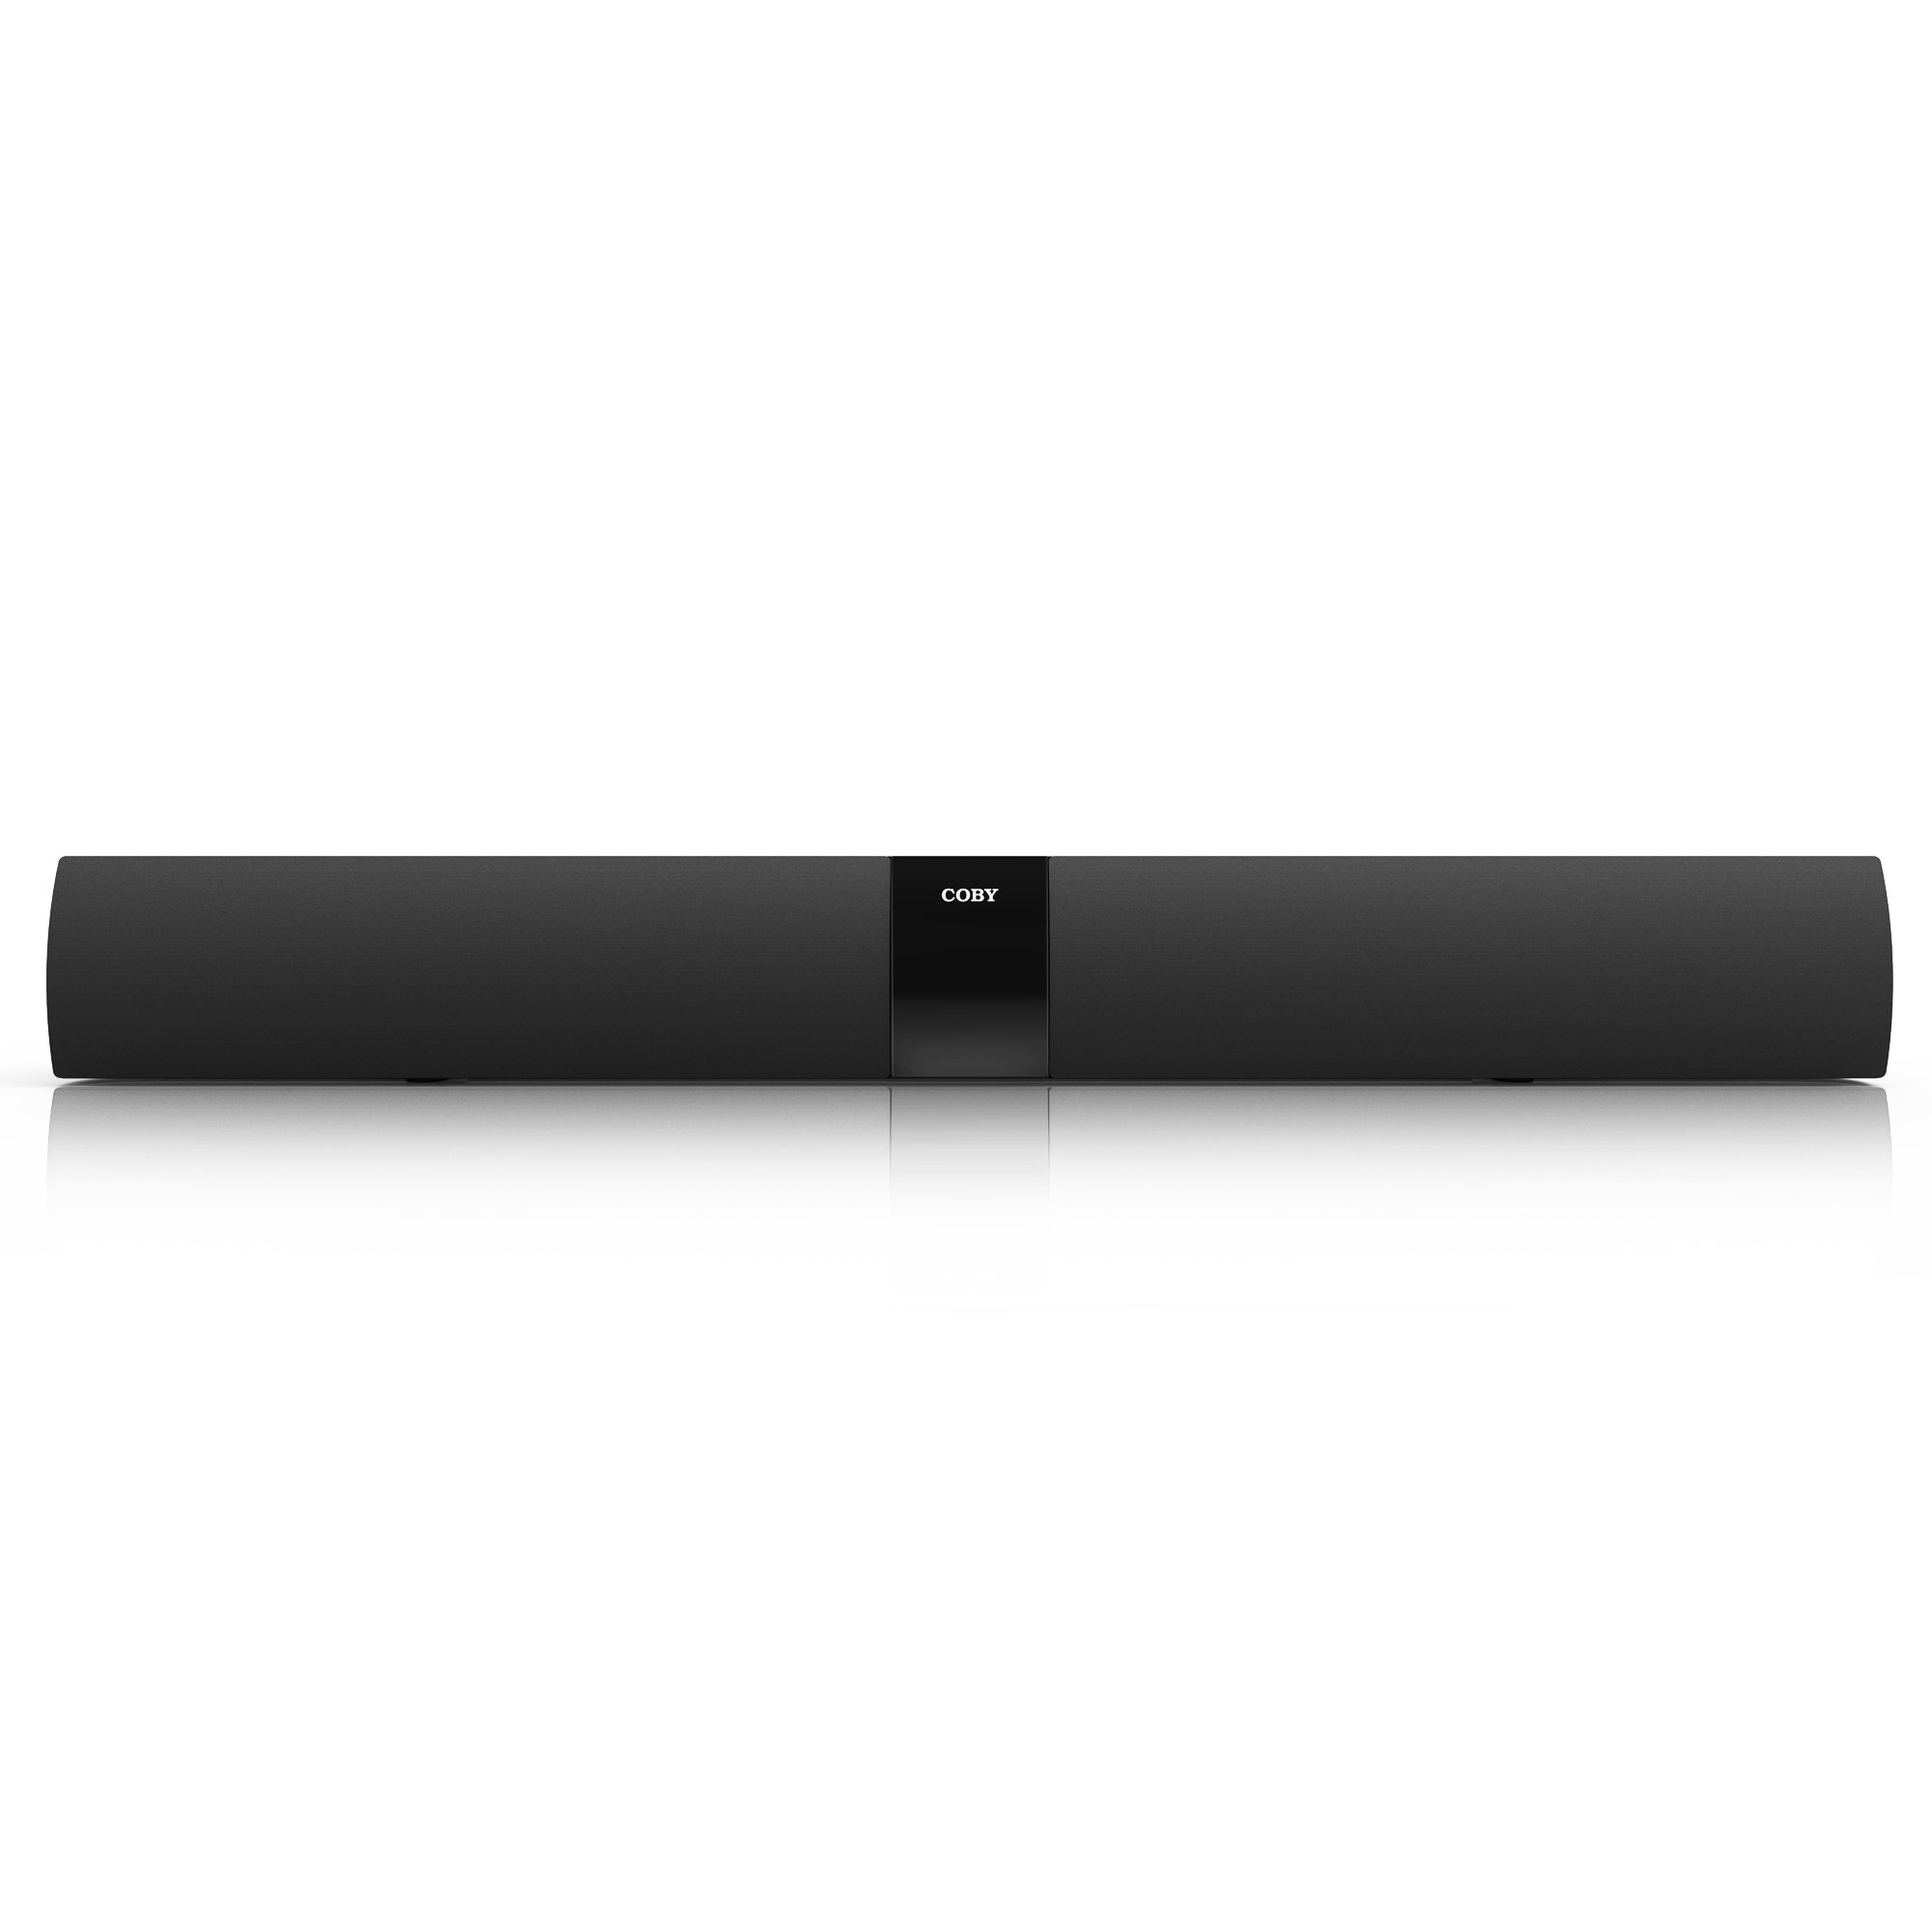
Figure 1: Front view of the Coby CSMP91 Soundbar, showcasing its slim design and speaker grille.
Top Panel Controls

Figure 2: Top panel of the soundbar showing the power, function, volume up/down, and EQ buttons for easy access.
Rear Panel Connections

Figure 3: Rear panel of the soundbar, featuring various input ports for audio connections and the power input.
Side View (Left)

Figure 4: Left side view of the Coby CSMP91 Soundbar, highlighting its curved profile.
Side View (Right)

Figure 5: Right side view of the Coby CSMP91 Soundbar, showing the sleek design.
Bottom View

Figure 6: Bottom view of the Coby CSMP91 Soundbar, illustrating the integrated feet for tabletop placement.
Setup
Placement Options
The CSMP91 soundbar offers versatile placement to suit your home entertainment setup:
- Tabletop Placement: Place the soundbar on a flat, stable surface directly in front of your television. Ensure it does not obstruct the TV's remote sensor.
- Wall-Mounting: The soundbar can be mounted on a wall below your television. Use appropriate wall-mounting hardware (not included) and ensure the wall can support the weight of the soundbar. Refer to the mounting holes on the rear panel (Figure 3) for proper alignment.
Connecting to Power
- Ensure the soundbar is turned off.
- Connect the power adapter to the DC IN port on the rear of the soundbar.
- Plug the power adapter into a standard AC wall outlet.
Audio Connections
Connect your audio source (TV, DVD player, etc.) to the soundbar using one of the following methods:
- Optical Input: For digital audio, connect an optical cable (not included) from your TV's optical output to the OPTICAL IN port on the soundbar.
- Line In (3.5mm AUX): For analog audio, connect a 3.5mm audio cable (not included) from your audio source's headphone jack or audio output to the LINE IN port on the soundbar.
Operating Instructions
Power On/Off
Press the POWER button on the top panel (Figure 2) or the remote control to turn the soundbar on or off.
Selecting Input Source
Press the FUNCTION button on the top panel (Figure 2) or the remote control repeatedly to cycle through the available input sources: Bluetooth, Optical, and Line In. The LED display will indicate the currently selected input.
Adjusting Volume
Press the VOL+ or VOL- buttons on the top panel (Figure 2) or the remote control to increase or decrease the volume level.
Bluetooth Pairing
- Turn on the soundbar and select the Bluetooth input mode using the FUNCTION button. The LED display will show 'BT' and flash, indicating it is in pairing mode.
- Enable Bluetooth on your smartphone, tablet, or other Bluetooth-enabled device.
- Search for available devices and select 'CSMP91' from the list.
- If prompted for a password, enter '0000'.
- Once paired, the LED display will stop flashing and remain solid 'BT'. You can now play audio wirelessly through the soundbar.
Equalizer (EQ) Settings
Press the EQ button on the top panel (Figure 2) or the remote control to cycle through preset equalizer modes, optimizing the sound for different content types (e.g., Music, Movie, News).
Maintenance
To ensure the longevity and optimal performance of your soundbar, follow these maintenance guidelines:
- Cleaning: Use a soft, dry cloth to wipe the exterior surfaces of the soundbar. Do not use liquid cleaners, abrasive cleaners, or solvents, as these may damage the finish.
- Ventilation: Ensure that the ventilation openings are not blocked to prevent overheating.
- Storage: If storing the soundbar for an extended period, unplug it from the power outlet and store it in a cool, dry place.
Troubleshooting
| Problem | Possible Cause | Solution |
|---|---|---|
| No power | Power cord not connected; Power outlet not active. | Ensure power cord is securely plugged in. Test the outlet with another device. |
| No sound | Incorrect input source selected; Volume too low; Audio cable not connected properly. | Press FUNCTION to select the correct input. Increase volume. Check audio cable connections. |
| Bluetooth pairing fails | Soundbar not in pairing mode; Device too far; Incorrect password. | Ensure soundbar is in BT mode and flashing. Move device closer. Enter '0000' if prompted. |
| Remote control not working | Batteries depleted; Obstruction between remote and soundbar. | Replace AAA batteries (2 required). Remove any obstructions. Ensure line of sight. |
| Low volume via optical connection | Output level from source device is low. | Adjust the optical output settings on your TV or source device. Some devices have fixed optical output levels. |
Specifications
| Feature | Detail |
|---|---|
| Model Name | Coby CSMP91 |
| Sound Channel Configuration | 2.1 (with built-in subwoofer) |
| Wireless Technology | Bluetooth |
| Connectivity Technology | Bluetooth, Optical, Line In (3.5mm) |
| Output Wattage | 60 Watts |
| Impedance | 8 Ohms |
| Product Dimensions | 32.3 x 3.4 x 3.9 inches |
| Item Weight | 6.2 pounds |
| Power Source | Corded Electric |
| Remote Batteries | 2 AAA batteries (included) |
| Mounting Type | Tabletop, Wall-mountable |
Warranty and Support
For warranty information and technical support, please refer to the documentation included with your purchase or visit the official Coby website. Keep your proof of purchase for any warranty claims.


