LogiLink DS0001
LogiLink DS0001 Slide/Film Scanner User Manual
Model: DS0001
Introduction
This user manual provides detailed instructions for the operation and maintenance of your LogiLink DS0001 Slide/Film Scanner. Please read this manual thoroughly before using the device to ensure proper functionality and to prevent damage.
The LogiLink DS0001 is designed to convert your old slides and film negatives into digital images, preserving your memories for years to come. It features an SD card slot for convenient storage and a USB connection for transferring files to your computer.
Safety Information
- Do not expose the device to moisture or extreme temperatures.
- Avoid dropping or subjecting the device to strong impacts.
- Do not attempt to disassemble or repair the device yourself. Refer all servicing to qualified personnel.
- Use only the power adapter supplied with the device.
- Keep the device away from direct sunlight and heat sources.
Package Contents
Please check the package contents to ensure all items are present:
- LogiLink DS0001 Slide/Film Scanner
- Slide Holder
- Film Strip Holder
- USB Cable
- Power Adapter (if included, otherwise powered via USB)
- Cleaning Brush
- User Manual (this document)
Product Overview
Familiarize yourself with the components of your LogiLink DS0001 scanner.
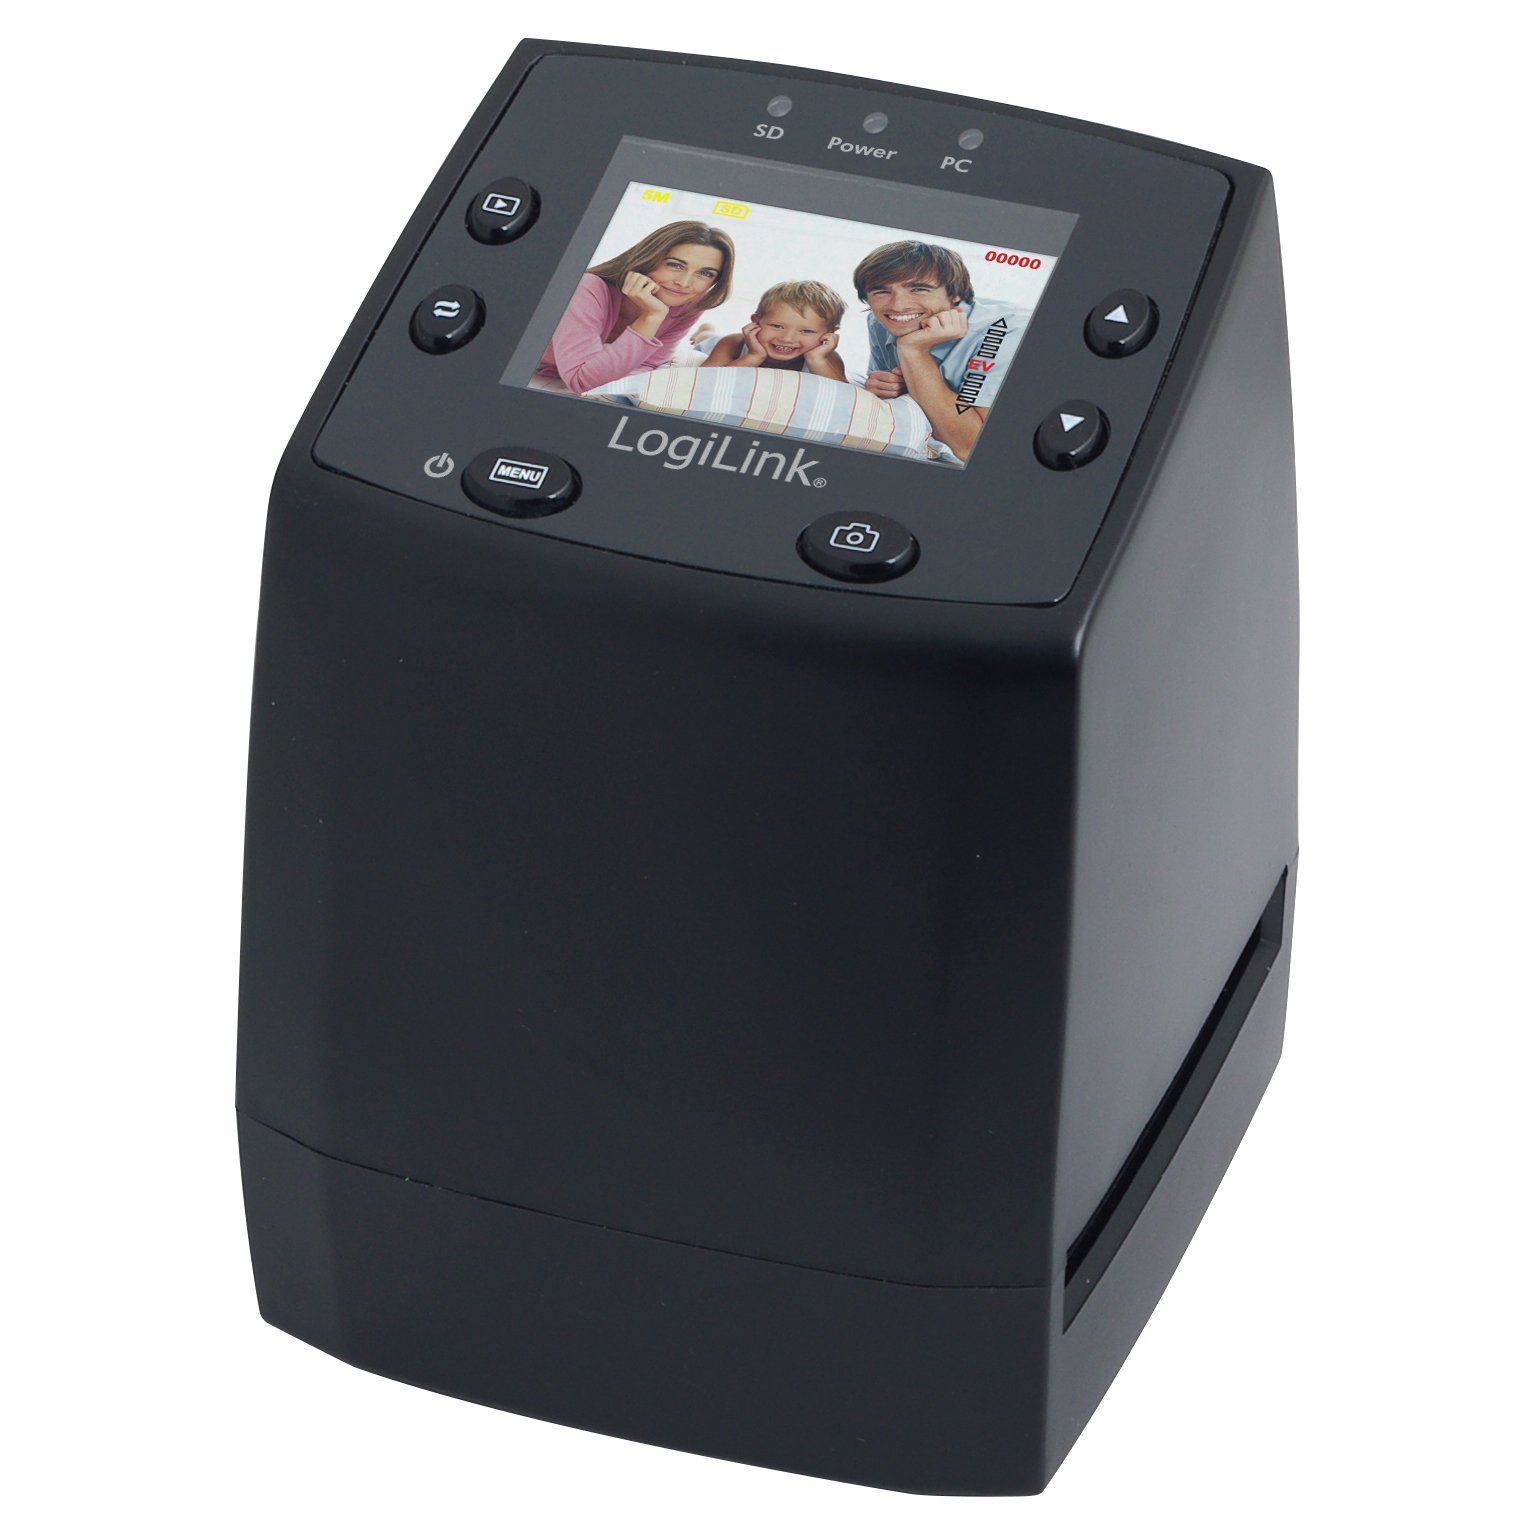
Image 1: LogiLink DS0001 Slide/Film Scanner. This image displays the black LogiLink DS0001 scanner from a slightly elevated front-right angle. The top panel features a small color LCD screen showing a family photo, surrounded by control buttons. Indicator lights for SD, Power, and PC are visible above the screen. The device has a compact, upright design.
Control Panel and Indicators:
- LCD Display: Shows scanned images, menu options, and settings.
- Power Button: Turns the device on/off.
- Menu Button: Accesses the main menu for settings and options.
- Capture/OK Button: Initiates scanning or confirms selections.
- Navigation Buttons (Up/Down/Left/Right): Used to navigate through menus and adjust settings.
- SD Indicator: Lights up when an SD card is inserted and active.
- Power Indicator: Lights up when the device is powered on.
- PC Indicator: Lights up when connected to a computer via USB.
Ports and Slots:
- SD Card Slot: For inserting an SD memory card (not included) to save scanned images.
- USB Port: For connecting to a computer for data transfer or power.
- Film/Slide Slot: Where the film or slide holders are inserted for scanning.
Setup
- Power Connection: Connect the USB cable to the scanner's USB port and the other end to a computer's USB port or a suitable USB power adapter. The Power indicator light will illuminate.
- Insert SD Card: Insert an SD memory card (up to 32GB, not included) into the SD card slot on the side of the scanner. Ensure it is inserted correctly until it clicks into place. The SD indicator light will illuminate.
- Turn On: Press the Power button to turn on the scanner. The LCD display will light up.
- Prepare Film/Slides:
- For slides: Place your framed slides into the Slide Holder. Ensure the image is correctly oriented.
- For film negatives/positives: Carefully insert your film strips into the Film Strip Holder. Ensure the film is flat and aligned within the guides.
- Insert Holder: Gently slide the prepared holder (with film or slides) into the designated slot on the side of the scanner until it is fully seated.
Operating Instructions
Scanning a Slide or Film:
- Ensure the scanner is powered on and the film/slide holder is inserted.
- The LCD display will show a live preview of the slide or film.
- Use the navigation buttons to adjust the position of the film/slide within the holder if needed, to center the image.
- Press the Capture/OK button to take a snapshot. The image will be processed and saved to the inserted SD card.
- Advance the film/slide holder to the next frame and repeat the process for additional images.
Adjusting Settings (Menu Options):
Press the Menu button to access the scanner's settings. Use the navigation buttons to scroll through options and the Capture/OK button to select.
- Film Type: Select between Negative Film, Slide Film (Positive), or Black & White Film. This setting is crucial for correct color reproduction.
- Resolution: Choose between 5 Megapixels (default) or 10 Megapixels (interpolated). Higher resolution results in larger file sizes.
- Exposure Compensation: Adjust the brightness of the scanned image. Use this if your original slides/films are too dark or too bright.
- Color Balance: Fine-tune the red, green, and blue color channels for accurate color representation.
- Language: Select the display language for the menu.
- Format SD Card: Erases all data on the SD card. Use with caution.
- Default Settings: Resets all settings to their factory defaults.
Viewing Scanned Images:
You can view your scanned images directly on the scanner's LCD display.
- From the main screen, press the Playback button (often indicated by a play icon).
- Use the navigation buttons to scroll through your saved images.
- Press the Menu button to exit playback mode.
Transferring Images to Computer:
There are two methods to transfer images:
- Direct Connection:
- Connect the scanner to your computer using the supplied USB cable.
- Turn on the scanner. The PC indicator light will illuminate.
- The scanner will appear as a removable disk drive on your computer.
- Navigate to the DCIM folder on the scanner's drive to access your scanned images.
- Copy the images to your desired location on your computer.
- Using an SD Card Reader:
- Remove the SD card from the scanner.
- Insert the SD card into a compatible SD card reader connected to your computer.
- Access the images directly from the SD card.
Maintenance
- Cleaning the Scanner: Use the provided cleaning brush to gently remove dust and debris from the film/slide slot and the lens area. Do not use liquid cleaners or abrasive materials.
- Cleaning Film/Slides: Ensure your slides and film strips are clean before scanning. Dust and fingerprints on the originals will appear on the scanned images. Use a soft, lint-free cloth or air blower for cleaning.
- Storage: When not in use, store the scanner in a dry, dust-free environment, away from direct sunlight and extreme temperatures.
Troubleshooting
| Problem | Possible Cause | Solution |
|---|---|---|
| Scanner does not turn on. | No power connection or faulty cable. | Ensure USB cable is securely connected to a powered USB port or power adapter. Try a different USB port or cable. |
| Scanned images are blurry/unclear. | Dust on film/slides or scanner lens; incorrect focus. | Clean film/slides and scanner lens with the provided brush. Ensure film/slides are flat in the holder. |
| Colors are incorrect. | Incorrect film type selected; poor original quality. | Check "Film Type" setting in the menu. Adjust "Color Balance" or "Exposure Compensation" if needed. |
| Cannot save images to SD card. | SD card full, corrupted, or not inserted correctly. | Ensure SD card is inserted correctly. Format the SD card (this will erase all data). Try a different SD card. |
| Scanner not recognized by computer. | USB connection issue; driver not installed (usually plug-and-play). | Ensure USB cable is securely connected. Try a different USB port. Restart the computer and scanner. |
Specifications
| Feature | Detail |
|---|---|
| Brand | LogiLink |
| Model Name | DS0001 |
| Scanner Type | Film Scanner (Slide/Film Negative) |
| Media Type | Slides, Film Negatives |
| Optical Sensor Technology | CMOS |
| Connection Technology | USB |
| Product Dimensions (L x W x H) | 8.6 x 8.8 x 11.1 cm |
| Item Weight | 296 g |
| GTIN (Global Trade Item Number) | 04052792013313 |
Warranty and Support
For warranty information and technical support, please refer to the warranty card included with your product or visit the official LogiLink website. Keep your purchase receipt as proof of purchase for warranty claims.
If you encounter issues not covered in this manual, please contact LogiLink customer support for assistance.
Related Documents - DS0001
 |
Dynojet Jet Kit Stage 1 Installation for Kawasaki VN1500 Vulcan Classic Comprehensive installation guide for the Dynojet Jet Kit Stage 1 (Part #2167.003) for 1996-2004 Kawasaki VN1500 D&E Vulcan Classic models. Includes parts list, step-by-step instructions, and performance graph. |
 |
Beyes Dental Equipment Catalog & Promotions | Comfortek X1, Handpieces, X-ray Systems & More Explore the latest dental equipment catalog from Beyes, featuring promotions on the Comfortek X1 dental chair, AirLight and Maxso handpieces, Slimax curing lights, Canaview intraoral cameras, Duray X-ray systems, sterilization integrators, and more. Valid October 1st - December 31st, 2025. |
 |
Beyes Dental Equipment Catalog: Handpieces, Chairs & Imaging - Jan-Mar 2026 Offers Discover Beyes' latest dental equipment, including Comfortek X1 chairs, AirLight handpieces, Slimax curing lights, and Duray imaging systems. View special offers valid January 1 - March 31, 2026, and learn how to redeem free goods. |
 |
Beyes Dental Equipment Catalog & Promotions - October 1-December 31, 2025 Explore Beyes' comprehensive range of dental chairs, high-speed handpieces, curing lights, intraoral cameras, X-ray systems, and sterilization monitoring tools. This catalog features product specifications, pricing, and special promotional offers valid from October 1st to December 31st, 2025. |
 |
Nakamichi 2023 Car Audio Catalog: Receivers, Speakers, Amplifiers & More Explore the Nakamichi 2023 Car Audio Catalog featuring a wide range of Android and CarPlay receivers, high-fidelity speakers, powerful amplifiers, cameras, and accessories. Redefining audio excellence since 1948. |
Ask a question about this manual
Ask about setup, troubleshooting, compatibility, parts, safety, or missing instructions. Manuals+ will review the question and use this page’s manual context to help answer it.