Introduction
This manual provides essential instructions for the safe and effective installation, operation, and maintenance of your Rotary 17-1/4 inch MTD Replacement Blade. This blade is designed to replace MTD OEM part numbers 742-0120 and 942-0120, as well as WHITE OUTDOOR 32-0009083 and WINDSOR 50-2125. Please read this manual thoroughly before installation and retain it for future reference.
Safety Information
WARNING: Always wear appropriate personal protective equipment (PPE), including heavy-duty gloves and eye protection, when handling or installing lawn mower blades. Blades are sharp and can cause severe injury.
- Ensure the lawn mower engine is off and the spark plug wire is disconnected before attempting any blade maintenance or replacement.
- Refer to your lawn mower's owner's manual for specific safety precautions and blade replacement procedures.
- Never attempt to sharpen or balance a damaged blade. Replace it immediately.
- Keep hands and feet away from the blade area when the engine is running.
Installation Instructions
This Rotary blade is a direct replacement for various MTD models. For a 34-inch cut MTD lawn tractor, two (2) blades are required.
Compatible MTD Models:
- Lawnflite Mdl 395, Lawnflite Mdl 397
- 135-395-000, 135-397-000, 135-397-096, 135-398-000
- 135-690-190 (34" Lawn Tractor LT-80)
- 136-690-190 (Yard Boss LT-80)
- 13618C, 13648C, 1863B
- 190-800-000, 190-801-000, 195-800-000, 196-800-000
Replaces OEM Part Numbers:
- MTD: 742-0120, 942-0120
- WHITE OUTDOOR: 32-0009083
- WINDSOR: 50-2125
Blade Replacement Procedure:
- Prepare the Mower: Park the lawn mower on a flat, stable surface. Turn off the engine and remove the spark plug wire to prevent accidental starting.
- Secure the Mower: If possible, lift the front of the mower and secure it with jack stands or blocks to access the underside safely.
- Remove Old Blade: Use a wrench to loosen the blade bolt. You may need a block of wood to prevent the blade from turning. Remove the old blade and note the orientation of the cutting edge.
- Inspect Components: Inspect the blade adapter, washers, and bolt for wear or damage. Replace any worn parts.
- Install New Blade: Position the new Rotary blade with the cutting edge facing the direction of rotation (typically upwards towards the mower deck). Ensure the blade is properly seated on the blade adapter.
- Tighten Blade Bolt: Reinstall the blade bolt and tighten it securely according to your mower's manufacturer specifications (torque values are usually found in your mower's manual).
- Recheck: Verify the blade is securely fastened and spins freely without obstruction.
- Reconnect Spark Plug: Reconnect the spark plug wire.

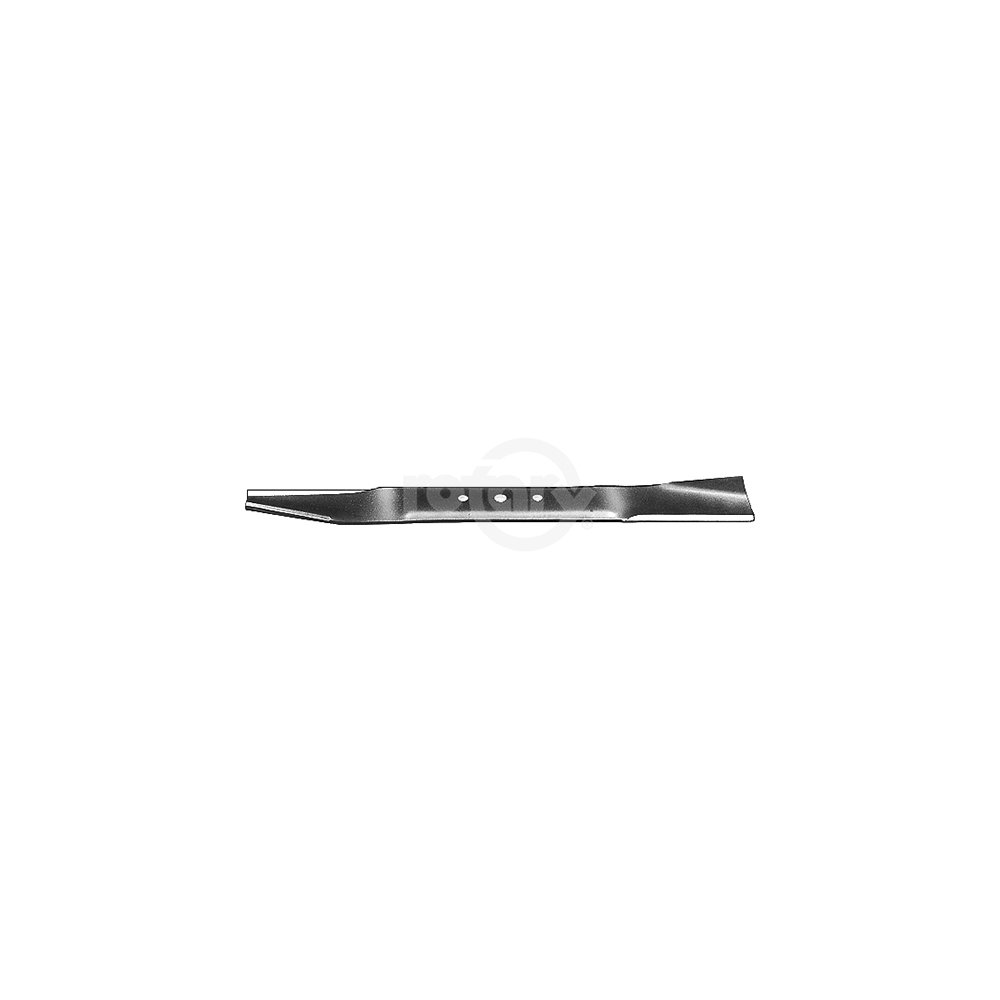
Image: Rotary MTD Replacement Blade, showing the blade's design and center hole.
Operating Guidelines
Once the blade is correctly installed, operate your lawn mower according to its manufacturer's instructions. A sharp blade ensures a clean cut, which is healthier for your lawn.
- Avoid mowing wet grass, as it can clog the mower deck and lead to an uneven cut.
- Clear the mowing area of debris (rocks, sticks, toys) before starting the mower to prevent blade damage and potential hazards.
- Adjust the cutting height appropriately for your grass type and desired lawn appearance.
Maintenance
Regular maintenance of your blade will extend its lifespan and ensure optimal cutting performance.
- Inspection: After each use, inspect the blade for nicks, bends, or cracks. A damaged blade can cause excessive vibration and an uneven cut. Replace severely damaged blades.
- Cleaning: Clean grass clippings and debris from the blade and underside of the mower deck after each use. This prevents rust and maintains balance.
- Sharpening: Sharpen the blade regularly (e.g., every 20-25 hours of operation or at the start of each mowing season). Use a blade sharpener or file to maintain a sharp edge. Ensure the blade remains balanced after sharpening to prevent vibration.
- Balancing: An unbalanced blade can cause excessive vibration, leading to premature wear on mower components. Use a blade balancer to check and correct the balance after sharpening.
- Storage: Before long-term storage, clean and lightly oil the blade to prevent rust.
Troubleshooting
| Problem | Possible Cause | Solution |
|---|---|---|
| Uneven cut | Dull or bent blade; incorrect blade installation; unbalanced blade. | Sharpen or replace blade; ensure correct installation and proper torque; balance the blade. |
| Excessive vibration | Unbalanced blade; bent blade; loose blade bolt; damaged blade adapter. | Balance or replace blade; tighten blade bolt to specifications; inspect and replace blade adapter if damaged. |
| Mower not cutting effectively | Dull blade; mowing wet or excessively tall grass. | Sharpen blade; wait for grass to dry; raise cutting height for tall grass. |
Specifications
| Feature | Measurement |
|---|---|
| Length | 17-1/4 inches (17.25") |
| Width | 2 inches |
| Thickness | 0.1500 inches |
| Center Hole Diameter (C.H. DIA) | 3/8 inches |
| Diameter of Outside Holes | 5/16 inches |
| Center to Center (Outside Holes) | 2-1/2 inches |
| Cut Direction | Right |
| Product Dimensions | 17.25 x 2 x 0.25 inches |
| Item Weight | 1.37 pounds |
| Manufacturer | Rotary |
Warranty and Support
For information regarding warranty coverage or technical support, please refer to the official Rotary website or contact your authorized Rotary dealer. Keep your purchase receipt as proof of purchase.