LG AJL72911502 Water Tank Assembly Instruction Manual
Genuine OEM Replacement Part for LG Refrigerators
1. Product Overview
The LG AJL72911502 Water Tank Assembly is a genuine Original Equipment Manufacturer (OEM) part designed for LG refrigerators. This component stores water before it is dispensed through the refrigerator's water dispenser or used for ice production. It is engineered to exact specifications to ensure proper fit and function within compatible LG refrigerator models.
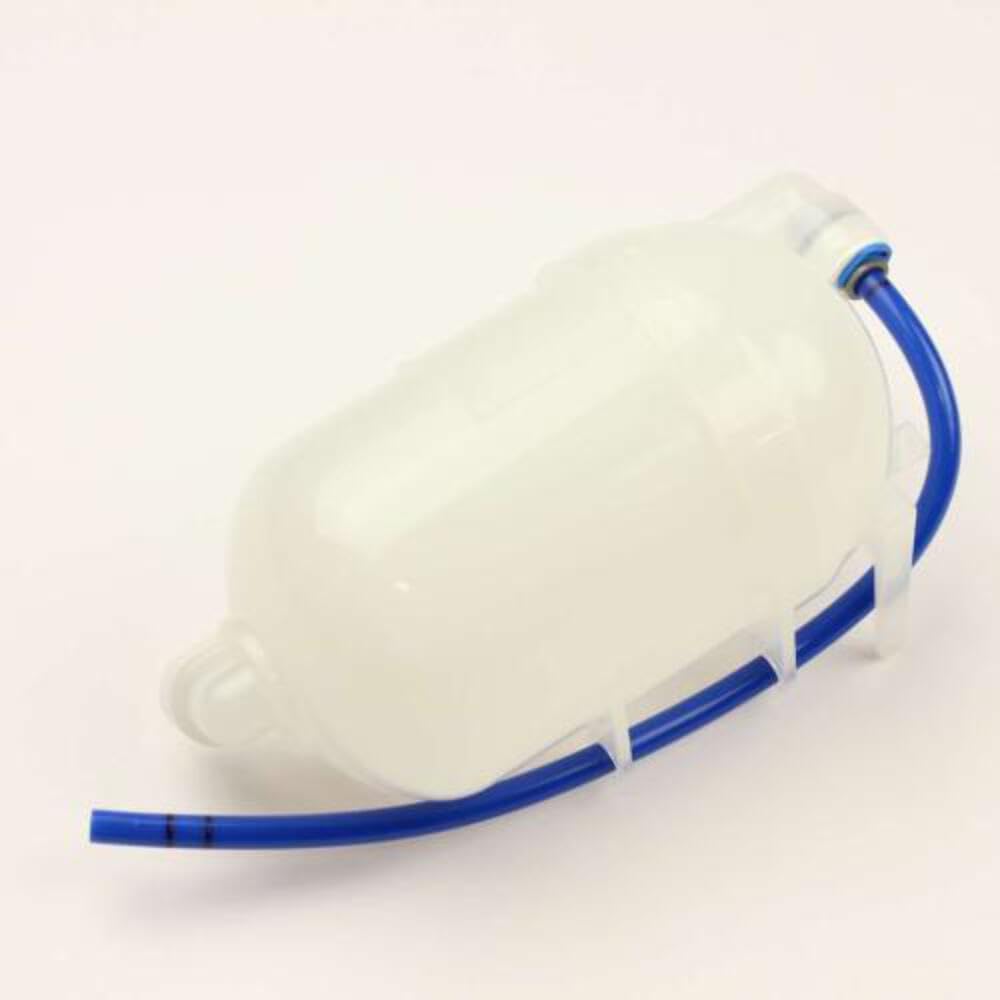
Image 1.1: The LG AJL72911502 Water Tank Assembly, a genuine OEM replacement part.
1.1 Compatible Models
This water tank assembly is compatible with a wide range of LG refrigerator models. Please verify your refrigerator's model number against the list below to ensure compatibility. If your model is not listed, consult your appliance's owner's manual or contact LG customer support.
- LFX28968SW, LSFS213ST, LMX25986SB, LMX25986ST, LMX25986SW, LFX28991ST, LFX25973SB, LFX25978SB, LFX21976ST, LFX25973ST, LFX25978ST, LFX25973SW, LFX25978SW, LMX25988SB, LFX25974SB, LFX28968SB, LMX25988ST, LMX25988SW, LFX25974ST, LFX28968ST, LFX25974SW, LFX28978WH, LFX28979SB, LFX28979ST, LFX28979SW, LFX28978SW, LFX28978ST, LFXS24566S, 71056, GRL258VQXZ, GRL258VSXZ, GRL258VVXZ, GRL288NQJP, GRL288NSJP, GRL288NTXP, GRL288NVJP, GRL28ANQPP, GRL28ANSPP, GRL28ANVPP, LFX25976SB, LFX25976ST, LFX25976SW, LFX28978SB, LMX28988SB, LMX28988ST, LMX28988SW, LMX28988ST/01, LMX28988ST/02, LMX28988ST/04, LMX28988ST/05, LMX28988ST/06, LMXS27626S, LMX25964ST, LFXS27566S, LMX25964SS, LMXS27626D, LMXS28626S, LMXS28626D, LFXS28566S, LFXS28968S, LFXS28566M, LFXS26596S, LFXS28968D/00, LFXS28566D, LFXS28566D/00, LFXS28968D, LFXS28968D/01, LFXS28566D/01, 79574025410, 79570332410, 79570333410, 79570339410, 79572049112, 79574029411, 79574029410, LFX25973D, LFX28995ST, LMXS27676D, LMX28994ST, LSMX211ST, LFX28992ST, LSSB2691ST, LFX28968D, LMXS28596S, LRFXS2503D, LFXC22596D, LFXC24726S, LFXS28596D, LRFXS2503S, LFXS30726S, LFXC22526D, 73107, 73105, 72597, LMXS28596D, 74147, 73109, 72595, LFXC24726D, 70357
2. Safety Information
Before attempting any installation, maintenance, or repair on your refrigerator, always prioritize safety. Failure to follow these safety guidelines could result in personal injury or property damage.
- Disconnect Power: Always unplug the refrigerator from the electrical outlet before beginning any work.
- Turn Off Water Supply: Shut off the main water supply valve to the refrigerator to prevent leaks or flooding.
- Wear Protective Gear: Use gloves to protect your hands from sharp edges and safety glasses to protect your eyes.
- Consult Appliance Manual: Refer to your specific refrigerator's owner's manual or service manual for detailed instructions and diagrams relevant to your model.
- Professional Assistance: If you are unsure about any step or uncomfortable performing the repair, contact a qualified appliance technician.
3. Installation Instructions
This section provides general guidance for replacing the water tank assembly. Specific steps may vary depending on your refrigerator model. Always refer to your refrigerator's service manual for precise instructions.
3.1 Tools Required (Typical)
- Screwdriver (Phillips or flathead, depending on fasteners)
- Nut driver or wrench (if applicable)
- Pliers (for hose clamps, if present)
- Towels or rags (to absorb water)
3.2 Pre-Installation Steps
- Disconnect Power: Unplug the refrigerator from the wall outlet.
- Turn Off Water Supply: Locate and turn off the water supply valve to the refrigerator.
- Drain Water: Dispense any remaining water from the refrigerator's dispenser to relieve pressure and drain the lines.
- Access the Water Tank: Depending on your model, the water tank is typically located behind a panel in the fresh food compartment or at the back of the refrigerator. You may need to remove shelves, drawers, or a rear access panel.
3.3 Removal of Old Water Tank
- Disconnect Water Lines: Carefully disconnect the water lines attached to the old water tank. Be prepared for some residual water to spill; have towels ready.
- Remove Mounting Hardware: Unscrew or unclip any fasteners securing the water tank in place.
- Extract Old Tank: Carefully remove the old water tank assembly from its position.
3.4 Installation of New Water Tank
- Position New Tank: Place the new LG AJL72911502 Water Tank Assembly into the designated location.
- Secure Mounting Hardware: Reattach any screws or clips to secure the new tank.
- Connect Water Lines: Carefully connect the water lines to the new tank, ensuring a snug and leak-free connection. Double-check that the lines are not kinked.
3.5 Post-Installation Steps
- Restore Water Supply: Slowly turn on the main water supply valve to the refrigerator.
- Check for Leaks: Carefully inspect all connections around the new water tank for any signs of leaks. Tighten connections if necessary.
- Restore Power: Plug the refrigerator back into the electrical outlet.
- Purge Air: Dispense several gallons of water through the refrigerator's dispenser to flush out any air in the lines and ensure proper water flow.
- Reassemble: Reinstall any panels, shelves, or drawers that were removed during the process.
4. Operating Principles
The water tank assembly serves as a reservoir for the water dispensing and ice-making systems within your LG refrigerator. Water from your home's supply enters the tank, where it is stored and chilled before being routed to the dispenser or ice maker. Proper functioning of this tank is crucial for consistent water and ice production.
5. Maintenance
The LG AJL72911502 Water Tank Assembly is designed for durability and typically requires minimal maintenance. However, periodic checks can help ensure its longevity and prevent issues.
- Regular Inspection: Periodically inspect the water tank and its connections for any signs of leaks, cracks, or damage. Address any issues promptly.
- Winterization (Seasonal Homes): If your refrigerator is in a seasonal home or an area prone to freezing temperatures, ensure the water lines and tank are properly drained and winterized to prevent damage from freezing water. Refer to your refrigerator's owner's manual for specific winterization procedures.
- Cleaning: While the tank itself is generally sealed, ensure the area around it is kept clean and free of debris.
6. Troubleshooting
If you experience issues with your refrigerator's water dispensing or ice production, the water tank assembly may be a factor. Here are some common troubleshooting tips:
- No Water Dispensed:
- Check if the water supply valve to the refrigerator is fully open.
- Ensure the refrigerator is plugged in and receiving power.
- Inspect water lines for kinks or blockages.
- Verify the water filter is not clogged and is correctly installed.
- Slow Water Flow:
- Similar to 'No Water Dispensed', check water supply, lines, and filter.
- Low household water pressure can also affect flow.
- Water Leaks:
- Immediately turn off the water supply and disconnect power.
- Inspect all connections to the water tank and water lines for looseness or damage. Tighten or replace as needed.
- Check the water tank itself for cracks or damage. If damaged, replacement is necessary.
- Unusual Taste or Odor in Water:
- While less common for the tank itself, ensure the water filter is new and correctly installed.
- Flush several gallons of water through the dispenser to clear stagnant water.
If these steps do not resolve the issue, it is recommended to consult a qualified service technician or contact LG customer support.
7. Specifications
| Specification | Detail |
|---|---|
| Part Number | AJL72911502 |
| Brand | LG |
| Item Weight | 2.4 ounces |
| Product Dimensions | 12 x 5 x 4 inches |
| Compatible Devices | LG, KENMORE ELITE, KENMORE Refrigerators |
8. Warranty and Support
As a genuine LG OEM part, the AJL72911502 Water Tank Assembly is manufactured to LG's quality standards. For specific warranty information regarding this replacement part, please refer to the warranty documentation that came with your original LG refrigerator or contact LG Customer Service directly.
For further assistance, technical support, or to locate authorized service providers, please visit the official LG website or contact their customer support line.