VeriFone VX510
Verifone VX510 Dial-Up Credit Card Terminal User Manual
Model: VX510 | Brand: VeriFone
Introduction
This manual provides comprehensive instructions for the Verifone VX510 Dial-Up Credit Card Terminal. It covers the setup, operation, maintenance, and troubleshooting of your device to ensure efficient and reliable performance for processing credit card transactions.
Product Overview
The Verifone VX510 is a robust dial-up credit card terminal designed for secure and efficient transaction processing. It features a user-friendly keypad, a clear display, and essential ports for connectivity.

Figure 1: Verifone VX510 Dial-Up Credit Card Terminal, including the main unit, power adapter (SMPS094000-09), and power cord.
Components
- Terminal Unit: The main device for processing transactions.
- Keypad: Numeric and function keys for data entry and navigation.
- Display Screen: Shows transaction details, menus, and system messages.
- Power Adapter: Model SMPS094000-09, provides power to the terminal.
- Power Cord: Connects the power adapter to a wall outlet.
- Communication Ports: Located at the rear/bottom for dial-up and other connections.
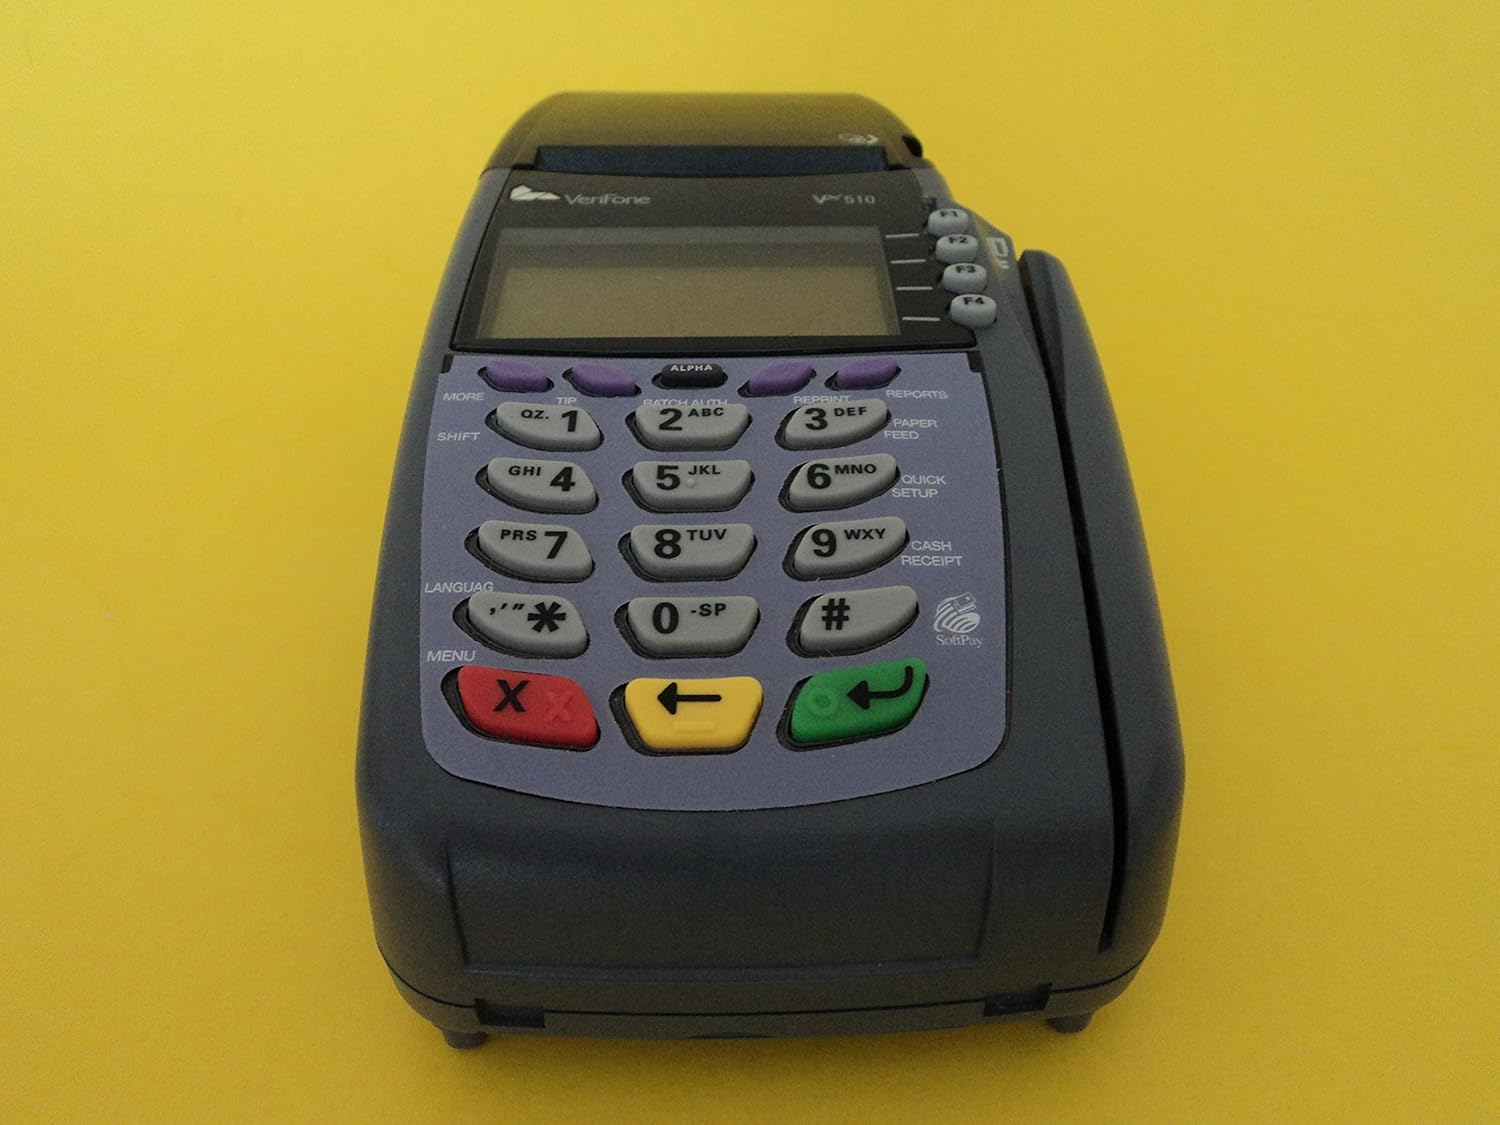
Figure 2: Front view of the Verifone VX510 terminal, highlighting the keypad and display screen.

Figure 3: The terminal's display screen showing initial boot-up information, including "VERIFONE VX510" and copyright details.

Figure 4: Rear view of the Verifone VX510, showing the communication ports, including 10BaseT (Ethernet) and RS232 connections.
Setup
Follow these steps to set up your Verifone VX510 terminal for the first time.
- Unpack the Terminal: Carefully remove all components from the packaging. Ensure you have the terminal unit, power adapter, and power cord.
- Connect Power:
- Connect the power cord to the power adapter.
- Plug the power adapter's barrel connector into the power input port on the back of the VX510 terminal.
- Plug the power cord into a standard electrical outlet.

Figure 5: Verifone VX510 terminal with the power adapter connected and the unit powered on, displaying the current date and time.
- Connect Communication Line (Dial-Up): For dial-up connectivity, connect a standard telephone line from your wall jack to the "TELCO" port on the terminal.
- Initial Boot-Up: The terminal will power on automatically once connected to power. The display will show boot-up sequences and then typically the date and time or a ready screen.
- Configuration: Your terminal may require specific configuration settings (e.g., merchant ID, terminal ID, communication parameters) from your payment processor. Refer to your processor's documentation or contact their support for these details.
Operating Instructions
This section outlines the basic operations for processing transactions on your Verifone VX510 terminal.
Processing a Sale
- From the idle screen, press the SALE key (often F1 or a dedicated button).
- Enter the transaction amount using the numeric keypad. Press ENTER (green key) to confirm.
- Swipe the customer's credit card through the magnetic stripe reader on the side of the terminal, or insert the EMV chip card into the slot at the bottom.
- Follow any on-screen prompts, such as entering a tip amount or PIN.
- The terminal will dial out to the payment processor. Once approved, a confirmation message will appear.
- Print the merchant copy and customer copy of the receipt.
Voiding a Transaction
- From the idle screen, press the VOID key (often F2 or a dedicated button).
- Enter the transaction number or select the transaction from a list if prompted.
- Confirm the void when prompted.
- Print the void receipt.
Batch Settlement
At the end of each business day, you must settle your batch to receive funds for processed transactions.
- From the idle screen, press the SETTLE or BATCH key (often F3 or a dedicated button).
- Confirm the batch settlement when prompted.
- The terminal will dial out and transmit the batch.
- Print the batch settlement report.
Maintenance
Proper maintenance ensures the longevity and optimal performance of your Verifone VX510 terminal.
- Cleaning: Use a soft, lint-free cloth slightly dampened with water or a mild, non-abrasive cleaner to wipe the exterior. Do not use harsh chemicals or abrasive materials. Avoid spraying liquids directly onto the terminal.
- Paper Roll Replacement: When the paper roll is low or empty, open the printer cover, remove the old roll, and insert a new thermal paper roll, ensuring the paper feeds correctly. Close the cover firmly.
- Cable Management: Ensure all cables (power, phone line) are securely connected and not crimped or strained.
- Software Updates: Periodically check with your payment processor for any required software updates for your terminal.
Troubleshooting
This section addresses common issues you might encounter with your Verifone VX510 terminal.
| Problem | Possible Cause | Solution |
|---|---|---|
| Terminal does not power on. | Power adapter not connected; power outlet issue. | Ensure power adapter is securely connected to the terminal and a working electrical outlet. Test the outlet with another device. |
| "COMM ERROR" or "DIAL FAILED" message. | Telephone line disconnected; incorrect dial-up settings. | Check that the telephone line is securely connected to the "TELCO" port and the wall jack. Verify dial-up settings with your payment processor. |
| Card not reading. | Card swiped incorrectly; dirty card reader; damaged card. | Ensure the card is swiped smoothly and consistently. Clean the magnetic stripe reader with a card reader cleaning card. Try another card if possible. |
| Printer not printing. | No paper; paper inserted incorrectly; printer jam. | Check and replace the paper roll. Ensure the paper is feeding correctly and the printer cover is closed. Clear any paper jams. |
Specifications
Key technical specifications for the Verifone VX510 Dial-Up Credit Card Terminal.
- Model: VX510 (M251-060-36-NAA)
- Manufacturer: VeriFone
- Connectivity: Dial-Up (PSTN), RS232, 10BaseT (Ethernet - specific models/configurations)
- Power Input: 9VDC, 4A (via SMPS094000-09 power adapter)
- Dimensions: Approximately 12 x 8 x 10 inches (Product Dimensions from data)
- Weight: Approximately 0.01 ounces (Item Weight from data - likely a typo, actual weight is higher)
- Display: Backlit LCD
- Keypad: 19-key ergonomic keypad
- Card Readers: Magnetic Stripe Reader, EMV Smart Card Reader
- Printer: Integrated Thermal Printer
- Serial Number Example: 213-141-334 (Example from product image)

Figure 6: Bottom label of the Verifone VX510 terminal, showing model number M251-060-36-NAA, product rating, and serial number (S/N 213-141-334).
Warranty and Support
For warranty information and technical support, please refer to the documentation provided by your reseller or payment processor. Verifone provides support through authorized distributors and service providers.
- Contact your Payment Processor: For most operational and configuration issues, your payment processor is the primary point of contact.
- Authorized Resellers: If you purchased the device from a reseller, they may offer direct support or facilitate warranty claims.
- Verifone Website: Visit the official Verifone website for general product information and to locate authorized service centers.
Ask a question about this manual
Ask about setup, troubleshooting, compatibility, parts, safety, or missing instructions. Manuals+ will review the question and use this page’s manual context to help answer it.