Important Safety Information
- Read all instructions thoroughly before operating the device.
- Ensure the protein skimmer is properly grounded to prevent electrical hazards.
- Do not operate the skimmer if any part is damaged or appears to be malfunctioning.
- Always disconnect the power supply before performing any maintenance, cleaning, or adjustments.
- This product is designed for indoor aquarium use only.
Product Overview
The Bubble Magus Curve 5 Pro Protein Skimmer is engineered to effectively remove organic waste from saltwater aquariums, contributing to a clean and healthy aquatic environment. Its distinctive curved design enhances bubble contact, optimizing skimming efficiency.
Key Features
- Efficient Protein Skimming: Utilizes a powerful needle wheel pump for effective waste removal.
- Unique Curve Design: Maximizes the contact area of bubbles within the reaction chamber.
- Compact Dimensions: Measures 7.09" x 7.28" x 18.50", suitable for various sump setups.
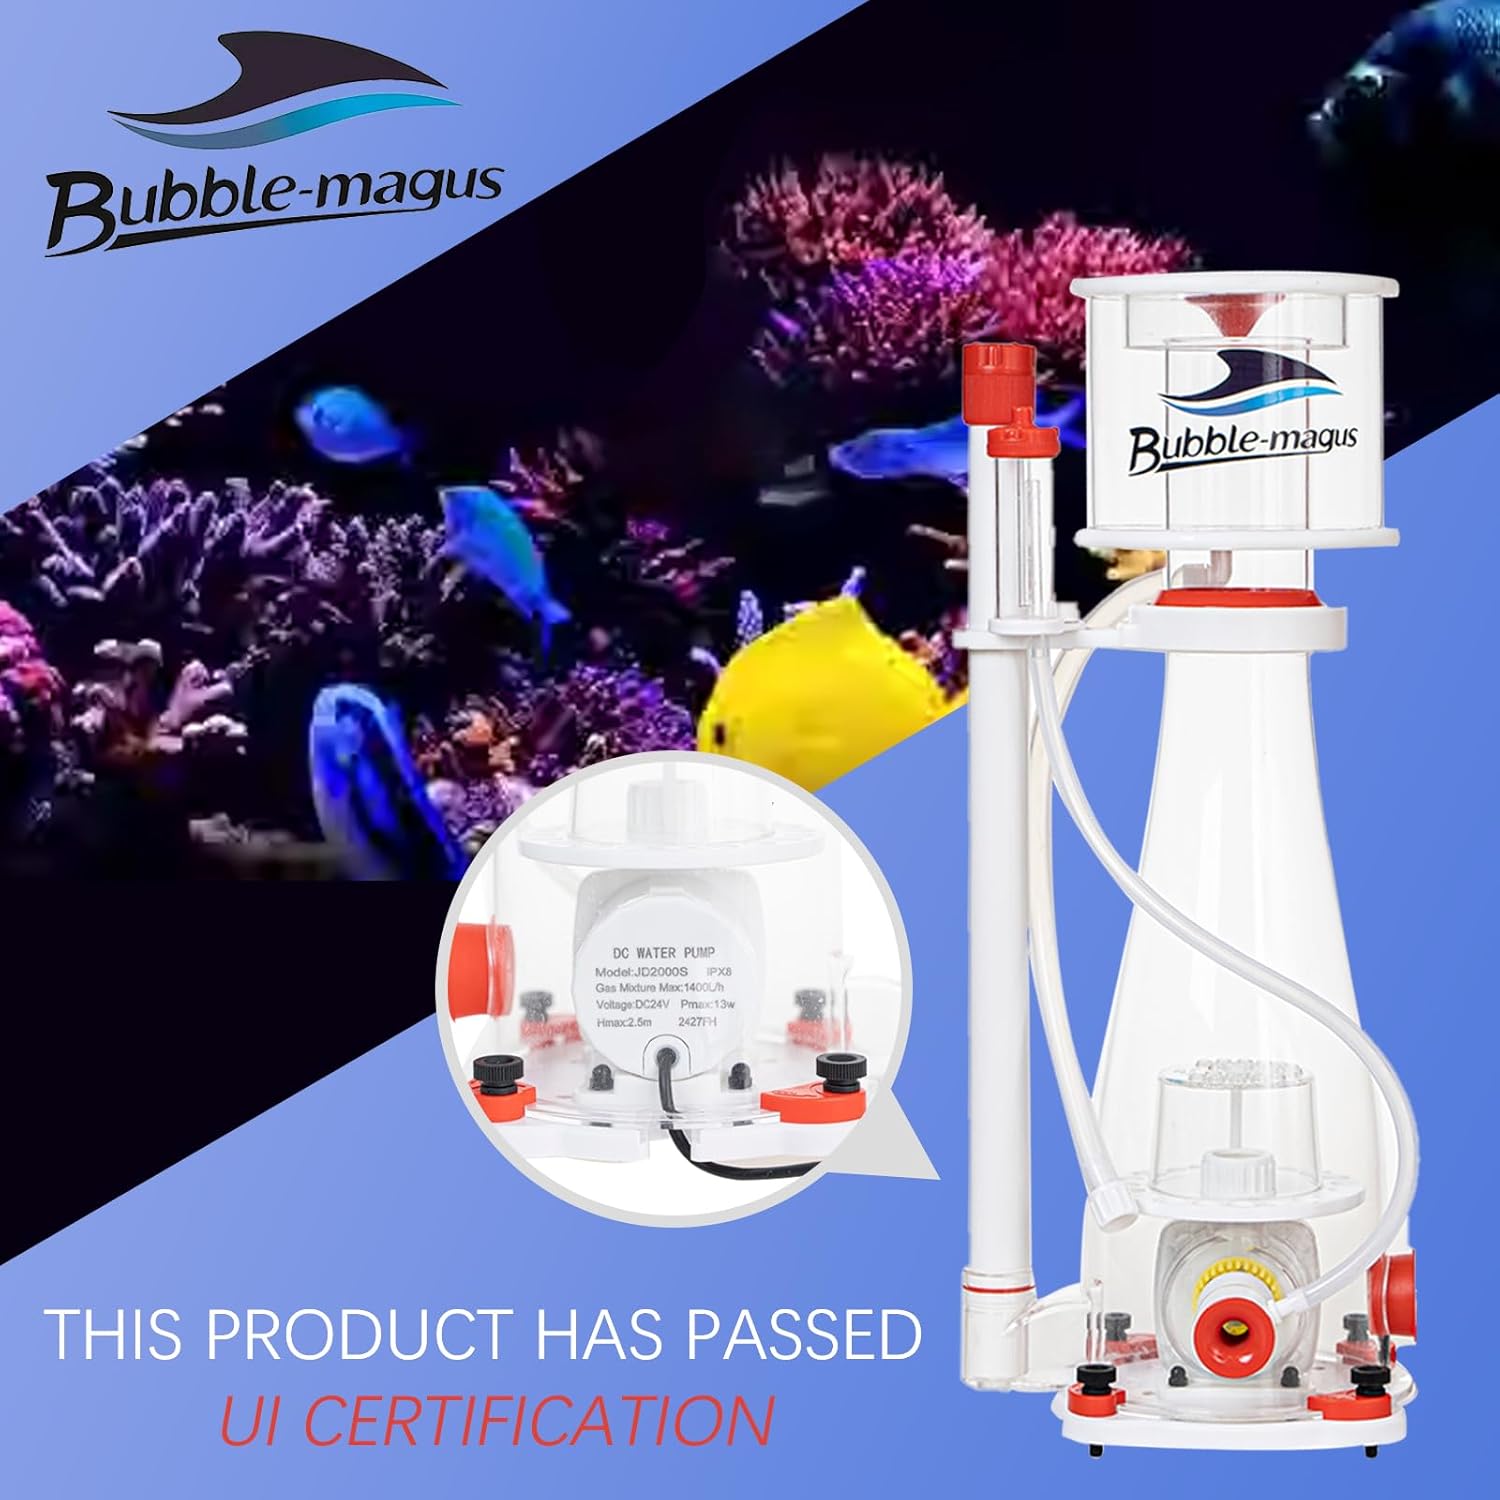
- High-Performance Pump: Features the ROCK SP1.5 pump (100-240V, 50Hz, 16W, DC24V, 60Hz, 0.5A).
- Optimal Air Intake: Provides an air intake of 330 LPH for robust performance.
- Optimal Water Level: Designed to operate efficiently at a water level of 7-8 inches.
- Quiet Operation: Incorporates a noise-reducing design for a peaceful environment.
- Aquarium Suitability: Ideal for saltwater aquariums ranging from 80 to 132 gallons.
Components
The skimmer consists of several parts that work together for optimal performance. Familiarize yourself with each component before assembly.


Setup and Installation
Assembly
- Carefully unpack all components and inspect them for any signs of damage.
- Assemble the pump to the skimmer body, ensuring all connections are tight and secure.
- Attach the collection cup to the top of the skimmer body, twisting it until it is firmly seated.
- Connect the air intake tubing to the designated port on the pump.
Placement
The Bubble Magus Curve 5 Pro is designed for in-sump installation.
The optimal water level for efficient operation is between 7 and 8 inches in the sump chamber where the skimmer is placed.
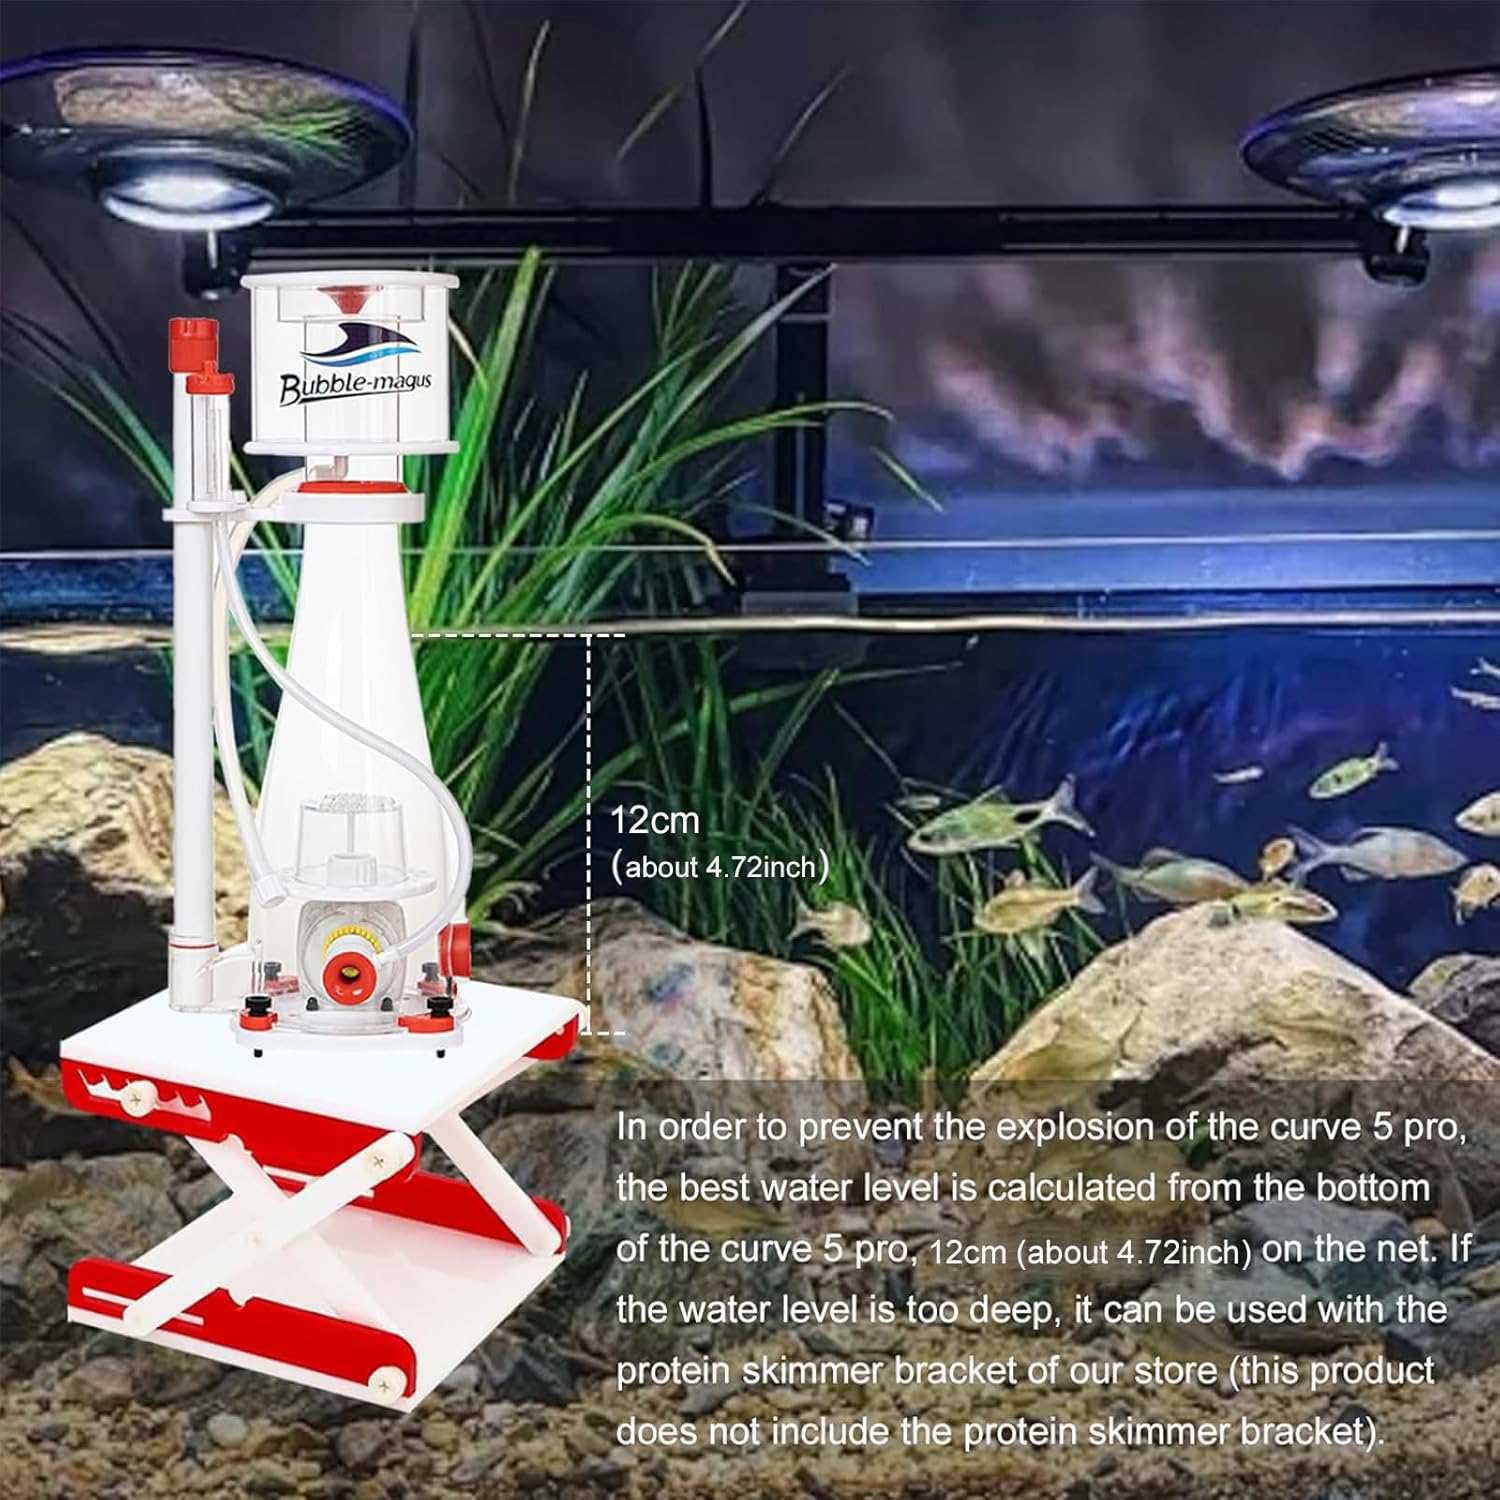
Ensure the skimmer is placed on a stable surface within the sump to prevent vibrations and ensure consistent performance.
Initial Startup
- Once assembled and properly placed in the sump, connect the power supply to the skimmer.
- The skimmer will immediately begin producing bubbles. A break-in period of several days (typically 1-2 weeks) may be required for the skimmer to achieve optimal and stable performance. During this period, the skimmer may produce a very wet skimmate or experience intermittent overflowing. Adjust the water level and air intake as needed during this phase.
Video: A demonstration of the Bubble Magus Curve 5 Pro Protein Skimmer in operation within a sump, showing the bubble production and collection cup filling with skimmate. This video is provided by the seller, Kirin Investment.LLC.
Operating Instructions
The performance of the protein skimmer can be fine-tuned by adjusting the internal water level and air intake to achieve the desired skimmate consistency.
Adjusting Skimmate Consistency
- To achieve a drier skimmate (darker, thicker waste), slightly lower the water level within the skimmer body or reduce the air intake.
- For a wetter skimmate (lighter, more watery waste), slightly raise the water level or increase the air intake.
Fine-tuning may require patience and several adjustments over a few days to achieve the ideal skimmate consistency for your aquarium's needs.

Maintenance
Regular maintenance is crucial for ensuring the optimal performance and longevity of your protein skimmer.
Collection Cup Cleaning
The collection cup should be emptied and cleaned regularly. The frequency depends on the organic load of your aquarium, typically ranging from every few days to once a week.
- Disconnect the skimmer from its power source.
- Remove the collection cup by twisting it counter-clockwise until it detaches.
- Empty the collected skimmate.
- Rinse the cup thoroughly with fresh water. For stubborn residue, a soft brush can be used.
- Reattach the clean collection cup securely to the skimmer body.
Skimmer Body and Pump Cleaning
Periodically, the entire skimmer body and pump components should be cleaned to prevent buildup of detritus and maintain maximum efficiency. This typically should be done every 1-3 months.
- Disconnect power and carefully remove the entire skimmer unit from the sump.
- Disassemble the skimmer body and pump components according to the assembly instructions.
- Clean all parts with warm water and a soft brush. For calcium deposits or stubborn algae, a diluted vinegar solution can be used.
- Rinse all components thoroughly with fresh water to remove any cleaning solution residue before reassembly.

Troubleshooting
| Problem | Possible Cause | Solution |
|---|---|---|
| No bubbles or weak bubbles | Air intake blocked, pump impeller clogged, low water level in sump. | Check air line for kinks or blockages. Clean the pump impeller. Ensure the water level in the sump is within the optimal range (7-8 inches). |
| Excessive overflowing / Wet skimmate | Water level too high, skimmer not fully broken in, new additives or medications in water. | Lower the water level in the sump. Allow for the full break-in period. Adjust the air intake to reduce bubble production. Perform a water change if new additives are suspected. |
| Noisy operation | Vibrations, air intake restriction, pump impeller issue. | Ensure the skimmer is stable and not touching the sump walls. Check the air line for blockages. Clean the pump impeller for any debris. |

Specifications
| Feature | Detail |
|---|---|
| Model | BM-Curve 5 Pro |
| Dimensions (L x W x H) | 7.09" x 7.28" x 18.50" (Product Dimensions: 26 x 9 x 10 inches) |
| Pump Model | ROCK SP1.5 |
| Pump Voltage | 100-240V, 50Hz |
| Pump Power | 16W (DC24V, 60Hz, 0.5A) |
| Air Intake | 330 LPH |
| Optimal Water Level | 7-8 inches |
| Aquarium Capacity | 80 to 132 gallons |

Warranty and Support
For detailed warranty information and customer support, please refer to the official Bubble Magus website or contact your authorized retailer. It is recommended to retain your purchase receipt for any warranty claims.
Contact Information: Please visit the official Bubble Magus website for the most current contact details and support resources.


