1. Introduction
The WattStopper RS-150BA-N-W is a Decora style wall switch vacancy sensor designed for residential applications. This device utilizes passive infrared (PIR) technology to detect occupancy, providing manual ON and automatic OFF operation for connected lighting. It is engineered to comply with energy codes such as California Title 24 (2005 and 2008 versions mentioned in product details). The integrated nightlight illuminates when overhead lights are off, enhancing safety and convenience.
Key Features:
- Manual ON / Automatic OFF operation for energy savings.
- Passive Infrared (PIR) technology for occupancy detection.
- Integrated energy-efficient nightlight.
- Adjustable 30-minute time delay for automatic shut-off.
- Impact-resistant lens.
- Terminal wiring for quick and easy installation.
- Includes color-matched wallplate.
- 120V operation.
2. Safety Information
WARNING: To avoid fire, shock, or death, turn OFF power at the circuit breaker or fuse box and test that the power is OFF before wiring. Installation should be performed by a qualified electrician or a person with a thorough understanding of electrical wiring and building codes. Use only copper conductors. Do not use with aluminum wiring.
- Read all instructions before installation.
- Do not install if you are unfamiliar with electrical wiring. Consult a qualified electrician.
- Ensure all connections are secure and properly insulated.
- This device is for indoor use only.
3. Package Contents
Verify that all components are present before beginning installation:
- WattStopper RS-150BA-N-W Vacancy Sensor
- Color-matched Wallplate
- Mounting Screws
- Instruction Manual
4. Installation
Tools Required:
- Screwdriver (Phillips and Flathead)
- Wire Strippers
- Electrical Tape
- Voltage Tester
Wiring Instructions:
- Turn Off Power: Locate the circuit breaker or fuse that controls the switch you are replacing and turn it OFF. Verify power is off using a voltage tester.
- Remove Old Switch: Carefully remove the existing wallplate and switch from the wall box. Disconnect the wires from the old switch, noting which wire was connected to which terminal.
- Identify Wires: In a standard installation, you will typically find a LINE (hot) wire, a LOAD wire (to the light fixture), a NEUTRAL wire, and a GROUND wire.
- Connect Wires: Connect the wires from the wall box to the WattStopper sensor as follows:
- Black Wire (LINE): Connect to the incoming hot wire from the circuit breaker.
- Red Wire (LOAD): Connect to the wire going to the light fixture.
- White Wire (NEUTRAL): Connect to the neutral wire from the electrical system.
- Green Wire (GROUND): Connect to the bare copper or green ground wire in the wall box.
- Mount Sensor: Carefully fold the wires into the wall box and secure the sensor to the wall box using the provided mounting screws. Ensure the 'UP' arrow on the back of the sensor is pointing upwards.
- Install Wallplate: Attach the color-matched wallplate over the sensor.
- Restore Power: Turn the power back ON at the circuit breaker.

5. Operation
Manual ON / Automatic OFF:
To turn the lights ON, press the bottom portion of the switch. The lights will remain ON as long as occupancy is detected within the sensor's field of view. After the area becomes vacant, the sensor will automatically turn the lights OFF after a preset time delay.
Nightlight Function:
The integrated nightlight feature provides a soft illumination when the overhead lights are off. This helps in navigating dark spaces without needing to turn on the main lights.
Time Delay Adjustment:
The sensor is factory set with a 30-minute time delay. This means the lights will turn off approximately 30 minutes after the last detected motion. Refer to the detailed product sheet or manufacturer's website for information on adjusting this time delay, if applicable.
6. Maintenance
The WattStopper RS-150BA-N-W sensor requires minimal maintenance. To clean the device, gently wipe the surface with a soft, damp cloth. Do not use abrasive cleaners, solvents, or harsh chemicals, as these can damage the finish or internal components. Ensure the device is dry before restoring power.
7. Troubleshooting
| Problem | Possible Cause | Solution |
|---|---|---|
| Lights do not turn ON. | No power to the sensor; incorrect wiring; bulb burned out. | Check circuit breaker; verify wiring connections; replace bulb. |
| Lights do not turn OFF. | Constant motion detected; incorrect time delay setting; faulty sensor. | Ensure no continuous motion in sensor's view; check time delay setting; contact support if sensor is faulty. |
| Sensor is too sensitive or not sensitive enough. | Improper sensor placement; environmental factors. | Adjust sensor placement to optimize coverage; ensure no heat sources or air drafts interfere with PIR. |
| Nightlight not working. | No power; internal fault. | Check power supply; contact support if issue persists. |
8. Specifications
| Specification | Detail |
|---|---|
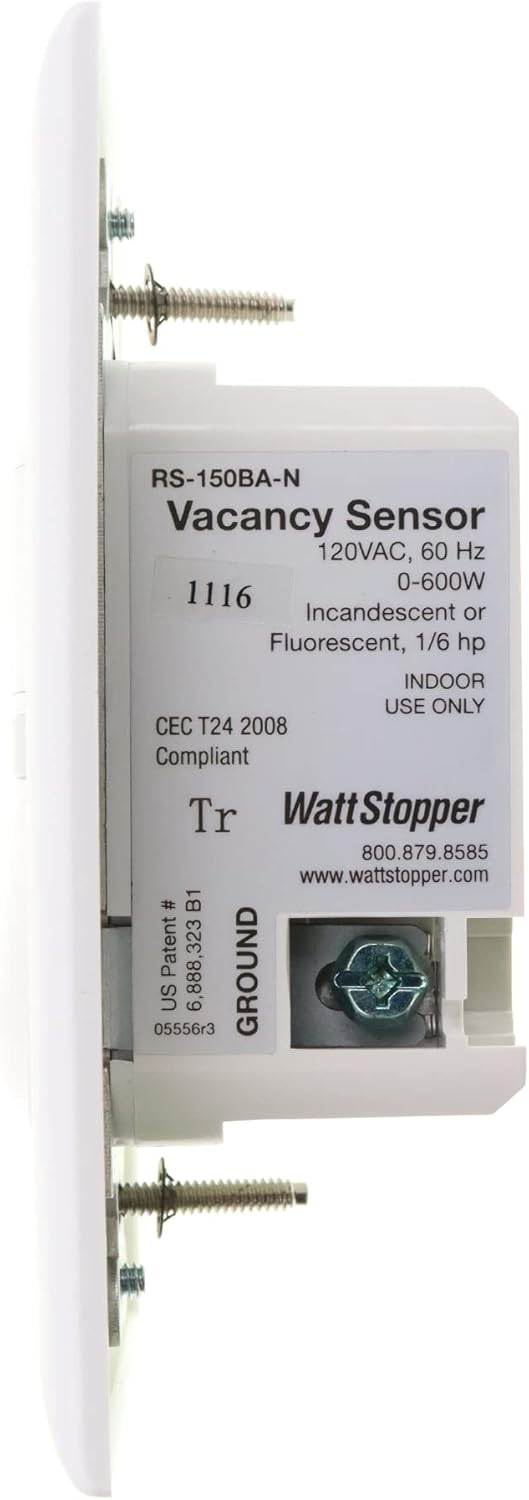
| Model Number | RS-150BA-N-W |
| Brand | Watt Stopper |
| Voltage | 120 Volts |
| Wattage | 12 watts (for nightlight, max load 600W) |
| Power Source | Hardwired Electric |
| Mounting Type | Wall Mount |
| Color | White |
| Item Weight | 6.4 ounces (0.4 Pounds) |
| Product Dimensions | 5"D x 4"W x 3.15"H |
| Operating Temperature | 68 Degrees Fahrenheit (20°C) |
| Special Features | Motion-Sensor, Nightlight |
| Compatible Devices | Light, Security System |
| Compliance | CEC T24 2008 Compliant (California Title 24) |
9. Warranty and Support
For warranty information and technical support, please refer to the official Watt Stopper website or contact their customer service department. Keep your purchase receipt as proof of purchase for any warranty claims.