1. Introduction
This manual provides detailed instructions for the safe installation, operation, and maintenance of your Hampton Bay HD285314 Sidewinder 54-inch Ceiling Fan. Please read all instructions carefully before beginning installation and retain this manual for future reference.
The Hampton Bay HD285314 is a 54-inch ceiling fan featuring a brushed nickel finish, designed for indoor use. It includes a light kit and a remote control for convenient operation.
2. Safety Information
WARNING: To reduce the risk of fire, electric shock, or personal injury, always turn off power to the circuit at the main fuse box or circuit breaker before installation or servicing.
WARNING: All wiring must be in accordance with national and local electrical codes. If you are unfamiliar with wiring, consult a qualified electrician.
WARNING: The ceiling fan must be mounted to a ceiling joist or support structure capable of supporting a minimum of 35 lbs (15.9 kg).
CAUTION: Do not use a dimmer switch to control the fan speed. Use only the provided remote control.
CAUTION: Ensure all connections are tight and secure to prevent loose wiring and potential electrical hazards.
3. Package Contents
Carefully unpack all components and ensure you have received all items listed below. If any parts are missing or damaged, contact Hampton Bay customer service.
- Motor Housing Assembly
- Fan Blades (5)
- Blade Brackets (5)
- Light Kit Assembly with Glass Shade
- Remote Control and Receiver
- Mounting Bracket
- Downrod Assembly
- Hardware Pack (screws, washers, wire nuts)
- Instruction Manual

Image: Overview of the fan components as packaged in the box.

Image: Instruction manual and hardware pack.
4. Setup and Installation
4.1 Pre-Installation
- Turn off power at the circuit breaker or fuse box.
- Ensure the mounting location can support the fan's weight.
- Gather all necessary tools (screwdriver, wire strippers, ladder, etc.).
4.2 Mounting the Fan
- Attach the mounting bracket to the ceiling junction box using the provided screws. Ensure it is securely fastened.
- Feed the electrical wires from the ceiling through the center hole of the mounting bracket.
- Assemble the downrod to the motor housing, ensuring the set screw is tightened.
- Carefully lift the fan assembly and hang it from the mounting bracket using the ball joint.

Image: Motor housing, remote control, and receiver unit.
4.3 Wiring Connections
- Connect the fan's ground wire to the household ground wire.
- Connect the fan's neutral wire to the household neutral wire.
- Connect the fan's live wire to the household live wire.
- Connect the remote receiver wires according to the diagram in the full manual. Ensure all wire nuts are securely twisted.

Image: Bottom view of motor housing with wiring.
4.4 Attaching Fan Blades
- Attach each fan blade to a blade bracket using the provided screws.
- Secure each blade assembly to the motor housing. Ensure all screws are tightened.
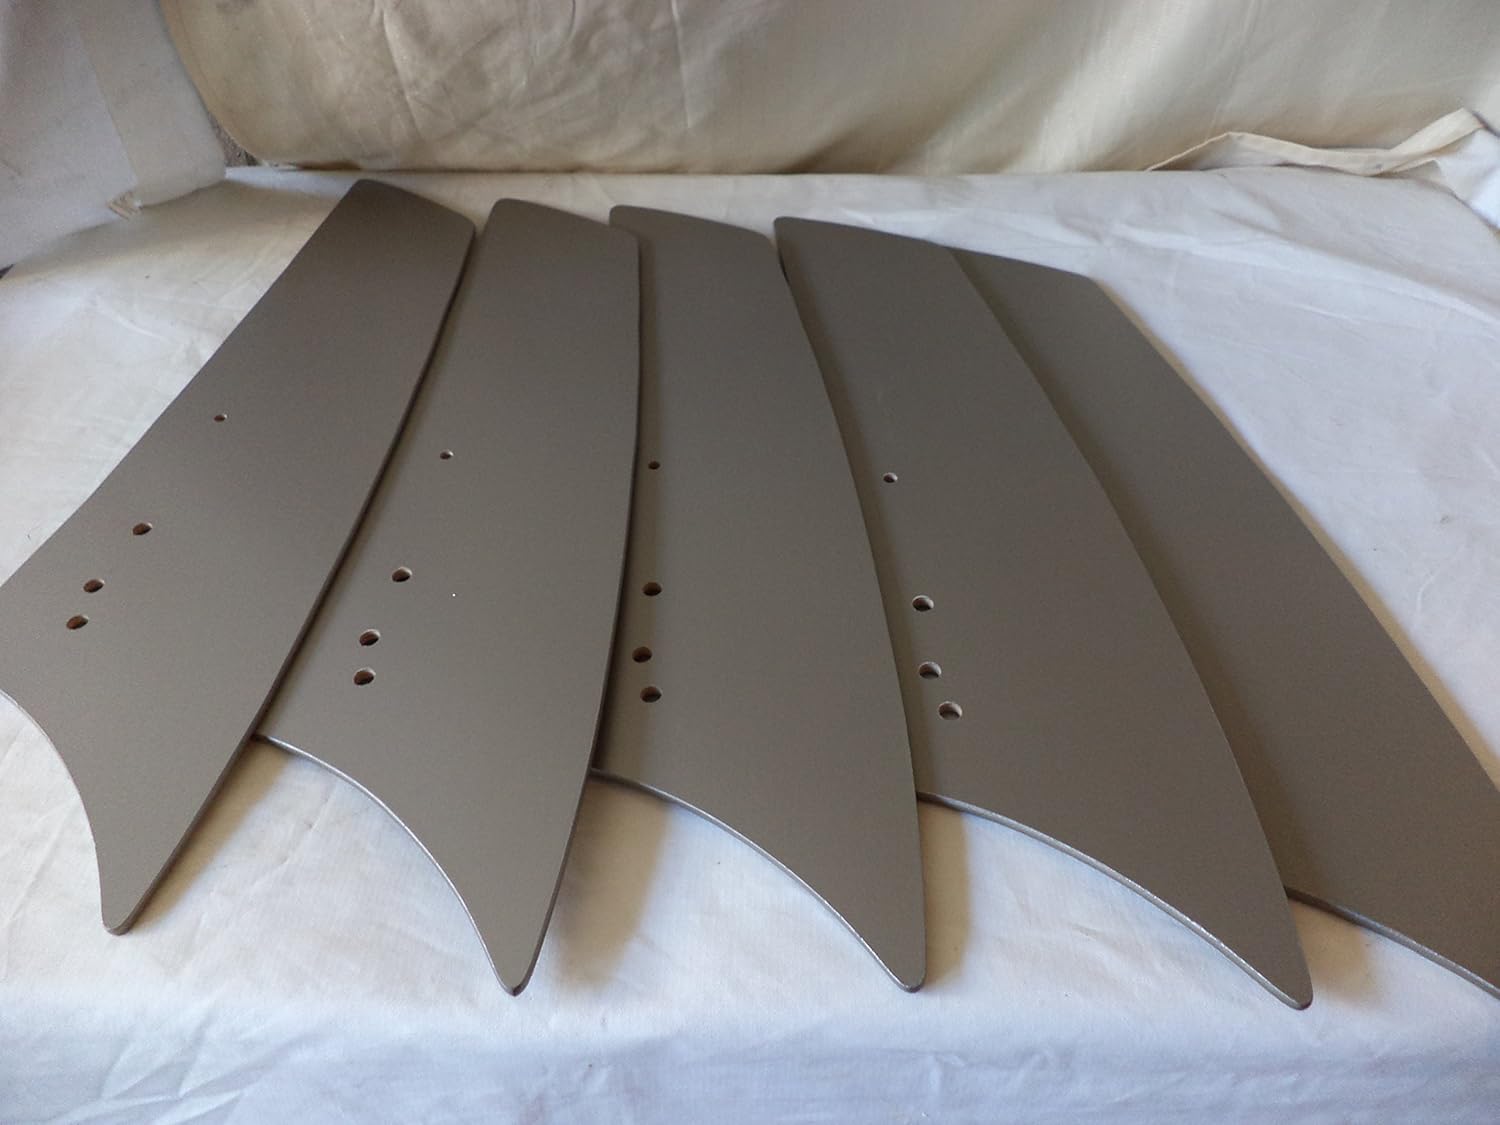
Image: Individual fan blades.
4.5 Installing the Light Kit
- Connect the light kit wires to the corresponding wires from the fan motor.
- Attach the light kit assembly to the bottom of the motor housing.
- Install the recommended halogen bulbs (not included).
- Secure the glass shade to the light kit.
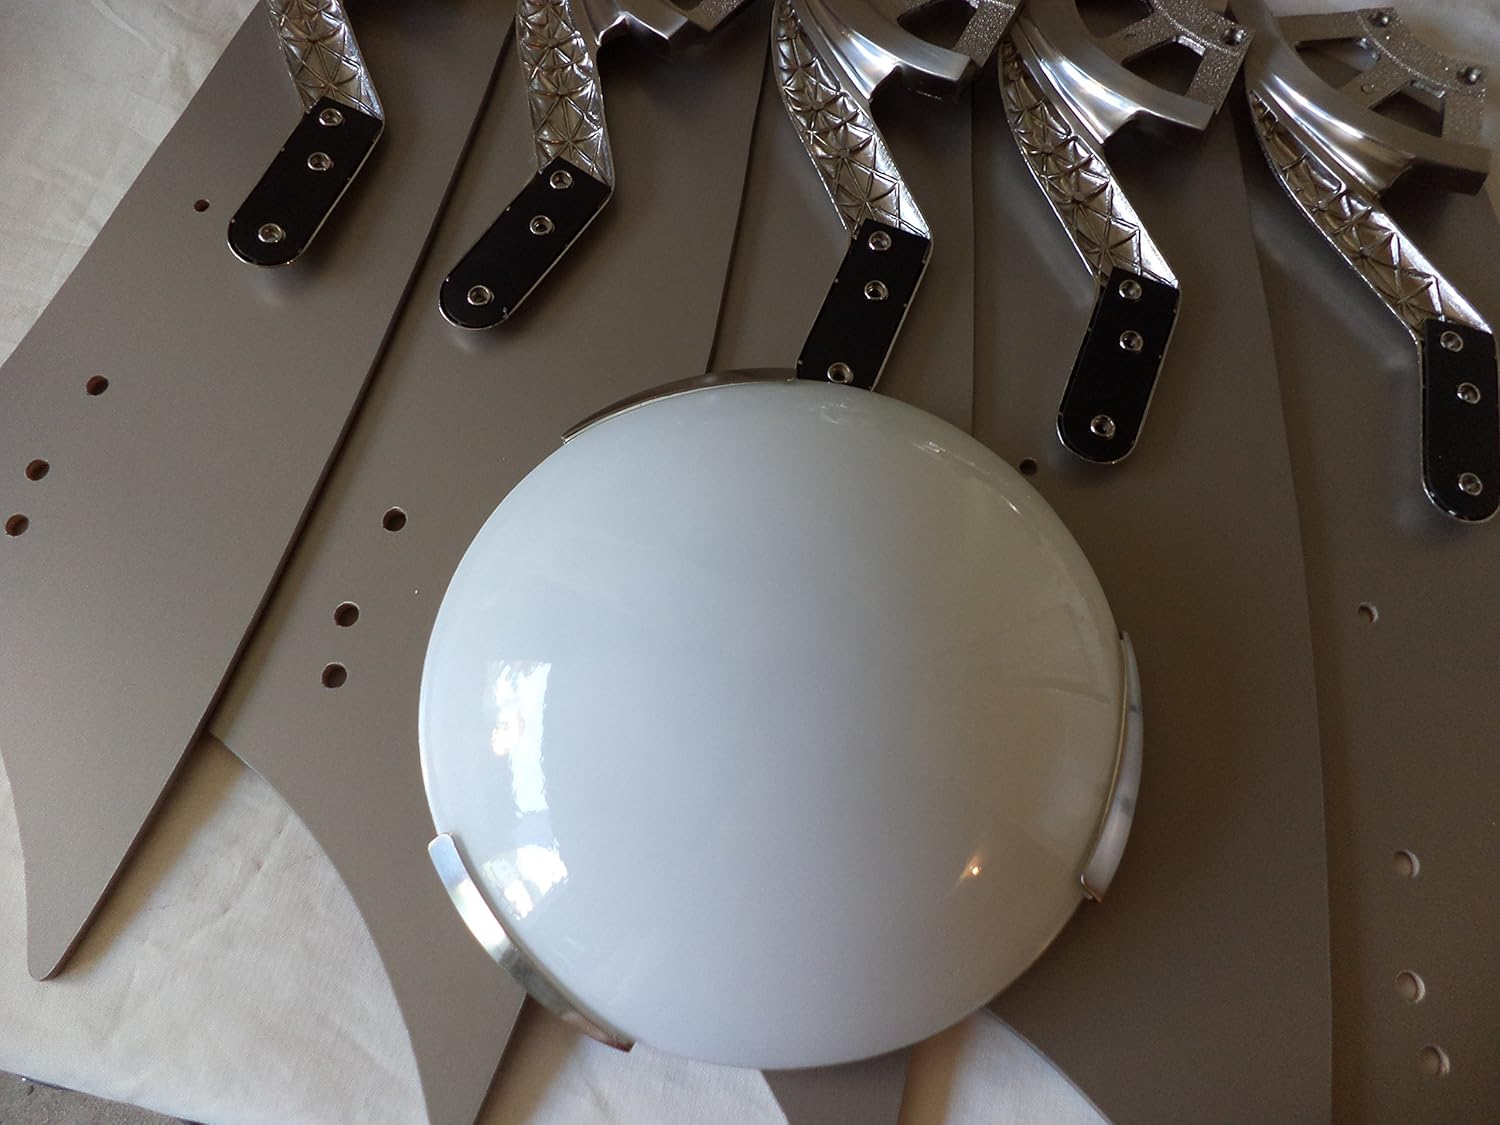
Image: Light kit glass shade.
5. Operating Instructions
Your Hampton Bay HD285314 ceiling fan is operated using the included remote control.
5.1 Remote Control Functions
- Fan ON/OFF: Press the fan button to turn the fan on or off.
- Fan Speed: Use the speed buttons (typically 1, 2, 3 for low, medium, high) to adjust fan speed.
- Light ON/OFF/Dimming: Press the light button to turn the light on or off. Hold the light button to dim or brighten the light.
- Reverse Function: Locate the reverse switch on the fan motor housing (usually a small slide switch). This changes the direction of airflow for summer (downward airflow) or winter (upward airflow). Adjust this switch only when the fan is off.
Image: Remote control unit.
6. Maintenance
Regular maintenance ensures optimal performance and extends the life of your ceiling fan.
- Cleaning: Clean the fan periodically with a soft, damp cloth. Do not use abrasive cleaners or solvents, as these may damage the finish.
- Blade Tightness: Check blade screws annually to ensure they are tight. Loose blades can cause wobbling and noise.
- Bulb Replacement: When replacing bulbs, ensure the power is off. Use halogen bulbs as specified for the light kit.
7. Troubleshooting
If you experience issues with your fan, refer to the following common problems and solutions:
| Problem | Possible Cause | Solution |
|---|---|---|
| Fan does not start | No power to the fan; Loose wire connections; Remote control battery low. | Check circuit breaker/fuses; Verify all wire connections are secure; Replace remote control battery. |
| Fan wobbles | Loose blade screws; Unbalanced blades; Loose mounting bracket. | Tighten all blade screws; Use a balancing kit (sold separately) to balance blades; Ensure mounting bracket is securely fastened. |
| Light does not work | Bulb faulty or loose; Loose wire connection in light kit; Remote control battery low. | Replace bulb; Check light kit wiring; Replace remote control battery. |
| Noisy operation | Loose screws; Motor not seated properly; Blades hitting an obstruction. | Check and tighten all screws; Ensure motor housing is properly installed; Verify no obstructions are in the fan's path. |
8. Specifications
| Feature | Specification |
|---|---|
| Model Number | HD285314 |
| Brand | Hampton Bay |
| Fan Size | 54 inches |
| Finish | Brushed Nickel |
| Number of Blades | 5 |
| Air Flow Capacity | 5600 Cubic Feet Per Minute |
| Voltage | 120 Volts |
| Power Source | Corded Electric |
| Special Feature | Remote Control |
| Type of Bulb | Halogen |
| Item Weight | 28 Pounds |
| UPC | 718212348895 |
9. Warranty and Support
Warranty information for the Hampton Bay HD285314 ceiling fan is not explicitly provided in the product specifications. Please refer to the manufacturer's official website or contact their customer service for detailed warranty terms and conditions.
For technical support or assistance with parts, please contact Hampton Bay customer service directly. Contact information can typically be found on the manufacturer's website or on the product packaging.