
Victory 50617102 Coil Evaporator, P84 E10 Instruction Manual
Model: 50617102
1. Introduction
This manual provides essential information for the proper installation, operation, and maintenance of the Victory 50617102 Coil Evaporator, P84 E10. This component is designed for use in commercial refrigeration systems. Adhering to the guidelines in this manual will help ensure optimal performance and longevity of the unit.
2. Safety Information
WARNING: Improper installation, adjustment, alteration, service, or maintenance can cause property damage, injury, or death. Read the installation, operating, and maintenance instructions thoroughly before installing or servicing this equipment.
- Always disconnect power to the refrigeration system before performing any installation, maintenance, or service.
- Ensure all connections are secure and leak-free to prevent refrigerant loss.
- Wear appropriate personal protective equipment (PPE) such as gloves and eye protection.
- Only qualified personnel should install or service this equipment.
- Refer to all applicable local and national codes and regulations.
3. Product Overview
The Victory 50617102 Coil Evaporator is a genuine OEM replacement part designed for efficient heat exchange within a refrigeration system. It consists of a series of finned tubes through which refrigerant flows, absorbing heat from the surrounding air.
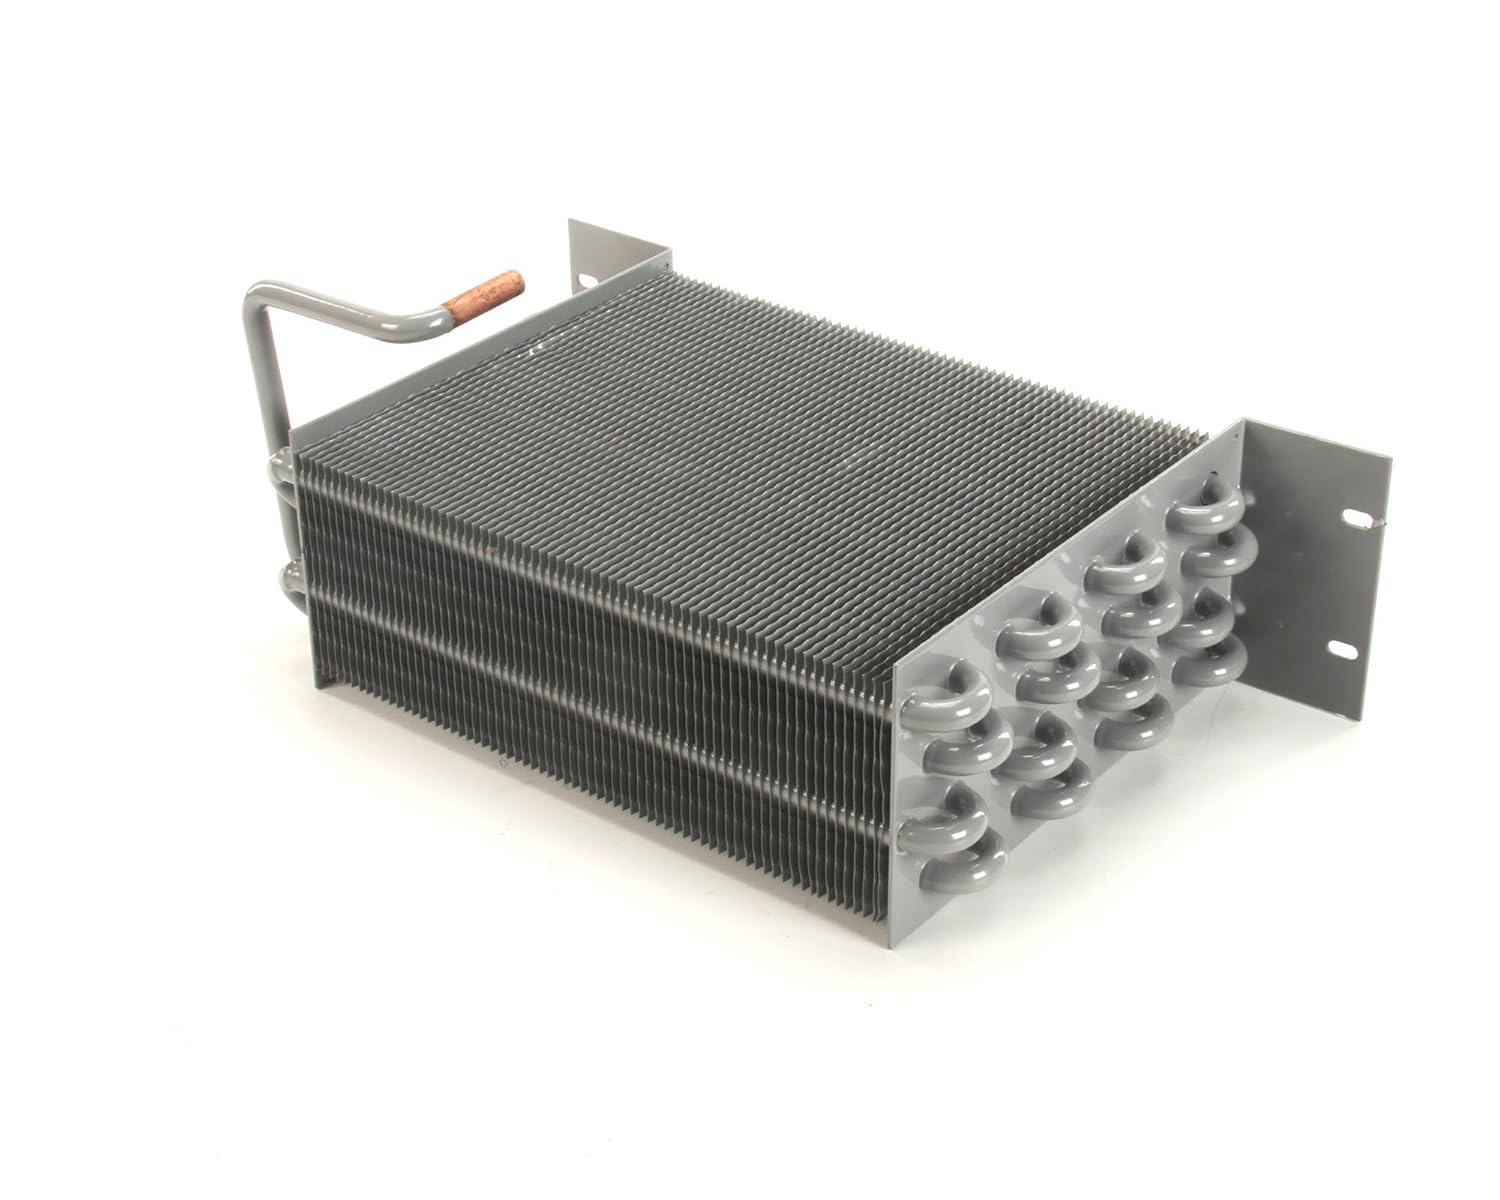
Figure 1: Front view of the Victory 50617102 Coil Evaporator, showing the finned coil block and copper tubing connections.

Figure 2: Angled view of the evaporator coil, highlighting the U-bend connections on one side and mounting brackets.
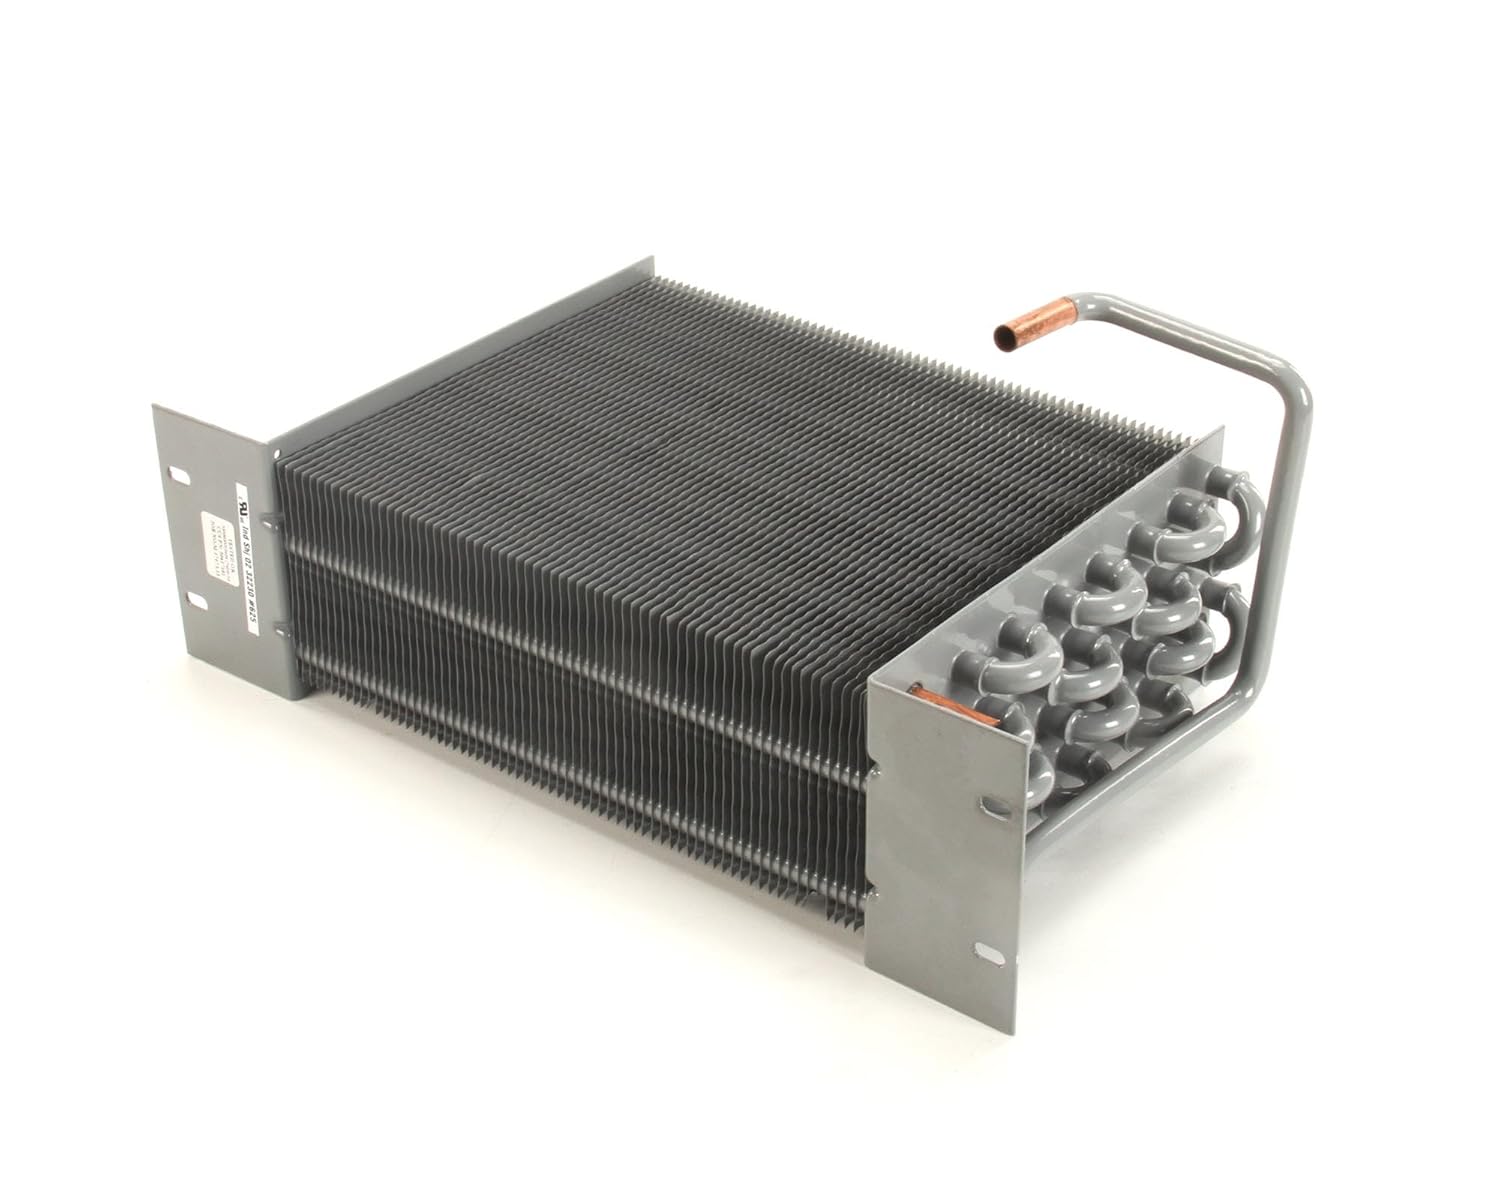
Figure 3: Side view of the evaporator coil, showing the refrigerant inlet/outlet tubes and the overall compact design.

Figure 4: Rear angled view of the evaporator coil, illustrating the robust construction and fin arrangement for heat transfer.
4. Setup and Installation
Installation of the evaporator coil should only be performed by a certified refrigeration technician.
- Preparation: Ensure the refrigeration system is depressurized and all power is disconnected. Remove the old evaporator coil, if applicable.
- Mounting: Securely mount the new Victory 50617102 coil in the designated evaporator compartment using appropriate fasteners. Ensure proper airflow around the coil.
- Refrigerant Line Connections: Carefully connect the refrigerant lines to the coil's inlet and outlet ports. Use proper brazing techniques if required, ensuring a leak-free seal. Avoid overheating the coil during brazing.
- Leak Testing: After connections are made, perform a thorough leak test using an approved method (e.g., nitrogen pressure test) to ensure system integrity.
- Evacuation: Evacuate the system to remove non-condensable gases and moisture.
- Refrigerant Charging: Recharge the system with the correct type and amount of refrigerant as specified by the system manufacturer.
- Power Restoration: Restore power to the system and verify proper operation.
5. Operating Instructions
The Victory 50617102 Coil Evaporator operates as an integral part of a larger refrigeration system. Its operation is controlled by the system's thermostat and other control components. No direct user interaction with the coil itself is typically required during normal operation.
- Ensure the refrigeration system is powered on and set to the desired temperature.
- Monitor the system for unusual noises, vibrations, or temperature fluctuations.
- Maintain clear airflow around the evaporator coil to ensure efficient heat transfer.
6. Maintenance
Regular maintenance is crucial for the efficient and reliable operation of the evaporator coil.
- Coil Cleaning: Periodically inspect the coil fins for dirt, dust, and debris accumulation. Clean the fins using a soft brush, compressed air, or a mild coil cleaner. Ensure the fins are not bent or damaged during cleaning.
- Drain Pan Cleaning: Inspect and clean the condensate drain pan and drain line to prevent blockages and overflow.
- Fan Inspection: If applicable, inspect the evaporator fan motor and blades for proper operation and cleanliness.
- Refrigerant Leak Check: Periodically check for refrigerant leaks around connections and throughout the coil.
- Professional Inspection: Schedule regular inspections and maintenance by a qualified refrigeration technician.
7. Troubleshooting
This section outlines common issues related to evaporator coils and potential solutions. For complex problems, contact a qualified technician.
| Problem | Possible Cause | Solution |
|---|---|---|
| Insufficient Cooling | Dirty evaporator coil fins Low refrigerant charge Restricted airflow Faulty expansion valve | Clean coil fins Check for leaks and recharge system Clear obstructions, check fan Consult technician for replacement |
| Coil Freezing Up | Low airflow over coil Low refrigerant charge Thermostat malfunction Dirty air filter (if applicable) | Check fan operation, clear obstructions Check for leaks and recharge system Inspect and replace thermostat Replace or clean air filter |
| Water Leaking from Unit | Clogged condensate drain line Cracked drain pan Improper unit leveling | Clear drain line Replace drain pan Adjust unit leveling |
8. Specifications
The following specifications apply to the Victory 50617102 Coil Evaporator:
- Model Number: 50617102
- Product Type: Food Service Supply
- Manufacturer: Victory
- Product Dimensions: 21 x 15 x 9 inches
- Package Dimensions: 9.0" L x 11.0" W x 17.0" H
- Product Weight: 5.2 Pounds
- Country of Origin: United States
9. Warranty and Support
For warranty information and technical support regarding your Victory 50617102 Coil Evaporator, please refer to the documentation provided with your complete refrigeration system or contact Victory customer service directly. Ensure you have your model number and purchase details available when seeking support.