
1. Introduction
This manual provides comprehensive instructions for the assembly, safe operation, and maintenance of your Skywalker SWTCS1400 4.3M Square Trampoline with Enclosure. Please read all instructions carefully before assembly and use to ensure safety and product longevity.
The Skywalker SWTCS1400 trampoline is designed for recreational use, offering a spacious jumping surface and an integrated enclosure for enhanced safety. It features a durable galvanized steel frame, a Stay-Put Enclosure Net, and extra-wide safety pads.
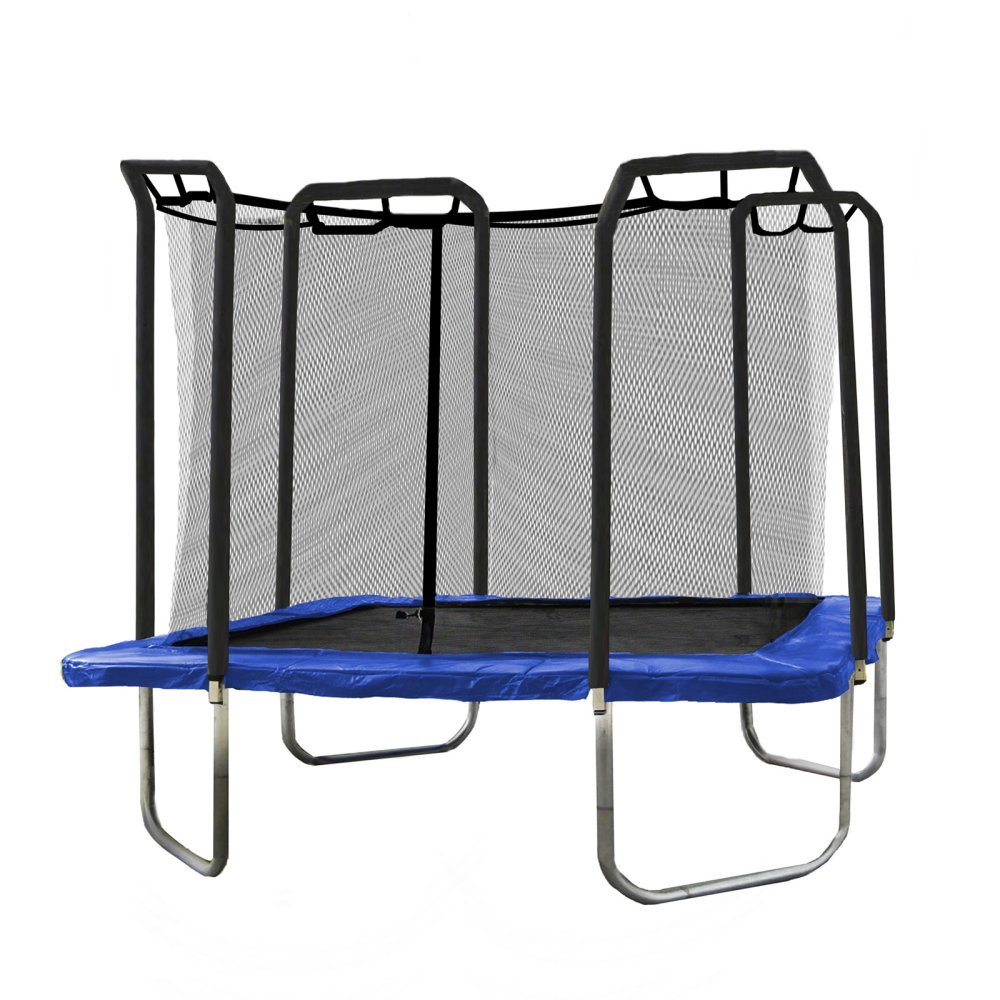
Figure 1: Skywalker SWTCS1400 4.3M Square Trampoline with Enclosure. This image shows the complete trampoline with its safety enclosure net and blue safety pads.
Important Safety Information
- Always supervise children using the trampoline.
- Only one jumper at a time is recommended to prevent collisions.
- Do not attempt somersaults or other dangerous maneuvers.
- Ensure the trampoline is placed on a level surface, away from obstacles.
- Regularly inspect all components for wear or damage.
- Recommended for ages 6 and up.
- Maximum user weight capacity: 250 lbs (113 kg).
2. Setup and Assembly
Assembly requires at least two adults. Follow these general steps. Refer to the detailed assembly diagram included in your product packaging for specific part identification and sequence.
- Frame Assembly: Connect the galvanized steel frame sections. The welded T-sockets are designed to reinforce each frame joint and prevent twisting.
- Spring Installation: Attach the 96 heavy-gauge springs to the jump mat and the frame. Use the provided spring tool for easier and safer installation.
- Jump Mat Placement: Ensure the jump mat is evenly tensioned by distributing spring installation.
- Safety Pad Attachment: Secure the extra-wide UV and PVC vinyl safety pads over the frame and springs. These pads contain 1-inch thick foam for protection.
- Enclosure Net Assembly: Install the enclosure poles and attach the Stay-Put Enclosure Net. This net interlocks with the jump mat to eliminate gaps between the mat and the springs.

Figure 2: Welded T-socket connection. This image highlights the reinforced T-socket where frame components connect, ensuring stability.

Figure 3: Heavy-gauge springs. This image shows the robust springs connecting the jump mat to the trampoline frame.
3. Operating Instructions
To ensure a safe and enjoyable experience, adhere to the following operating guidelines:
- Entry and Exit: Always enter and exit the trampoline through the designated enclosure opening.
- Supervision: Adult supervision is required at all times, especially for younger users.
- One Jumper Rule: Allow only one person on the trampoline at a time to prevent collisions and injuries.
- Safe Jumping: Jump in the center of the mat. Avoid jumping too high or attempting stunts that could lead to loss of control.
- No Hard Objects: Do not bring hard or sharp objects onto the trampoline.
- Weather Conditions: Do not use the trampoline in strong winds, rain, or other adverse weather conditions.
4. Maintenance
Regular maintenance is crucial for the safety and longevity of your trampoline.
- Daily Inspection: Before each use, check for any loose or missing parts, tears in the mat or net, or damaged springs and pads.
- Cleaning: Clean the jump mat, safety pads, and enclosure net with mild soap and water. Avoid harsh chemicals.
- Frame Check: Periodically inspect the galvanized steel frame for any signs of rust or structural damage.
- Weather Protection: In extreme weather conditions (heavy snow, strong winds), consider disassembling or securing the trampoline to prevent damage.
- Storage: If storing for an extended period, disassemble and store components in a dry, protected area.
5. Troubleshooting
This section addresses common issues you might encounter with your trampoline.
| Problem | Possible Cause | Solution |
|---|---|---|
| Unstable Frame | Uneven ground; loose frame connections. | Ensure trampoline is on a level surface. Check and tighten all frame bolts and T-socket connections. |
| Gaps between Mat and Enclosure Net | Enclosure net not properly interlocked with jump mat. | Verify that the Stay-Put Enclosure Net's button-hole feature is correctly attached to each V-ring spring, eliminating gaps. |
| Poor Bounce | Damaged or stretched springs; incorrect spring installation. | Inspect all 96 springs for damage. Replace any faulty springs. Ensure springs are installed evenly and correctly. |
| Tears in Mat or Net | Wear and tear; sharp objects. | Discontinue use immediately. Replace damaged components with genuine Skywalker replacement parts. |
6. Specifications
- Model: SWTCS1400
- Brand: Skywalker Trampolines
- Shape: Square
- Frame Size: 4.3 meters (14 feet)
- Frame Material: Heavy-gauge galvanized steel
- Safety Pad Material: Extra-wide UV and PVC vinyl with 1-inch thick foam
- Number of Springs: 96 heavy-gauge springs
- Spring Length: 7 inches
- Recommended Age: 6 years and up
- Maximum User Weight Capacity: 250 lbs (113 kg)
- Product Weight: 240 lbs (109 kg)
- Safety Standards: Meets or exceeds all ASTM safety standards
- Color: Blue
7. Warranty Information
Specific warranty details for the Skywalker SWTCS1400 Trampoline are typically provided with your purchase documentation or can be found on the official Skywalker Trampolines website. Please retain your proof of purchase for warranty claims. Warranty coverage usually includes defects in materials and workmanship for a specified period.
8. Customer Support
For further assistance, replacement parts, or detailed troubleshooting not covered in this manual, please contact Skywalker Trampolines customer support directly. Contact information can usually be found on the manufacturer's website or on your product packaging.
When contacting support, please have your model number (SWTCS1400) and proof of purchase readily available.


