1. Overview
The Canon Pixma Pro-100 is a professional inkjet printer designed for high-quality photo and art printing. It features an 8-ink dye-based ChromaLife100+ system for a wide color gamut and includes three monochrome inks for enhanced black and white prints. The printer supports various media types up to 13" x 19" and offers multiple connectivity options including Wi-Fi, Ethernet, and USB.
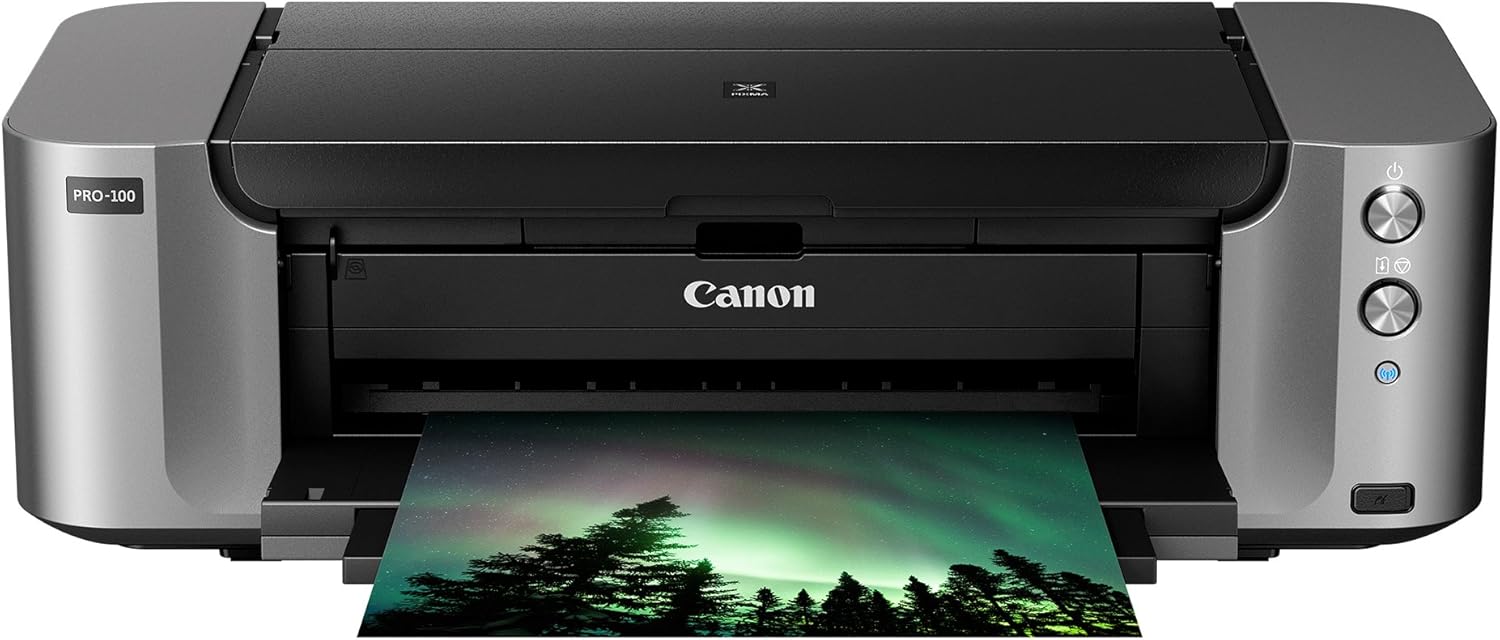
Figure 1.1: Front view of the Canon Pixma Pro-100 printer with a printed photo emerging from the output tray.
Key features include the Optimum Image Generating (OIG) System for precise color reproduction, Print Studio Pro plug-in software for seamless workflow integration with popular photo applications, and versatile paper handling with a rear tray and a manual feed slot for thicker media. It also supports direct printing onto printable CDs, DVDs, and Blu-ray Discs, and offers mobile printing capabilities via AirPrint and PictBridge.
2. Setup Guide
2.1 Unpacking and Initial Preparation
- Carefully remove the printer from its packaging. Due to its weight (approximately 21 pounds), it is recommended to use two people for lifting.
- Place the printer on a stable, level surface. Ensure adequate space around the printer for paper loading and output.
- Remove all protective tapes and packing materials from the exterior and interior of the printer. Refer to the included setup guide for specific locations.
2.2 Installing the Print Head and Ink Tanks
- Open the printer's top cover to access the print head carriage area.
- Install the print head as instructed in the setup manual. Ensure it is securely locked into place.
- Unpack the setup ink tanks. Remove the orange protective caps from each ink tank.
- Insert each ink tank into its corresponding slot in the print head carriage. Press down until it clicks into place.
- Close the printer's top cover.
2.3 Power Connection
- Connect the provided power cord to the printer's power input.
- Plug the other end of the power cord into a wall outlet.
- Press the Power button on the printer to turn it on. The printer will perform an initial setup process, which may take a few minutes.
2.4 Software Installation and Connectivity
- For Wired Connection (USB/Ethernet):
- Insert the Setup CD-ROM into your computer's optical drive and follow the on-screen instructions. Alternatively, download the latest drivers and software from the Canon support website.
- During the software installation, you will be prompted to connect the USB cable to your computer or connect an Ethernet cable to your network router.
- For Wireless Connection (Wi-Fi):
- Follow the instructions in the setup manual or on the printer's display (if available) to connect the printer to your wireless network. This typically involves selecting your network name (SSID) and entering the password.
- Once the printer is connected to the network, install the drivers and software on your computer, selecting the wireless connection option during setup.

Figure 2.1: Loading paper into the rear tray of the Canon Pixma Pro-100 printer.
3. Operating Instructions
3.1 Loading Paper
The Pixma Pro-100 features two paper trays: a rear tray and a manual feed slot.
- Rear Tray: Use for most supported media types, including fine art and glossy photo papers. It has a capacity of 150 sheets of plain paper, 20 sheets of 4x6 photo paper, or 10 sheets of letter/8x10 photo paper.
- Manual Feed Slot: Located at the back of the printer, this slot is for easy loading of thicker papers or specialty media, typically one sheet at a time.
Ensure paper is loaded correctly and the paper guides are adjusted to fit the paper size to prevent misfeeds or skewed prints.
3.2 Printing Photos and Documents
- Open the document or image you wish to print on your computer.
- Select "Print" from the application's menu.
- Choose the "Canon PRO-100" as your printer.
- Access the printer properties or preferences to adjust settings such as:
- Paper Type: Select the type of paper loaded (e.g., Photo Paper Pro Platinum, Matte Photo Paper).
- Paper Size: Choose the correct size (e.g., 4x6, 8x10, 13x19).
- Print Quality: Options typically include Standard, High, or Custom. For professional photo prints, "High" quality is recommended.
- Color Management: Utilize the Optimum Image Generating (OIG) System for accurate color reproduction. For advanced users, Print Studio Pro plug-in software (compatible with Digital Photo Professional, Adobe Photoshop, Adobe Photoshop Elements, and Adobe Photoshop Lightroom) provides professional color management options.
- Borderless Printing: Available for most photo papers, but not supported for envelopes, High Resolution Paper, and certain fine art papers.
- Click "Print" to start the printing process.
3.3 Mobile Device Printing (AirPrint)
For Apple iOS devices (iPhone, iPad, iPod touch running iOS 4.2 or later), AirPrint allows direct printing without installing drivers.
- Ensure your iOS device and the Pixma Pro-100 printer are connected to the same Wi-Fi network.
- Open the app from which you want to print (e.g., Photos, Mail, Safari).
- Tap the Share icon (usually a square with an arrow pointing up) or the Print icon.
- Select "Print" and then choose your Canon PRO-100 printer.
- Adjust print options (e.g., number of copies, paper size) and tap "Print".
3.4 CD/DVD Printing
The printer supports direct printing onto printable CD, DVD, or Blu-ray Discs.
- Open the CD/DVD Disc Printing Tray.
- Place a printable disc onto the tray, ensuring it is correctly seated.
- Use the Canon software (e.g., My Image Garden) to design and print your disc label.
- Insert the disc printing tray into the designated slot on the printer when prompted by the software.
4. Maintenance
4.1 Replacing Ink Tanks
The Pixma Pro-100 uses individual CLI-42 ink tanks (Black, Gray, Light Gray, Cyan, Photo Cyan, Magenta, Photo Magenta, Yellow). Replace only the ink tanks that run out.
- When an ink tank is low or empty, a notification will appear on your computer or the printer's indicator light will signal.
- Open the printer's top cover. The print head carriage will move to the replacement position.
- Press the tab on the empty ink tank and lift it out.
- Unpack a new genuine Canon CLI-42 ink tank. Remove the orange protective cap.
- Insert the new ink tank into the correct slot and press down firmly until it clicks into place.
- Close the printer's top cover. The printer will perform a brief initialization.
4.2 Cleaning the Printer
- Exterior: Wipe the exterior of the printer with a soft, damp, lint-free cloth. Avoid using abrasive cleaners or solvents.
- Interior: Periodically clean the paper path and print head nozzles using the printer's utility software. This helps prevent clogs and maintains print quality. Refer to the software's help section for detailed instructions on print head cleaning and nozzle checks.
5. Troubleshooting
5.1 Common Printing Issues
- No Power: Ensure the power cord is securely connected to both the printer and a working electrical outlet.
- Printer Not Responding:
- Check all cable connections (USB, Ethernet).
- For Wi-Fi, ensure the printer is connected to the correct network and the signal is strong. Restarting the printer and router may resolve connectivity issues.
- Verify that the correct printer driver is installed and selected on your computer.
- Poor Print Quality (Streaks, Fading, Incorrect Colors):
- Check ink levels and replace any empty tanks.
- Perform a nozzle check and print head cleaning using the printer utility software.
- Ensure the correct paper type and print quality settings are selected in your print driver.
- Verify that the paper is loaded correctly and is not damp or damaged.
- Paper Jams:
- Carefully remove any jammed paper from the paper trays or inside the printer. Refer to the full manual for specific jam clearance procedures.
- Ensure paper guides are properly aligned with the paper width.
- Do not overload the paper trays.
5.2 Error Indicators
The printer may display error codes or blinking lights. Consult the comprehensive user manual or Canon's support website for specific meanings and resolutions for these indicators.
6. Specifications
| Feature | Detail |
|---|---|
| Product Dimensions | 15.2"D x 27.2"W x 8.5"H |
| Item Weight | 21 pounds |
| Printing Technology | Inkjet (Dye-based) |
| Ink System | 8 individual CLI-42 ink tanks (Black, Gray, Light Gray, Cyan, Photo Cyan, Magenta, Photo Magenta, Yellow) |
| Maximum Color Print Resolution | 4800 x 2400 dpi |
| Maximum Black and White Print Resolution | 4800 x 2400 dpi |
| Maximum Media Size | 13 x 19 inch |
| Max Input Sheet Capacity | 150 (plain paper) |
| Number of Trays | 2 (Rear Tray, Manual Feed Slot) |
| Connectivity Technology | USB Cable, Wi-Fi, Ethernet |
| Special Features | CD-Printing, AirPrint, PictBridge |
| Controller Type | Android, iOS |
| Memory Storage Capacity | 64 MB |
| Wattage | 19 watts |
7. What's in the Box
Upon opening the package, you should find the following items:
- Canon Pixma PRO-100 Wireless Professional Inkjet Printer
- CD/DVD Disc Printing Tray
- Manuals and other documentation
- Setup CD-ROM
- Set of Setup Ink Tanks (CLI-42 series)
- Power Cord
- Print Head
- USB Cable
8. System Compatibility
The Canon Pixma Pro-100 printer is compatible with the following operating systems:
- Windows: Windows 7, Windows 7 SP1, Windows Vista SP1, Vista SP2, Windows XP SP3 (32-bit)
- Mac: Mac OS X v10.5.8, 10.6, 10.7
Note: System requirements may vary by application. For Mac OS, an Internet connection is required during software installation. For Windows OS, .NET Framework 4 is required to install My Image Garden and Quick Menu.
9. Warranty and Support
This product is covered by a limited warranty. For detailed information regarding warranty programs, conditions, and restrictions, please visit the official Canon support website:
For technical assistance, driver downloads, and additional resources, please refer to the Canon support website or contact Canon customer service.


