Introduction
This manual provides detailed instructions for assembling the Hobby Boss F4U-4 Corsair Late Version Airplane Model Building Kit. The F4U-4 Corsair is a Vought WWII-Korean War era inverted gull-wing carrier-capable fighter, featuring a flat windscreen. This kit includes engraved panel lines, a detailed cockpit, a fully detailed R-2800-18W radial engine, and various other components for an accurate replica.
Please read all instructions carefully before beginning assembly. Ensure you have all necessary tools and a clean, well-lit workspace.
Kit Contents
Before starting, verify that all parts are present and undamaged. Refer to the parts diagram (if available in the physical kit) to identify each component.
- Plastic sprues containing approximately 300 parts.
- 2-piece canopy (with new tool flattened windscreen).
- Drop tanks (x2).
- 5" underwing rockets (x8).
- Decals for 2 US Marine aircraft.
- Painting guide.
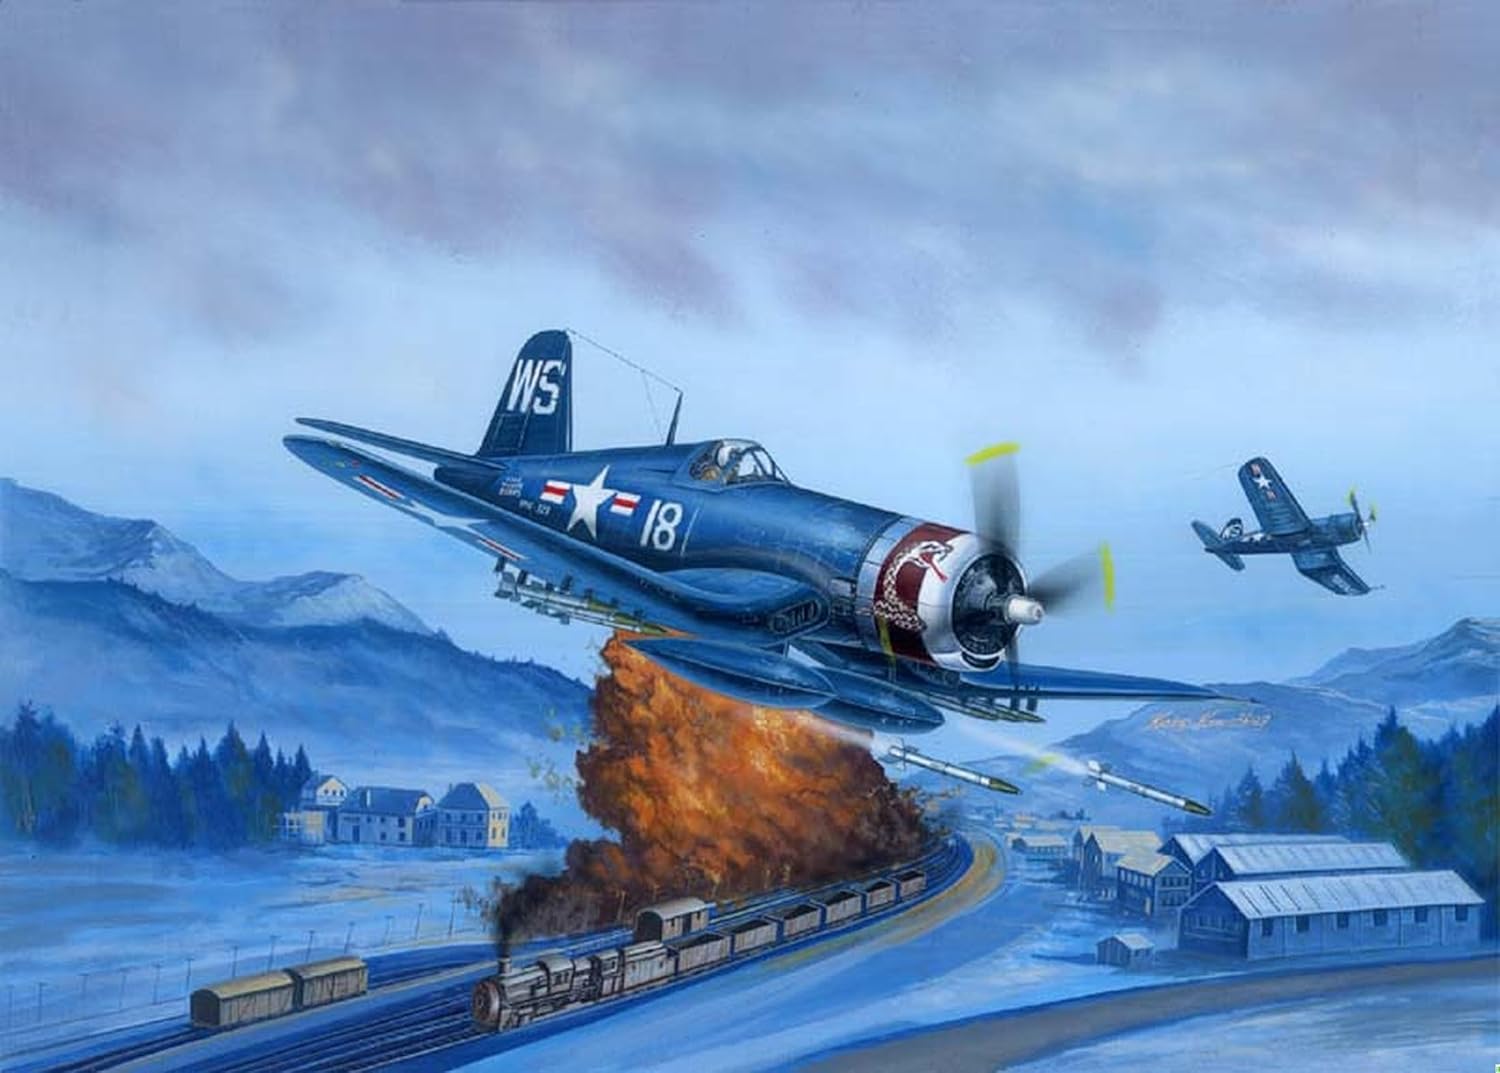
Image: Hobby Boss F4U-4 Corsair model kit box art. This image depicts the completed model in a dynamic scene, illustrating the aircraft's features such as the inverted gull-wing and underwing rockets.
Tools Required
The following tools are recommended for assembly:
- Plastic cement or super glue.
- Hobby knife or sprue cutters.
- Small files or sandpaper (fine grit).
- Tweezers.
- Paint brushes (various sizes) and acrylic paints.
- Masking tape.
- Decal setting solution (optional).
Setup and Assembly Guidelines
Follow the numbered steps in the kit's instruction booklet. Each step typically involves identifying parts, cleaning them, and then joining them. Dry-fit parts before applying adhesive to ensure proper alignment.
- Part Preparation: Carefully remove parts from the sprues using sprue cutters or a hobby knife. Clean any mold lines or excess plastic ("flash") with a file or sandpaper.
- Cockpit Assembly: Assemble the cockpit components, including the seat, instrument panel, and control linkages. Paint these parts according to the painting guide before assembly for best results.
- Engine Assembly: Construct the R-2800-18W radial engine. Pay attention to the detailed components and ensure proper orientation within the cowling.
- Fuselage Assembly: Join the fuselage halves, ensuring the cockpit and engine assemblies are correctly positioned inside.
- Wing Assembly: Assemble the inverted gull-wings. The kit allows for choice of extended or folded wings. If choosing folded wings, follow the specific instructions for the wing-fold mechanism and internal wing structure.
- Landing Gear: Assemble and attach the detailed landing gear. Ensure the gear is sturdy and correctly aligned for the desired display configuration.
- Control Surfaces: Attach separately molded control surfaces (ailerons, elevators, rudder). These can often be positioned to add realism.
- Canopy: Attach the 2-piece canopy. Mask and paint the canopy frame before attaching.
- External Stores: Assemble and attach the drop tanks and 5" underwing rockets as desired.
Painting and Decals
Refer to the included painting guide for color schemes for the 2 US Marine aircraft. Use acrylic paints for best results and easy cleanup.
- Painting: Apply thin, even coats of paint. Allow each coat to dry thoroughly before applying the next. Use masking tape for sharp lines between colors.
- Decals: Once painting is complete and dry, apply the decals. Cut each decal carefully from the sheet. Dip the decal in warm water for a few seconds until it slides freely from the backing paper. Position the decal on the model and gently slide the backing paper away. Use a soft cloth to blot excess water and remove air bubbles. Decal setting solution can help decals conform to irregular surfaces.
Maintenance and Care
Once assembled and painted, your model requires minimal maintenance. Keep it in a dust-free environment, away from direct sunlight and extreme temperatures to prevent fading or warping.
- Cleaning: Dust your model gently with a soft brush or a can of compressed air. Avoid using harsh chemicals or abrasive materials.
- Storage: If storing for extended periods, consider a display case or a sealed container to protect it from dust and damage.
Troubleshooting Common Issues
Encountering issues during model assembly is common. Here are some tips:
- Parts Not Fitting: Dry-fit parts before gluing. If a part doesn't fit, gently sand or trim the edges. Do not force parts together, as this can cause breakage.
- Excess Glue: Use glue sparingly. If excess glue appears, try to wipe it away immediately with a cotton swab dipped in a small amount of glue remover (test on scrap plastic first).
- Decal Silvering: This occurs when air is trapped under the decal. Apply a gloss coat before decals, use decal setting solution, and ensure all air bubbles are pressed out.
- Paint Issues: If paint is too thick, thin it with appropriate thinner. If paint is uneven, apply more thin coats.
Specifications
| Feature | Detail |
|---|---|
| Model | F4U-4 Corsair Late Version |
| Brand | Hobby Boss |
| Scale | 1:48 |
| Material | Plastic |
| Dimensions (L x W x H) | 8.33 x 10.25 x 4.02 inches (packaging/kit dimensions) |
| Number of Pieces | Approximately 300 |
| Recommended Age | Adult |
| Paint Type | Acrylic (recommended) |
Warranty and Support
This product is a model building kit and is sold without a manufacturer's warranty. For questions regarding missing or defective parts, please contact Hobby Boss customer support directly. Contact information can typically be found on the product packaging or the manufacturer's official website.
Note: The product specifications indicate "No Warranty".