Introduction
The Delta 9197T-RB-DST Cassidy Kitchen Faucet combines classic design with modern technology to enhance your kitchen experience. Featuring innovative Touch2O Technology for convenient on/off activation, TempSense LED for water temperature indication, and MagnaTite Docking for secure spray wand placement, this faucet is designed for both style and functionality. Its durable construction with DIAMOND Seal Technology ensures long-lasting, leak-free performance, while Touch-Clean spray holes simplify maintenance.

Figure 1: Delta 9197T-RB-DST Cassidy Kitchen Faucet in Venetian Bronze.
Key Features
- Touch2O Technology: Activate water flow with a simple touch anywhere on the spout or handle to start and stop the flow of water. The TempSense LED indicator light changes color to reflect water temperature, preventing surprises.

Figure 2: Touch2O Technology allows for easy water activation and TempSense LED indicates water temperature.
- DIAMOND Seal Technology: Patented design reduces leak points and ensures leak-free operation for the life of the faucet, lasting twice as long as the industry standard.

Figure 3: Internal view highlighting DIAMOND Seal Technology for extended durability.
- MagnaTite Docking: A powerful integrated magnet securely holds the kitchen sprayer in place, preventing drooping over time.

Figure 4: MagnaTite Docking ensures the spray wand stays securely in place.
- ShieldSpray Technology: Cleans with laser-like precision, powering away stubborn messes while an innovative shield of water contains splatter.

Figure 5: ShieldSpray Technology provides powerful cleaning with minimal splatter.
- Touch-Clean Spray Holes: Easily wipe away calcium and lime build-up from the spray holes with a touch of a finger, eliminating the need for chemical cleaners.
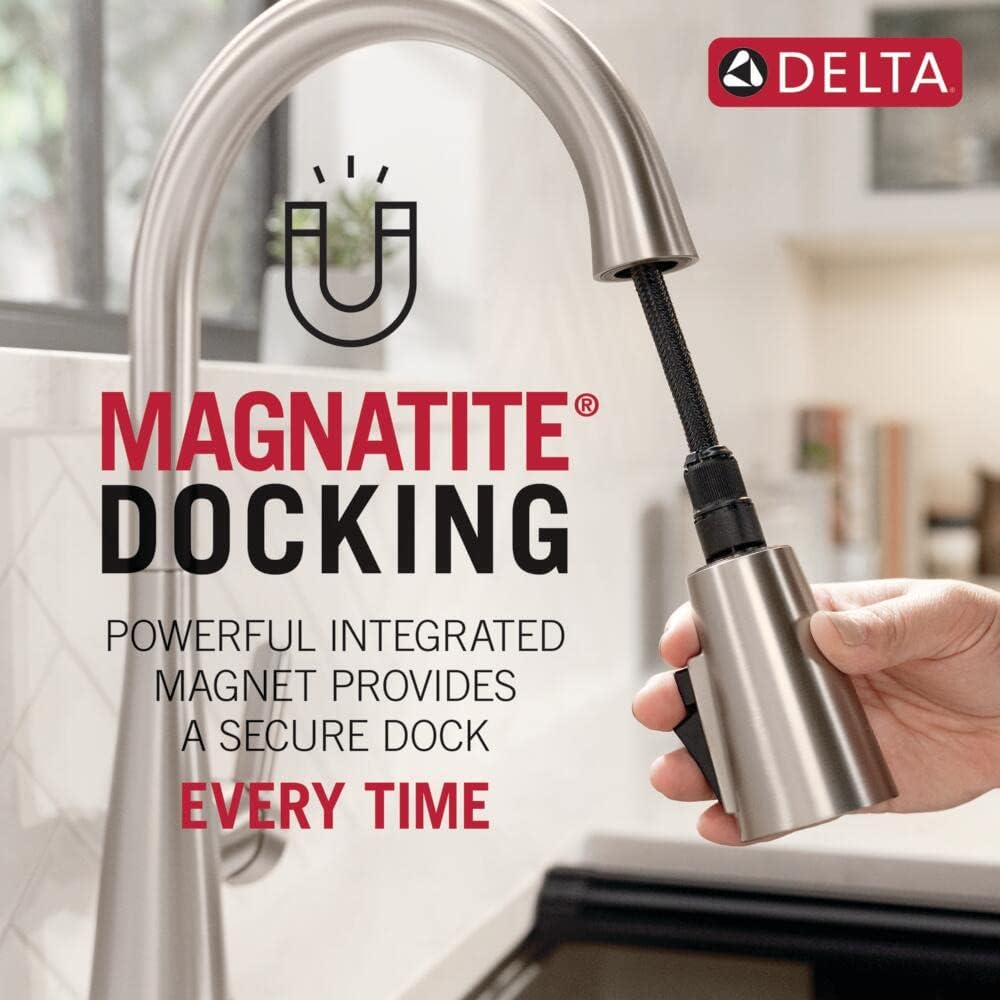
Figure 6: Touch-Clean spray holes allow for easy removal of mineral buildup.
- Flexible Hose and Swivel: Features a 20-inch hose and 360-degree swivel for extended reach and maneuverability.
Figure 7: The flexible hose and 360-degree swivel provide enhanced reach and convenience.
Product Specifications
| Attribute | Detail |
|---|---|
| Brand | Delta |
| Model Name | Cassidy™ |
| Model Number | 9197T-RB-DST |
| Color | Venetian Bronze |
| Material | Brass |
| Mounting Type | Deck Mount |
| Number of Handles | 1 |
| Hole Count | 1 |
| Maximum Flow Rate | 1.8 Gallons Per Minute |
| Spout Height | 16 Inches |
| Spout Reach | 9.38 Inches |
| Item Weight | 8.3 Pounds |
| Product Dimensions | 9.38 x 2.5 x 9.38 inches |
| Batteries Required | 6 AA batteries (included) |

Figure 8: Detailed dimensions and hole requirements for installation.
Setup & Installation
This section provides a step-by-step guide for installing your Delta Touch2O Kitchen Faucet. For a visual guide, please refer to the official installation video below.
Video 1: How To Install Delta Touch2o Pulldown Kitchen Faucet (Official Delta Faucet Company)
This video provides a comprehensive guide to installing your Delta Touch2O Pulldown Kitchen Faucet, covering all necessary steps and tools.
Tools Required
- Phillips Screwdriver (a long one is recommended for hard-to-reach areas)
- 2x Wrenches
- Safety Glasses
- Flashlight
- Pot or Bucket (for flushing lines)
- Towel (for cleanup)
Step 1: Mounting Faucet
Feed the supply lines, wire, and spout shank through the mounting hole on your sink or countertop. Ensure the TempSense LED indicator light faces forward and the handle is parallel to the sink's edge. If installing alone, you can move the spout to counterbalance the faucet for easier positioning.
(Refer to video timestamp 1:18 - 2:15)
Step 2: Securing the Faucet
Secure the faucet to your sink or countertop using the mounting bracket and mounting nut. Feed the sprayer hose through the center of the mounting bracket, ensuring the metal portion of the bracket faces up. Push both the bracket and nut all the way up the sprayer hose to the bottom of the shank, then hand-tighten the nut. Ensure all wires and supply hoses are fed through the cutout in the bracket.
(Refer to video timestamp 2:15 - 3:40)
Step 3: Installing Check Valves
Install the check valves onto your supply stub outs. These are crucial for the proper function of your Touch2O faucet. Insert the small insert into the supply stub out, then thread the check valve over the top, ensuring nothing is pinched. Use two wrenches to tighten the check valve: one to support the supply stub out and the other to tighten the check valve. Tighten one full 360-degree rotation until snug, but do not overtighten.
(Refer to video timestamp 4:29 - 5:34)
Step 4: Connecting Supply Lines
Connect your faucet supply lines to the supply stub outs. Delta color-codes the tips of the supply tubes (red for hot, blue for cold) for easy identification. In general, the right stub out is cold, but verify your specific configuration. If you have extra tubing, loop it rather than cutting it, ensuring the loop is at least 8 inches across to prevent kinking and flow issues. Hand-tighten the connections, then use two wrenches to tighten one full revolution.
(Refer to video timestamp 5:34 - 7:29)
Step 5: Flushing Lines
Flush your lines to remove any debris from new construction or remodel. Ensure the faucet handle on top of the sink is in the off position. Turn your hot and cold supply lines on slowly. Hold the outlet nozzle pointed at a bucket placed underneath your cabinet. Move the faucet handle to the full mix position and run water for about 30 seconds to ensure all debris is flushed out.
(Refer to video timestamp 7:29 - 9:19)
Step 6: Connecting Solenoid Assembly
Connect the solenoid to the bottom of the outlet tube. Push the solenoid (the top has an attached blue clip) onto the outlet tube until it's a tight connection, then snap the blue clip into place. Give it a gentle tug down to ensure a secure connection. Next, thread the sprayer weight onto the sprayer hose, ensuring the hose isn't tangled around other supply lines or wires, as it will move up and down with faucet use. Push the end of the sprayer hose onto the bottom of the solenoid and snap the blue clip into place, giving it a gentle tug to confirm the connection.
(Refer to video timestamp 9:19 - 10:31)
Step 7: Installing Batteries & Checking for Leaks
Connect the sensor clip to the shank, ensuring it's free from any metal contact to avoid affecting faucet performance. Connect the LED wire into the side of the solenoid, making sure it's not wrapped or tangled. Finally, install the batteries. Your Touch2O faucet can be powered by C batteries or AA batteries (6 AA batteries are included). Load them according to the guide on the battery pack. Ensure all batteries are installed correctly; even one upside down will cause a low battery indicator (red flashing light).
For battery pack placement, ensure the cord is tangle-free and the pack has at least a 2-inch clearance on each side. Set it down flat on its feet and push it back into the cabinet.
After installation, test your faucet for leaks. Turn the faucet on to full mix and check all connections under the sink for any drips or leaks. Also, check the connection where the sprayer hose connects to the sprayer wand.
(Refer to video timestamp 10:31 - 13:24)
Operating Instructions
The Delta Cassidy Kitchen Faucet offers multiple ways to control water flow and temperature.
- Touch Activation: With the handle in the open position, simply touch anywhere on the spout or handle with your wrist or forearm to start and stop the flow of water. The TempSense LED light at the base will change color to indicate water temperature (blue for cold, magenta for warm, red for hot).
- Manual Handle Operation: Use the single lever handle to manually control water flow and temperature. Move the handle up for cold water and down for hot water.
- Pull-Down Sprayer: The pull-down sprayer offers two different settings: a steady stream and a powerful spray. Switch between modes using the button on the spray head. The MagnaTite Docking system ensures the spray wand retracts and stays securely in place when not in use.
Maintenance
- Cleaning: Utilize the Touch-Clean spray holes to easily wipe away calcium and lime build-up with a touch of a finger. The SpotShield finish resists water spots and fingerprints, making cleaning simple.
- Battery Replacement: If the TempSense LED light flashes red or the touch activation becomes inconsistent, it may be time to replace the batteries. Refer to the "Installing Batteries" step in the Setup section for instructions.
Troubleshooting
Here are some common issues and their potential solutions:
- No Water Flow / Inconsistent Touch Activation:
- Check battery levels and replace if necessary.
- Ensure the battery pack is placed flat and has sufficient clearance (at least 2 inches on each side) and that its cord is not tangled or wrapped around other wires.
- Verify that the sensor clip and LED wire connections are secure and free from metal contact.
- Ensure the faucet handle is in the open position for touch activation to work.
- Leaks:
- Check all connections under the sink (supply lines, check valves, solenoid) for tightness. Do not overtighten.
- Ensure the sprayer hose connection to the sprayer wand is secure.
- Sprayer Wand Sagging:
- Verify that the MagnaTite Docking system is functioning correctly and that the sprayer weight is properly installed and not obstructed.
- Water Temperature Issues:
- Adjust the manual handle to control the hot and cold water mix.
- Ensure both hot and cold supply lines are fully open.
Warranty Information
Delta faucets are backed by a Lifetime Limited Warranty for the faucet and finish. Electronic parts are backed by a 5-year electronic parts warranty. This ensures leak-free operation for the life of the kitchen faucet, based on ASME A112.18.1 of 500,000 cycles.
Customer Support
For questions or assistance, please contact Delta Customer Service.
Phone: 1-800-345-DELTA (3358)
You can also refer to the official User Manual (PDF) or Installation Manual (PDF) for further details.


