1. Introduction
The CrimeStopper SecurView SV-9153 is an OEM replacement-style rear view mirror designed to enhance driver awareness, particularly when reversing. It features a built-in 4.3-inch LCD display that seamlessly integrates into the mirror, appearing invisible when not in use. This monitor is engineered with an LED backlit screen, anti-glare protection, a power memory function, and low-current battery consumption. It includes two video inputs and supports automatic switching for a reverse camera, providing a factory-installed appearance and functionality.
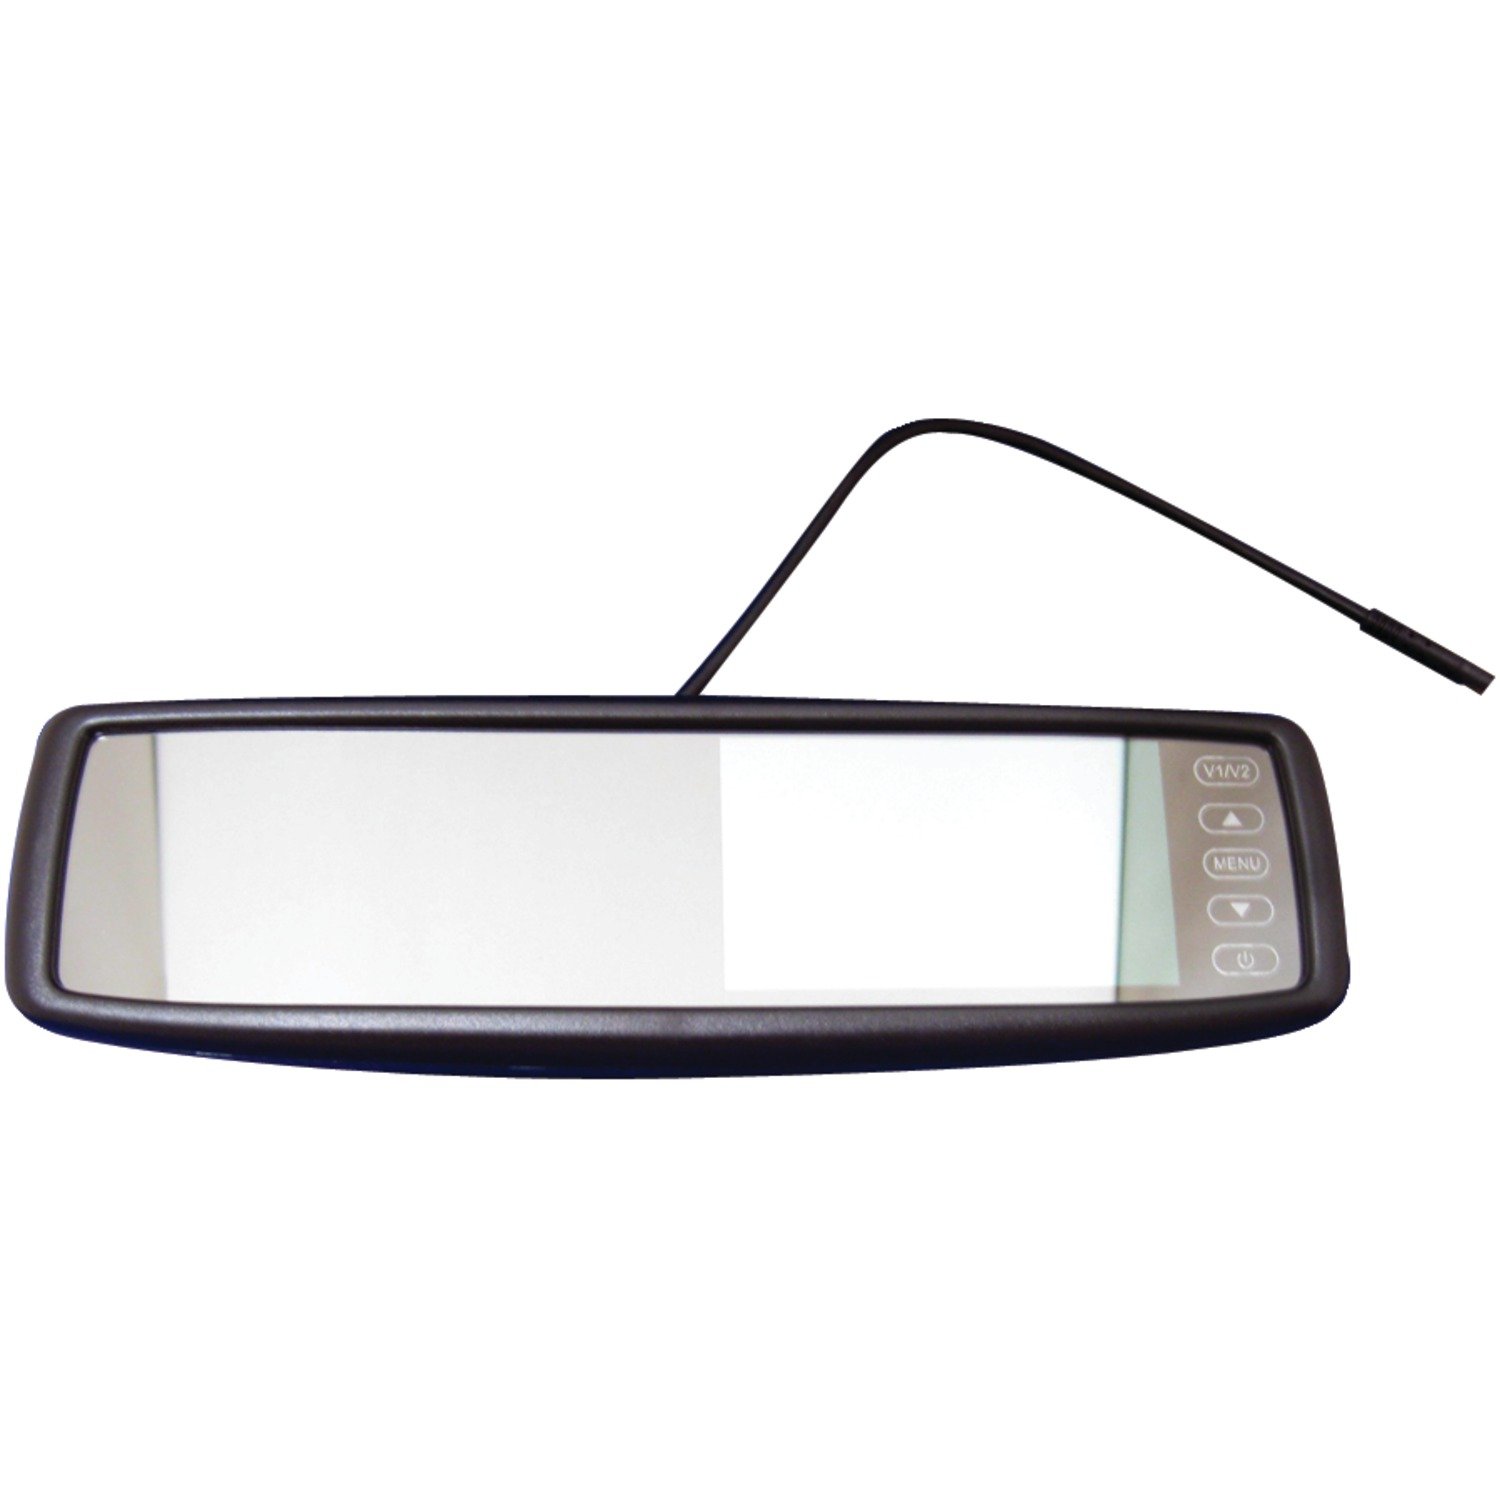
Figure 1: CrimeStopper SecurView SV-9153 Rear View Mirror. This image shows the front view of the mirror, highlighting the integrated display area and control buttons on the right side, along with the attached power/signal cable extending from the top.
2. Key Features
- OEM Replacement Design: Completely replaces the factory mirror for a seamless, integrated look.
- Integrated 4.3-inch LCD Display: Built-in screen for clear viewing, invisible when not in use.
- LED Backlit Screen: Provides bright and clear visuals.
- Anti-Glare Protection: Reduces reflections for improved visibility.
- Power Memory Function: Retains settings even after power cycles.
- Low-Current Battery Consumption: Efficient power usage.
- Two Video Inputs: Supports multiple video sources.
- Auto Switching for Reverse Camera: Automatically displays the reverse camera feed when engaged.
3. Safety Information
Please read all instructions carefully before installation and use. Improper installation or use can lead to product damage or vehicle malfunction. Always ensure the vehicle is turned off and the battery is disconnected before performing any electrical work.
Proposition 65 Warning: This product may contain chemicals known to the State of California to cause cancer and birth defects or other reproductive harm. For more information, visit www.P65Warnings.ca.gov. Always handle with care and wash hands after handling.
4. Installation and Setup
4.1. Pre-Installation Checklist
- Ensure all components are present.
- Verify vehicle compatibility with an OEM replacement mirror.
- Gather necessary tools (e.g., screwdrivers, wire strippers, electrical tape).
- Disconnect the vehicle's battery before beginning installation.
4.2. Removing the Factory Mirror
Carefully detach the existing rear view mirror from its mount on the windshield or headliner. The method varies by vehicle model; consult your vehicle's service manual for specific instructions. Ensure not to damage the windshield or any existing wiring.
4.3. Mounting the SV-9153 Mirror
Attach the SV-9153 mirror to the factory mirror mount. Ensure it is securely fastened and properly oriented for optimal viewing. Do not overtighten mounting screws.
4.4. Wiring Connections
Connect the mirror's power and video input cables according to the wiring diagram (not provided in data, so general instructions). The mirror requires a 12V power source. Connect the two video inputs (V1/V2) to your desired video sources, such as a reverse camera or other auxiliary video devices. The reverse camera input should be wired to trigger automatically when the vehicle is shifted into reverse.
- Power (Red Wire): Connect to a switched 12V power source.
- Ground (Black Wire): Connect to a vehicle chassis ground point.
- Video Input 1 (V1): Primary video input, often used for a front-facing camera or DVD player.
- Video Input 2 (V2 - Reverse Camera): Connect to the video output of your reverse camera. This input is designed for auto-switching when the reverse gear is engaged.
- Reverse Trigger Wire: Connect to the vehicle's reverse light circuit to enable automatic display switching.
Route all cables neatly and securely to prevent interference with vehicle operation. Use cable ties or clips to secure wiring away from moving parts or heat sources.
4.5. Post-Installation Check
Reconnect the vehicle's battery. Turn on the ignition and test the mirror's functionality. Verify that the display activates when a video signal is present and that the auto-switching feature works correctly with the reverse camera.
5. Operation
The SecurView SV-9153 mirror operates primarily as a standard rear view mirror. The integrated LCD display activates automatically when a video signal is detected on the active input, or when the reverse gear is engaged (if a reverse camera is connected to V2 and the trigger wire is properly installed).
5.1. Display Activation
- Automatic Activation: The screen will automatically turn on when a video signal is received on the active input (V1 or V2).
- Reverse Camera Priority: When the vehicle is in reverse, the display will automatically switch to the V2 input, prioritizing the reverse camera feed.
- Invisible Screen: When no video signal is present, the LCD display becomes invisible, and the mirror functions as a normal rear view mirror.
5.2. Controls (Based on image, assuming standard buttons)
The mirror typically features control buttons on the right side of the unit for basic adjustments:
- V1/V2 Button: Toggles between Video Input 1 and Video Input 2 (when not in reverse).
- Up/Down Arrows: Used for navigating menu options or adjusting display settings (e.g., brightness, contrast).
- MENU Button: Accesses the on-screen display (OSD) menu for advanced settings.
- Power Button: Turns the display on/off manually (if applicable, or for standby).
Refer to the on-screen menu for specific display adjustments like brightness, contrast, and color saturation to optimize viewing conditions.
6. Maintenance
To ensure the longevity and optimal performance of your SecurView SV-9153 mirror, follow these maintenance guidelines:
- Cleaning the Mirror Surface: Use a soft, lint-free cloth and a non-abrasive glass cleaner. Spray the cleaner onto the cloth, not directly onto the mirror, to avoid liquid seeping into the electronics.
- Cleaning the Display Area: For the LCD display area, use a dry, soft microfiber cloth. Do not use harsh chemicals or abrasive materials, as they can damage the screen coating.
- Cable Inspection: Periodically check all wiring connections for signs of wear, fraying, or loose connections. Secure any loose cables.
- Avoid Extreme Temperatures: While designed for automotive use, prolonged exposure to extreme heat or cold can affect electronic components.
7. Troubleshooting
| Problem | Possible Cause | Solution |
|---|---|---|
| Display is dark or dim. | Insufficient brightness setting; poor video signal; ambient light conditions. | Adjust brightness/contrast via the OSD menu. Ensure video source is providing a strong signal. Consider ambient light. |
| No image on display. | No power to the mirror; loose video cable connection; faulty video source; incorrect input selected. | Check power connections and vehicle fuse. Ensure video cables are securely connected. Verify video source is operational. Press V1/V2 button to cycle inputs. |
| Display does not switch to reverse camera. | Reverse trigger wire not connected or faulty; reverse camera not powered or faulty; incorrect video input. | Check the connection of the reverse trigger wire to the vehicle's reverse light circuit. Verify the reverse camera is powered and functioning. Ensure the camera is connected to the V2 input. |
| Image is distorted or flickering. | Poor video signal quality; interference; loose connections. | Check video cable integrity and connections. Ensure proper grounding. Route video cables away from power cables to minimize interference. |
8. Specifications
| Feature | Detail |
|---|---|
| Model Number | CSPSV9153 (OEM Part Number: SV-9153) |
| Brand | Crimestopper |
| Display Size | 4.3 inches LCD |
| Video Inputs | 2 (V1, V2 with auto-switching for reverse) |
| Power Consumption | Low-current battery consumption |
| Screen Type | LED backlit with anti-glare protection |
| Dimensions (L x W x H) | 10 x 6 x 5 inches |
| Item Weight | 1.5 pounds |
| Operation Mode | Power |
| Auto Part Position | Rear |
9. Warranty and Support
For warranty information and technical support regarding your CrimeStopper SecurView SV-9153 mirror, please refer to the documentation provided at the time of purchase or contact the authorized reseller from whom the product was acquired. Warranty terms and conditions are typically provided by the point of sale or the distributor. This product carries the warranty provided by the reseller, not directly by the manufacturer in all cases.